FIG-1 FIG-1
FIG-2 FIG-2
A
A
B
B
10 11
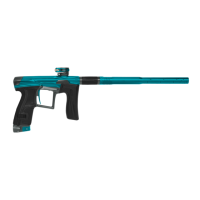
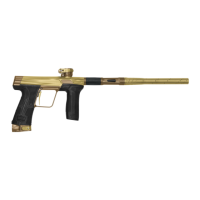
EMF100 EMF100
FIG-1
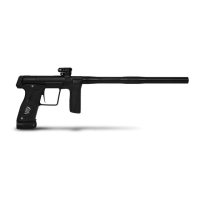
The safety button
A
is located on the frame and is used to switch
between safe (PUSH SAFE) and re (PUSH FIRE).
PUSH SAFE
Push the safety button
A
in from the left side of the frame to make the
marker safe.
FIG-2
The button will click rmly into position
B
and will sit ush with the
frame. The trigger will be locked and the marker will not re.
1
IMPORTANT! If the safety button does not work contact your local
Eclipse Dealer immediately and do not use the marker.
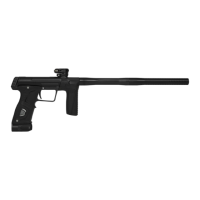
FIG-1
The safety button
A
is located on the frame and is used to switch
between safe (PUSH SAFE) and re (PUSH FIRE).
PUSH FIRE
Push the safety button
A
in from the right side of the frame to make the
marker ready to re.
FIG-2
The button will click rmly into position
B
and will sit ush with the
frame. The trigger will be unlocked and the marker will re.
1
IMPORTANT! If the safety button does not work contact your local
Eclipse Dealer immediately and do not use the marker.
QUICK START
THE EMF100 SAFETY BUTTON
SAFE
QUICK START
THE EMF100 SAFETY BUTTON
FIRE
WARNING!
When SAFE is enabled the marker is still live until the air system has been fully
removed.
Ensure that a barrel blocking device is always attached when the marker is set
to SAFE.
WARNING!
When FIRE is enabled the marker is live and will re with every pull of the trigger,
if an air system is tted.
Ensure that the marker is set to SAFE and a barrel blocking device is attached
until you are ready to use the marker.