13
3. Installation
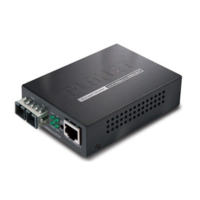
This section describes the functionalities of the Media Converter’s components
and guides you to how to install it on the desktop. Basic knowledge of
networking is assumed. Please read this chapter completely before continuing.
3.1 Stand-alone Installation
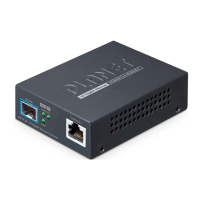
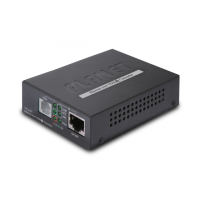
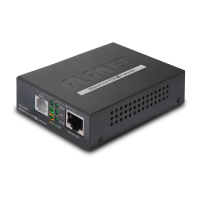
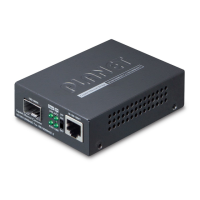
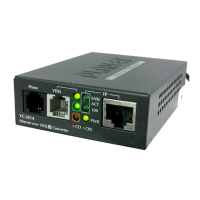
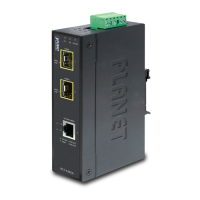
Step 1: Unpack the Media Converter.
Step 2: Connect the 5V DC power adapter to the XT-715A and verify that
the Power LED lights up.
(Please refer to the 2.4 Power Information section for power
input.)
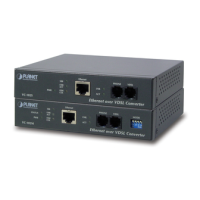
Step 3: 3-1: Prepare a twisted-pair, straight-through Category 5e/6/7
UTP cable for Ethernet connection.
3-2: Prepare a ber cable for connection to the 10GBASE-X SFP+
slot, and make sure both sides of the SFP transceiver are with
the same media type.
(Please refer to the 3.5 Cable Connection section for the type of
connection.)
After RJ45 port is connected, install 10G SFP+ transceiver; the
RJ45 port LNK/ACT LED will light off and on upon the re-nego-
tiation.
Step 4: 4-1: Insert one side of Category 5e/6/7 cable into the Media
Converter Ethernet port (RJ45) while the other side of
Category 5e/6/7 cable into the network devices’ Ethernet port
(RJ45), e.g., switch, PC or server.
The UTP port (RJ45) LED on the Media Converter will light up
when the cable is connected with the network device. (Please
refer to the 2.2 LED Indicators section for the functions of
LED lights.)
4-2: Connect the ber cable. Attach the duplex LC connector on
the network cable to the SFP+ transceiver. Attach the ber
cable from the XT-715A to the ber network. TX, RX must be
paired at both ends.