13
2.2. Charging
To maximise the lifespan of the baeries,
it is recommended to charge them
whenever the Ceiling Hoist is not in use.
Charge the baeries as follows:
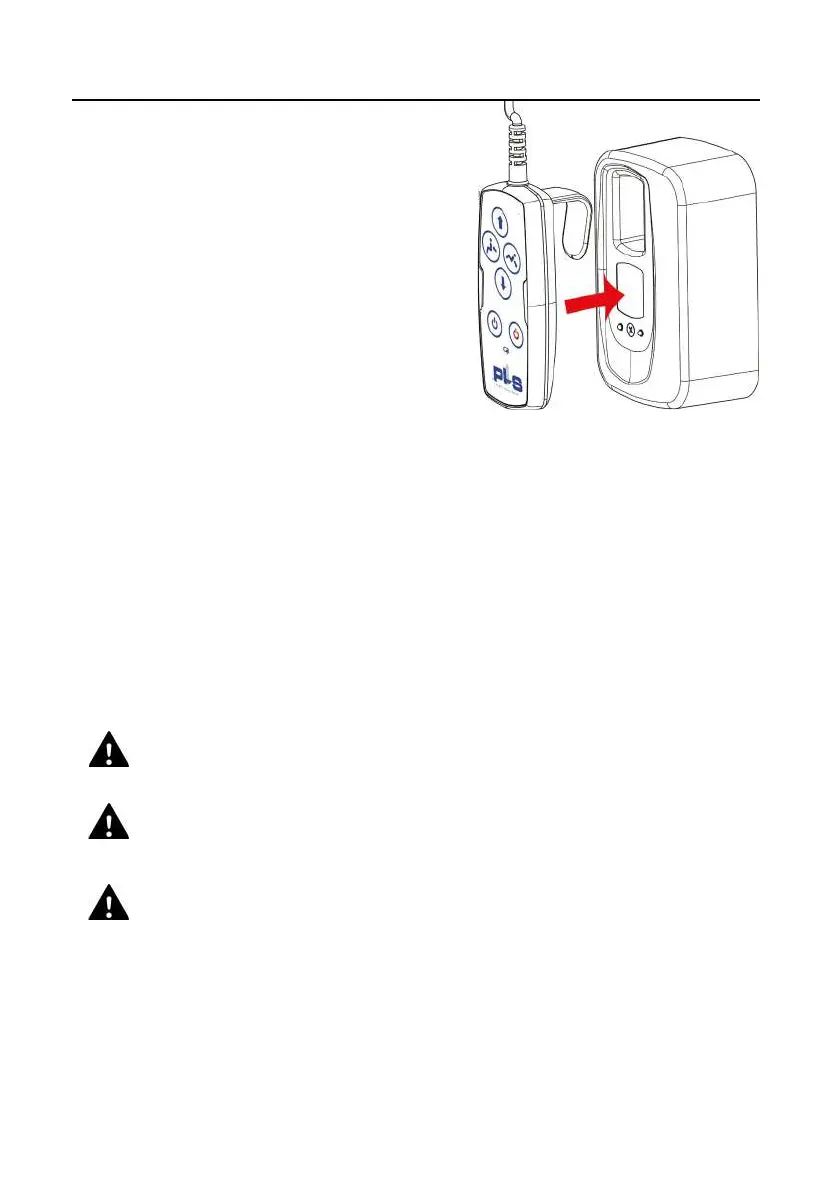
1. Place the Hand Control in the
wall holder (Figure 7, page 13).
2. Check that the green charging
light is on.
3. Check that the control light lights
up. It will successively ash red,
orange and green, depending on
the charge level of the baery.
If the ashing of the control light is undesirable, for example in a bedroom,
you can switch it o using the buon ‘CeilingHoisto’ on the Hand Control.
The Ceiling Hoist connues to charge even when turned o.
You can have the bedroom mode programmed as an extra opon if desired.
The charging indicator will then automacally switch o aer 2 minutes.
The Ceiling Hoist sll connues to charge.
Charge the baeries in a dry area! Do not use the charger where
ammable anaesthec gasses are present.
You should allow for a charging me of around 8 hours if the
baeries have a very low charge!
Do not operate the wall charger if there is any damage to the cord
or the charger. Do not bend the cord forcefully or place heavy items
on top of it as this could damage the cord which could result in
rehazard or electrical shocks that cause injury.
The number of li movements that can be made with a fully charged baery
depends on the duraon of the li movements, the weight lied, and the age
and condion of the baeries.
Figure 7, Hand Control
in wall charger