ENGINE
3.35
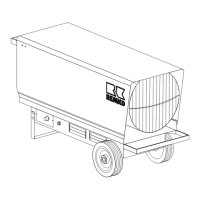
2871043
A
4. Use caution when removing the wire holddown
(B), trigger coil (C), and the stator assembly (D).
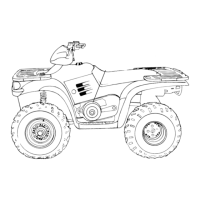
Do not tap or bump the gear /stator housing
cover or the stator. This could cause the seal
around the gear/stator housing cover and the
crankcase to break, causing a leak.
D
C
E
B
5. Remove the bendix (E) if necessary.
FLYWHEEL/STATOR
INSTALLA
TION
NOTE: Before assembly, clean the bolts and bolt
holes with Primer N (PN 2870585) to remove any
debris. This will ensure proper sealing when installing
bolts and new Loctitet.
1. Carefully install the stator and trigger coil to the
gear/stator housing cover. Do not tap on the
stator or the gear stator housing cover. This
may cause a leak in between the gear/stator
housing cover and the crankcase.
2. Properly place the stator wires under the wire
holddown and install the bolts. Apply
LocTitet242 (PN 2871949) onto the bolts.
Inspect the bolts, if new bolts are needed, replace
them with new bolts. The new bolts contain patch
lock, so Loctitet is not needed on the new bolts.
Torque bolts to 9--10 ft. lbs. (12--14 Nm).
3. Install the starter bendix if removed.
4. Install woodruff key. Install the flywheel. Install
the flywheel washer and nut. Apply Loctitet 242
(PN 2871949) onto the threads. Torque the
flywheel nut to 80--100 ft.lbs. (109--136 Nm)
Flywheel Nut Torque:
80--100 ft. lbs. (108.50--135.60 Nm)
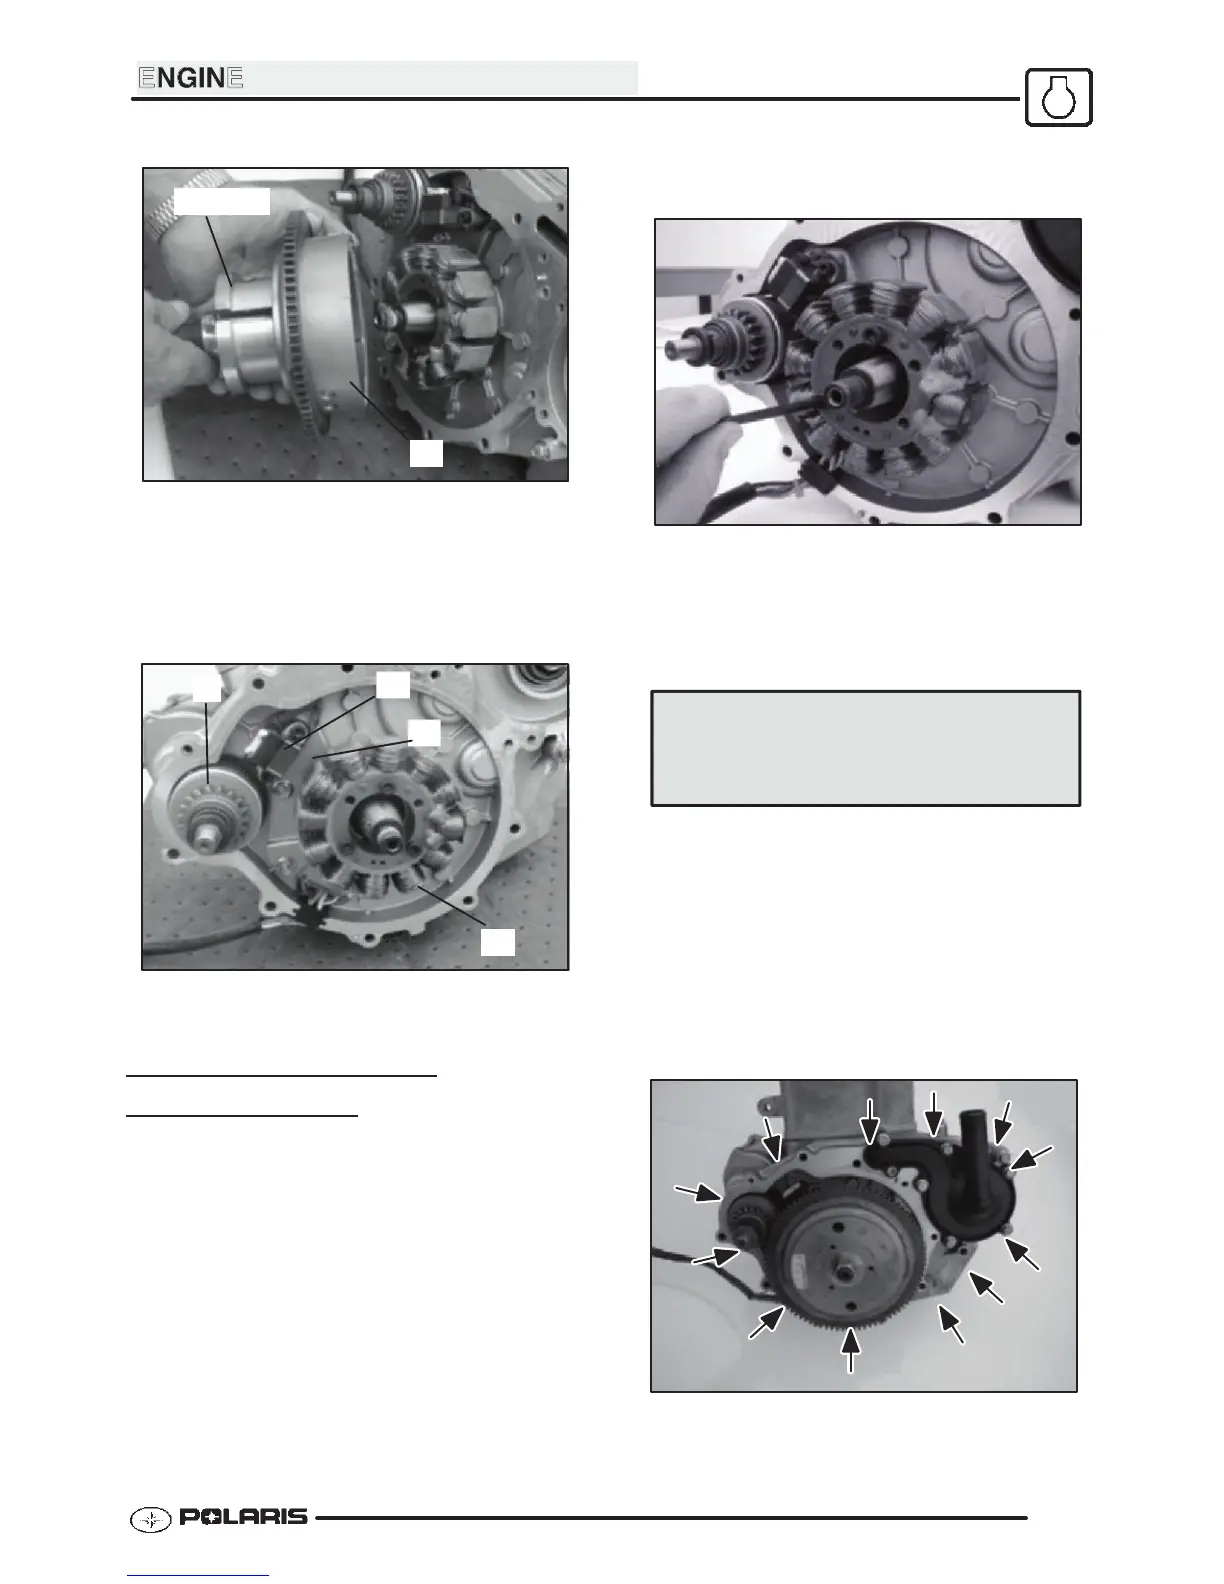
5. Inspect the mating surface around the gear/stator
housing cover and the crankcase for oil seepage.
If there is seepage between the mating surfaces,
then the gear/stator housing cover must be
resealed. Clean the gearcase surfaces and
reseal with a new gasket. Refer to the Lower
Engine Disassembly section and the Lower
Engine Assembly section for details. lnspect the
areas pointed out in the photograph for possible
oil seepage.
FLYWHEEL/STATOR INSTALLATION
6. Install stator housing with new O-rings. Apply
LocTitet271 (PN 2871954) onto the bolts.
Enfocus Software - Customer Support
 Loading...