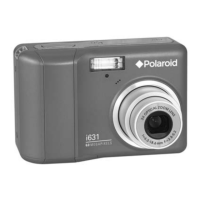
You can also use the Self Timer feature when you would like to include yourself in the
photograph.
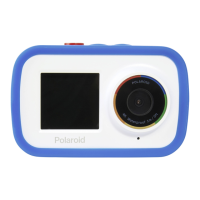
In order to see yourself and set the scene as you would like, use the LCD screen on the front of
the camera. It is recommended to use a tripod in order to avoid shaking of the camera.
1) While in Photo Capture Mode, press the MENU button to open the menus options.
2) Press the LEFT or RIGHT button to select the ‘Self Timer’ menu and then press the
DOWN (W) button to select one of the Self Timer setting options.
3) Press the MENU button to confirm and save the highlighted option.
4) The Self-Timer feature is now ready for use.
The Self-Timer icon appears on the LCD screen.
5) Set the camera in the direction you would like to capture.
Press the LCD Switch button to view yourself from the camera’s front LCD screen.
6) Press the SHUTTER button to take the photograph.
The photo will be taken after the selected Self Timer delay.
The countdown is shown on the LCD screen. The camera beeps and the LED light flashes
during the countdown.
NOTE:
Depending on the distance to the object being photographed, use the Macro switch to adjust
the distance. Select the Macro ON, the flower symbol if you wish to take a close-up
photograph (11cm –18 cm). If you wish to take a photograph of surroundings or people (0.5m
– infinity), set the Macro switch to OFF, normal mode.
See Macro Mode for more details.
The Self Timer feature remains active until you manually change it to ‘OFF’ by selecting this
option from the Self Timer/Photo Capture Mode Menu.
If you are not sure if there is enough lighting, turn on the Automatic Flash by pressing the
LEFT/ Flash button. If the battery power is too low, the flash won’t be activated.
See Flash Options for more details.

 Loading...