13 Polycom CX5000 Setup Guide
Setting up the Polycom CX5000
Setting up the Polycom CX5000 is easy. Just complete the following procedures for
getting your Polycom CX5000 device up and running:
• Positioning the Polycom CX5000 Device.
• Setting up the power data box and connections.
• Connecting the external dial pad and satellite microphones.
After you complete the Polycom CX5000 setup, you can begin using Polycom CX5000
for phone calls, conference calls, and remote meetings.
For information on using the Polycom CX5000 device and getting the most from your
meetings, see the Polycom CX5000 User’s Guide located at:
http://www.polycom.com/support/voicedocumentation
/.
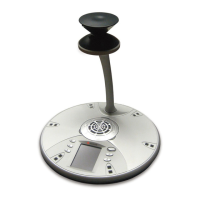
BE CAREFUL. The camera head is fragile and can be damaged by impact. Do not
knock it over or bump it with notebooks or other objects. The Limited Warranty
does not cover camera head damage or misalignment from abuse, accident or
impact.
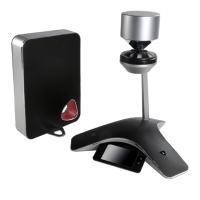
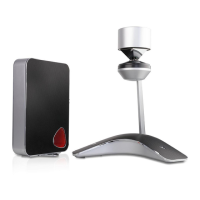
Positioning the Polycom CX5000 device
Proper positioning of your Polycom CX5000 device is essential for getting the best
results during conferences and meetings. Select a location for the Polycom CX5000
device using the following guidelines:
• Select a well-ventilated, flat, level, clean, and dry location on which to place the
Polycom CX5000 device.
• For maximized results, choose a location near the center of a conference table
that is no longer than 15 feet in length.
• Select a well-ventilated, clean, and dry location out of the typical walking path in
which to place the power data box.
WARNING
Failure to take the following precautions can result in serious injury or death from electric shock or fire, or
damage to the Polycom CX5000 device and power data box.