System Hardware
Topics:
▪ Connect a Touch-Capable Monitor
▪ Connect a Non-Touch Monitor
▪ Positioning the System
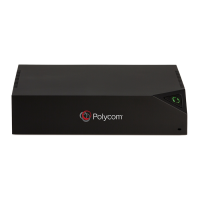
The Pano system needs to be connected to a monitor and can be mounted on table, wall, or monitor.
Note: To prevent the Pano system from overheating, make sure there is at least 1 in. of space on top
and 2 in. on the sides with the ventilation openings (this does not apply to the sides with the input/
output ports, mounting plate, or prominently displayed Polycom logo).
Connect a Touch-Capable Monitor
The Pano system automatically detects when a touch-capable monitor or USB pointing device (e.g., a
USB mouse) is connected.
Procedure
1. Connect the HDMI cable from the system to the monitor.
2. Connect the USB cable to the bottom USB port for touch capability.
3. Connect the LAN cable to the system for network connectivity or to power it with PoE+.
4. Optional: Connect a power adapter to the system.
Connect a Non-Touch Monitor
The Pano system automatically detects when a touch-capable monitor or USB pointing device (e.g., a
USB mouse) is not connected.
The non-touch experience has the following characteristics during a content-sharing session:
▪ The Toolbar, content tray, and panel bar are unavailable.
▪ Content is displayed in full-screen mode and according to the aspect ratio of the connected device.
▪ Users end sessions by disconnecting their devices.
Procedure
1. Connect the HDMI cable from the system to the monitor.
2. Connect the LAN cable to the system for network connectivity or to power it with PoE+.
3. Optional: Connect a power adapter to the system.
Polycom, Inc. 11