-08-
You can install the Mercury SRS in any position, provided that the case is
at right-angles (90°) to the fuselage centreline.
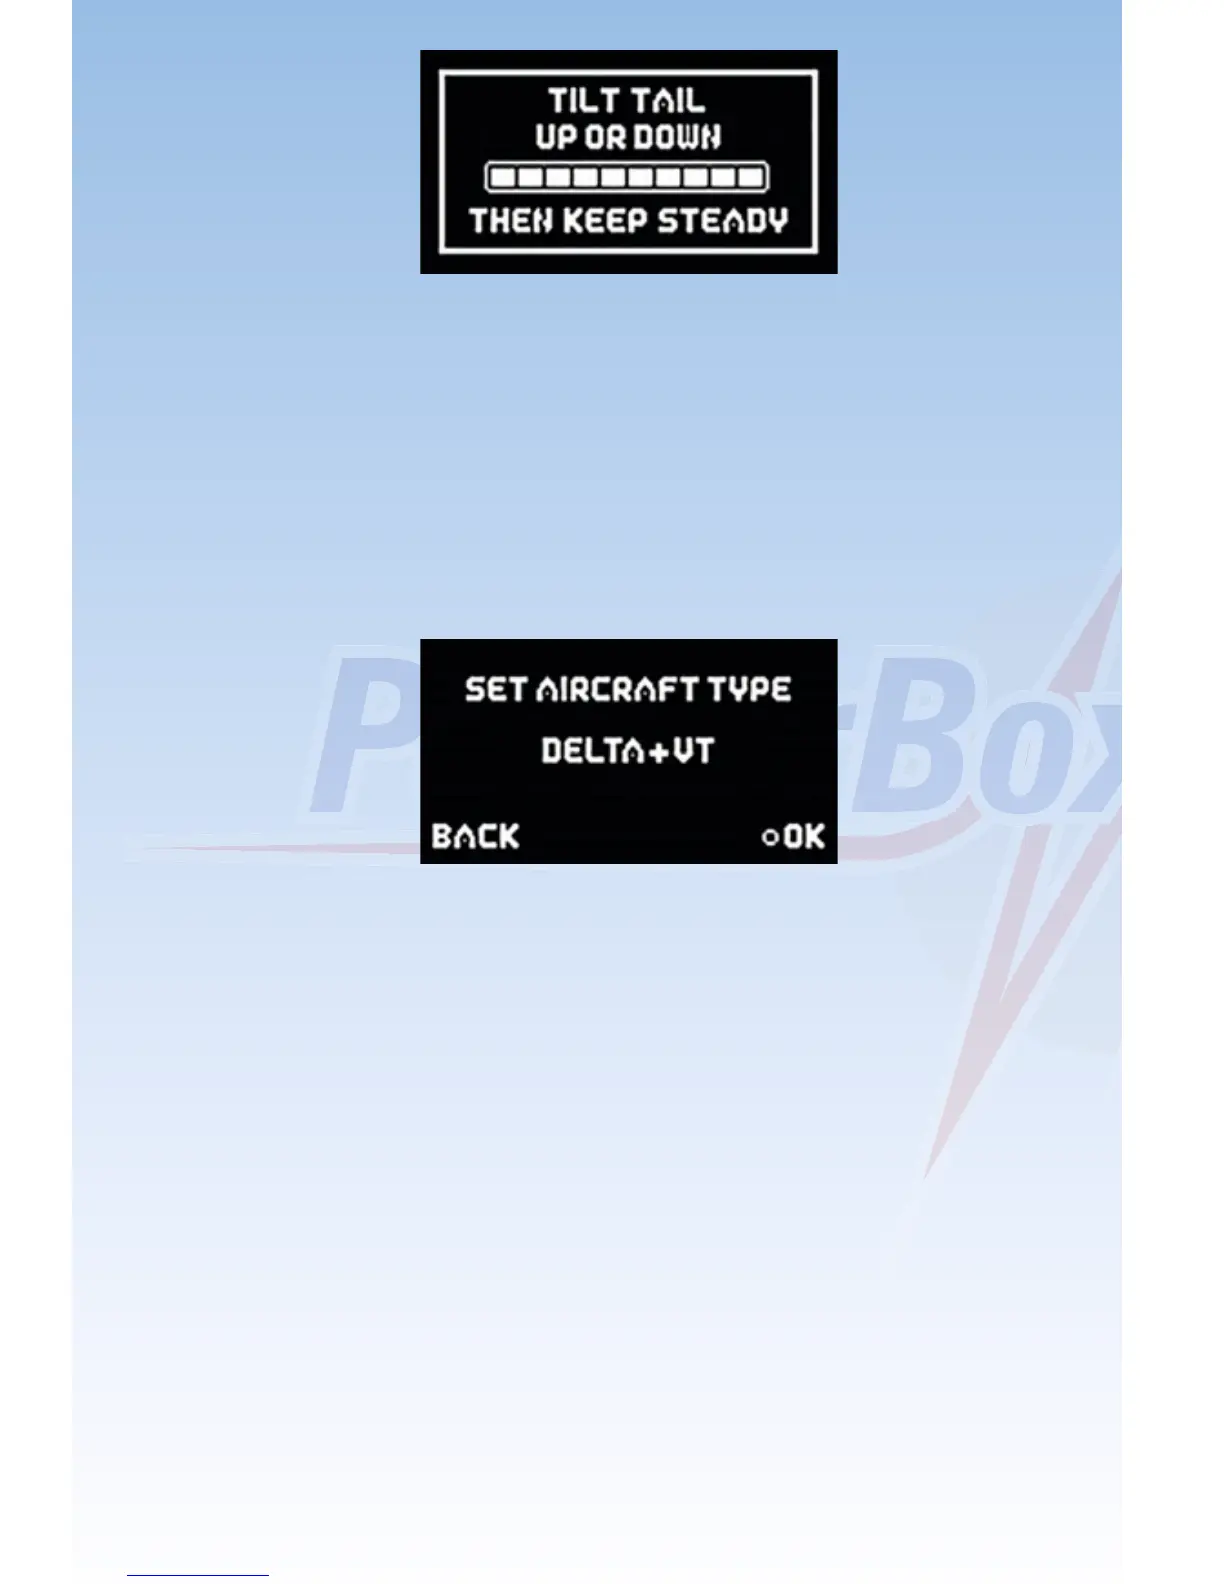
4.2. Model type
The next step is to select the model type which is the closest match to your
aircraft. The main effect of your choice at this point is the assignment of the
outputs. Take a look at the table below and decide which output assign-
ment suits your model best:
Note: it is also possible to change the output assignment at any time.
Explanation of terms:
DS 1 - 5: Door sequencer
VT: Vector thrust: thrust vector control
The two model types Normal+VT and Delta+VT include a special feature
as standard: in both cases the VT-RUDDER and VT-ELEVATOR outputs
are switched off in flight modes 1 and 2. This allows you to control a jet with
thrust vector control using only three channels, without having to set up
mixers at the transmitter. You only need to set up aileron, elevator and
rudder at the transmitter; thrust vector control is then switched on in flight
mode 3.
All outputs which are not assigned by the Assistant are marked “-”,
indicating that they are free for use with other functions.
 Loading...