14
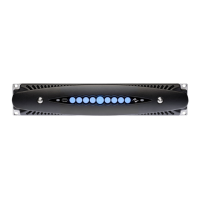
X4 | SERVICE MANUAL
(Fig. 8)
Proceed by unplugging the at cables by gently pulling
on the connector’s sides.
Unplug the Output Connectors.
Unscrew the Torx Head Screw holding the magnet in
place.
By means on a M7 socketed screwdriver, remove the last
nut holding the module in place.
Push the module as indicated on (Fig. 8), and carefully lift
it, removing it from its original position.
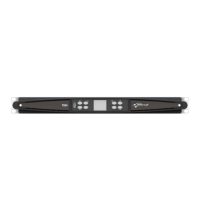
7.4 Removing the Audio Modules
(Fig. 9)
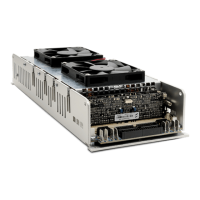
7.5 Replacing the Fans
• Remove the EMI Filter
• Unplug the Fan’s Power Cable from its connector
• By means of a 2.5 Hex Screwdriver remove all 4 Screws
holding the Fan in place.
• Carefully extract the faulty Fan and replace with a new one.
• Unplug the Fan’s Power Cable from its connector
• By means of a 2.5 Hex Screwdriver remove all 4 Screws
holding the Fan in place.
• Carefully extract the faulty Fan and replace with a new one.
FAN PWS:
FAN AMPS:
IMPORTANT:
BOTH FANS MUST BE MOUNTED WITH THE LABEL
FACING OUTWARDS!!!
INDEX
NOTE!
If found any fans in the old type of Fan Brackets, please
order the KIT FANS X4 SERIES REPLACEMENT to
replace the x2 Fans & change the x2 Brackets to the type
on the right.