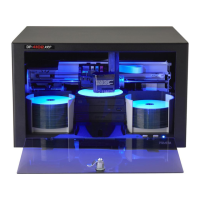
Creating Discs on a PC 35
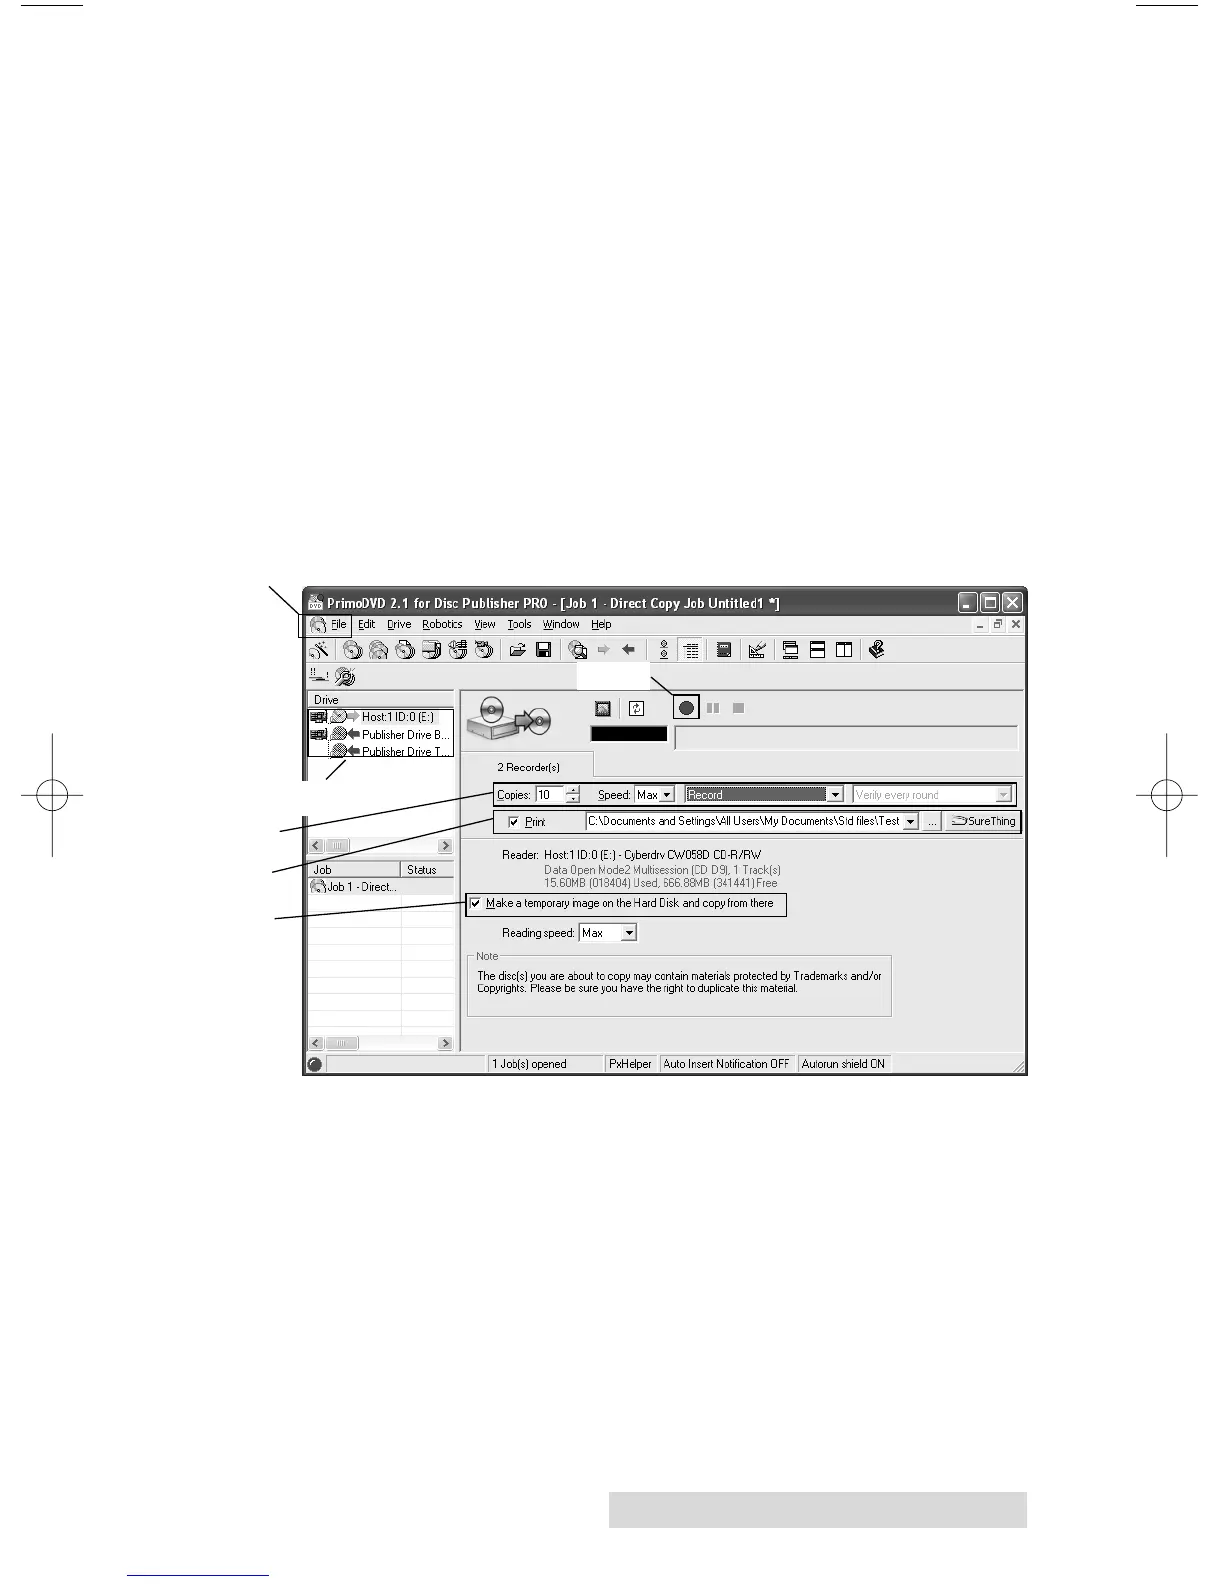
Step 5 - Check the print box if you want to print a label on the
disk. Type the full path and name of your image file into the
box, or click on the Browse button to open a standard
Windows Open dialog to locate the file. If you have not yet
created a label to print on the disc click on the SureThing
button to open SureThing and create a label. (Refer to Section
3B for Instructions on how to create a label) Once you close
SureThing. The label file will automatically be associated with
your job.
Step 6 - Check the box next to "Make a temporary image on
hard drive and copy from there". This is recommended for all
hardware configurations. Failure to check this box may cause a
high number of rejected discs.
Step 7 - Click on the red Record button
Note: It is possible to use the drive in the duplicator for the Recorder drive
and the reader/source drive. This is recommended to reduce recording
variables which are introduced by using different drive models for
reading and recording.
Step 4
Step 5
Step 6
Step 1
Steps 2 & 3
Step 7