All Info Copyright © Pro Spot International Inc.
4 - Operation
Page 14
i5
4.2.3 i5 Touch Screen Control
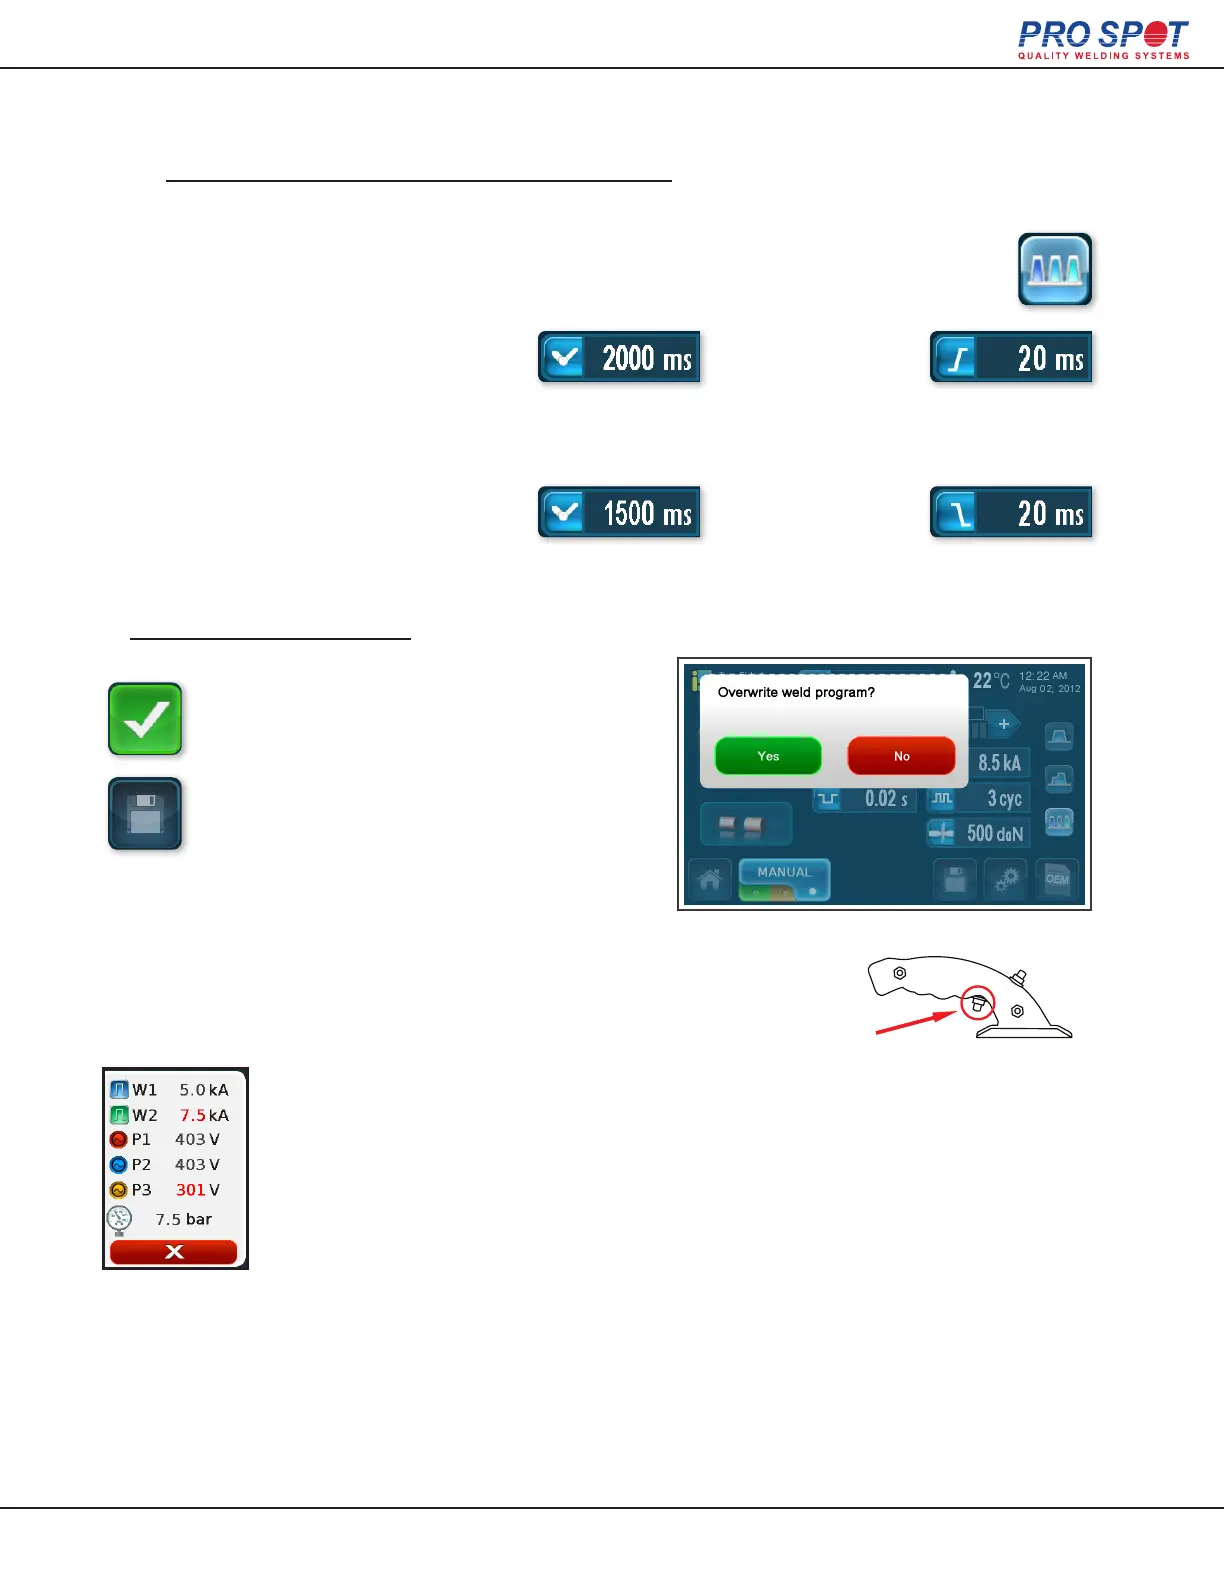
Squeeze
Time
Hold
Time
Rise
Time
Fall
Time
If you selected “Pulse Weld” on the main screen you are
presented with these options.
4. Save New Weld Program
Press the green check mark soft key to
accept the changes and return to the Main
Manual Screen. Finally press the disk
icon to save the newly created weld pro-
gram. An overwrite message will appear,
prompting you to select “yes” to continue
saving or “no” to cancel.
3. Choose Your Advanced Settings (continued)
Amount of time it takes for the
current to reach its peak during
each pulse.
Amount of time it takes for the
current to go from its peak to 0
during each pulse.
Amount of time between pressure
and the initial pulse being applied.
Amount of time pressure is applied
after the weld is complete.
Welding / On-Screen Feedback:
Place the weld gun in the desired position and press the trigger to
weld.
After a weld is made the weld status screen will show. If the weld was performed
correctly then you will be returned to the Auto Weld screen automatically. If there
was a problem with the weld, the status screen will display what went wrong.
Press the red X button to continue.
30