- 10 -
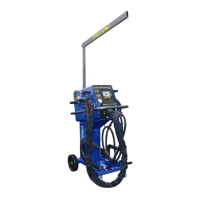
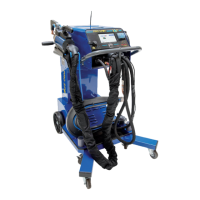
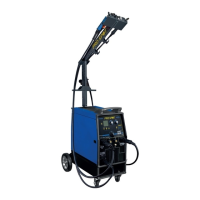
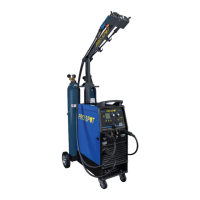
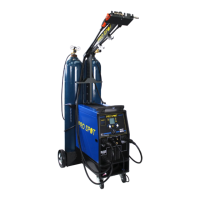
Pro Spot PR-8
GB/US/2000-08
PRO SPOT
D2. Mode selection (continued)
Operating Mode 6: Automatic and special programs
At Power On of the machine it is possibly to see the
default calibration value for a short time in the display.
If the calibrationvalue set from the factory is to be
changed, se instructions below.
NOTE! Do the calibration in Mode 6 with 1 diode ON. It’s
always better to calibrate at low power.
Select the required program by pressing the + or - button
until the correct program is shown on the display .
Calibration for AC1 and AC2
Important! Concerns the two programs, whose text on
the display start with AC1 and AC2.
- Press the + and – pushbuttons at the same time.
- The display shows CALIBRATION.
- Push the trigger on the tong.
- Read the message on the display. If there is no error
message (such as ‘CLEAN ELECTRODES’), and if a
value of 195 - 205 µOhm is shown, conditions are
correct.
- Finish calibration by pressing V
or if the value needs to be changed press + or - to get
the correct value. Store the new value by pressing S.
The text MEM is displayed and finish calibration by
pressing V.
Now it is possible to use AC1 (metal thickness 0.5 - 1.9
mm) or AC2 (1.0 - 3.0 mm) and let the PR-8 compensate
for different metal thickness.
The display and the beep indicate the quality of each
weld (correct spot weld, defective spot weld, too high
power).
Signals during operation:
Acoustic signals allow the operator to concentrate on the
welding, telling him of the quality of the welds.
1.
Strident signal: correct weld.
2.
Muffled signal: defective weld (see E1, Welding
problems).
z Further information in all cases is shown on the display.
D. Operation
Why changing the calibration
Value?
Depending of how powerful the main
supply is there is sometimes a need
for a change of the calibration value.
If the machine is to powerful:
Increase the calibration value with 10
units and test.
If the machine is to weak: Reduce
the calibation value with 10 units and
test.
Only for AC1 and AC2