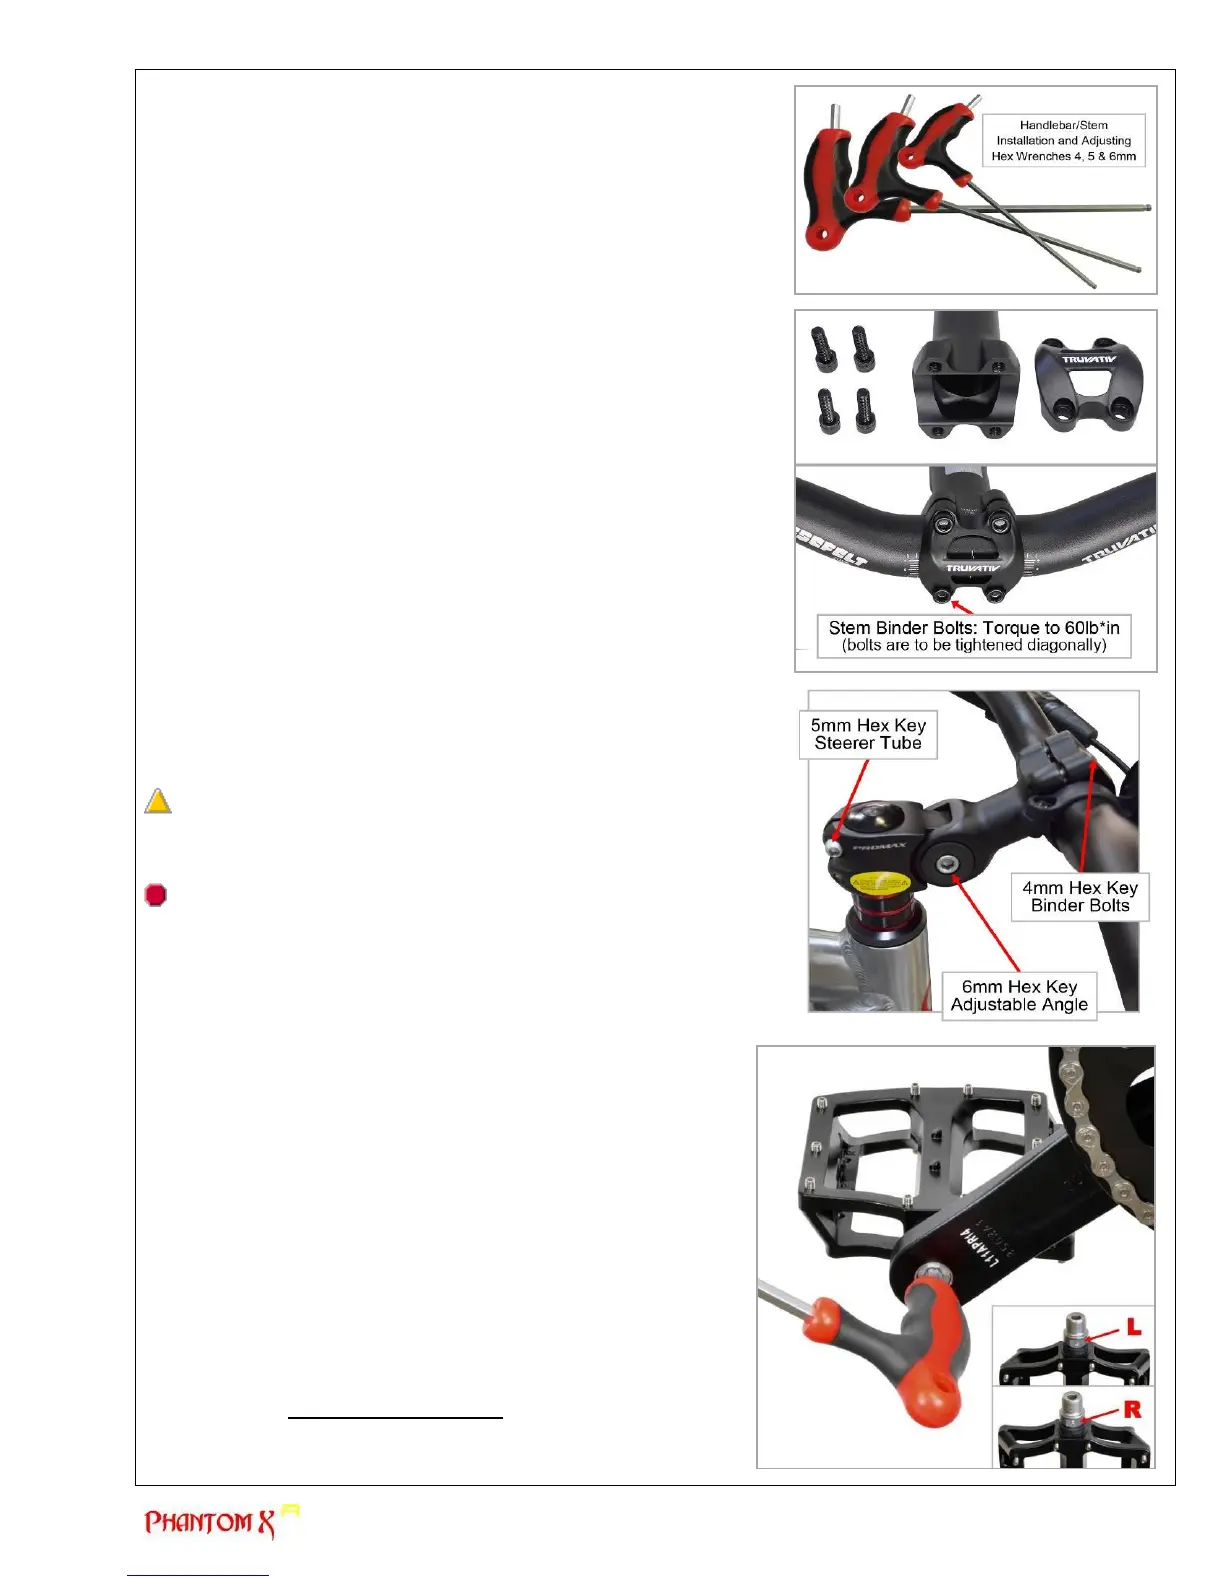
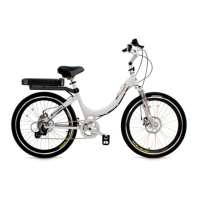
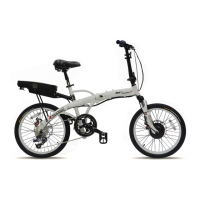
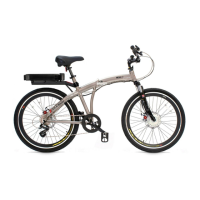
f) Installing and adjusting the handlebar/stem
The handlebar of the Phantom X R is shipped detached from the stem
and temporarily secured to the frame with shipping ties. To install the
handlebar and adjust the stem to a comfortable riding position, you will
need to use the 4mm, 5mm and 6mm Hex Wrenches included with your
bike. The 4mm is required to tighten the binder bolts, the 5mm will
tighten the steerer tube bolts and the 6mm will allow you to adjust the
angle of the stem.
Start by cutting the shipping ties to free the handlebar from the frame.
Then place the center of the handle into the stem’s concaved center.
Secure the handlebar clamp plate to the stem with the included 4mm
hex wrench or preferably a torque wrench. There are 4 stem binder
bolts which tighten the clamp plate to the stem. You will also want to
rotate the handlebar to a comfortable riding position prior to the final
tightening / torqueing of the stem binder bolts. The stem binder bolts
require torqueing of a minimum 60 lb*in. The brake levers, throttle and
shifter positions can be adjusted afterwards for proper control.
The stem’s angle can also be adjusted for rise. When adjusting the
angle, the stem will rotate closer to the rider allowing for a more
upright riding position. The angle adjustment bolt is torqued and
tightened at the factory prior to shipping. If changing the angle of the
stem, you must properly tighten this bolt afterwards. A loose angle
adjustment bolt can become very dangerous during a ride if the stem
drops from not being properly tightened. To adjust the angle of the
stem, locate the adjusting bolt on the right side of the stem. Use the
included 6mm hex key to loosen the adjustment bolt. Pivot the stem to
the desired riding position and tighten the angle adjustment bolt. A
torque wrench is suggested and the angle adjustment bolt should be
tightened to 180lb*in.
The last bolt allowing for an adjustment is the stem’s steerer tube bolt.
To loosen or tighten this bolt, the 5mm hex key will need to be used.
The steerer tube bolts grip and secures the stem around the fork’s
steerer tube. To align the stem to the front wheel, the steerer tube
bolts need to be loosened, the stem aligned and the bolts tightened.
The steerer tube bolts require an 80lb*in torque.
WARNING: The handlebar controls will be rotated upwards
changing the angle of the stem. Loosen the 4 stem binder bolts and
rotate the handlebar downwards to a preferred riding position. Tighten
stem binder bolts to 60lbs*in.
CAUTION: The stem steerer, top cap and angle adjustment bolt
must be checked for tightness to ensure the handlebar stem will not
loosen accidentally and either the handlebar does not turn the wheel or
the stem angle falls upon riding. Failure to tighten can cause a rider to
lose balance and may result in a fall.
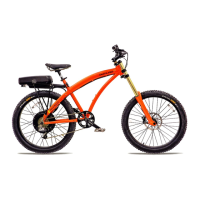
g) Installing the pedals
Installation and removal of pedals is a fairly simple process with
the included 6mm Hex Key wrench. The pedal axles are made of
cromoly steel and the cranks arms are made of aluminum.
Therefore, there is a possibility that the hard pedal threads may
strip the soft aluminum threads. The important thing to remember
is to line up the treads properly and never force the parts to
move. The right drivetrain side pedal has regular threading. It
turns clockwise as you tighten it and turns counter-clockwise as it
is loosened. The left side pedal is the opposite. It turns counter-
clockwise as you tighten it and turns clockwise as it is loosened.
The Pedal spindles are marked with “R” for “Right” and “L” for
“Left”. The right pedal axle should be installed on the bicycle’s
right crank arm. Initially, gently install it with your hands turning
the pedal axle toward the front of the bike. Once it is lined up and
turned as far as you can turn it by hand on the crank arm, use the
ProdecoTech hex tool / wrench to fully tighten the pedal. The hole
for this tool will be in the end of the pedal axle.
Repeat the same process for the left axel. The left axel pedal also
requires gentle turning toward the front of the bike. If the pedal
doesn’t turn, don’t force it. Verify that you are installing the right
pedal on the right side of the bike or the left pedal on the left side
of the bike.