11
CROMOBEAM250
(2)
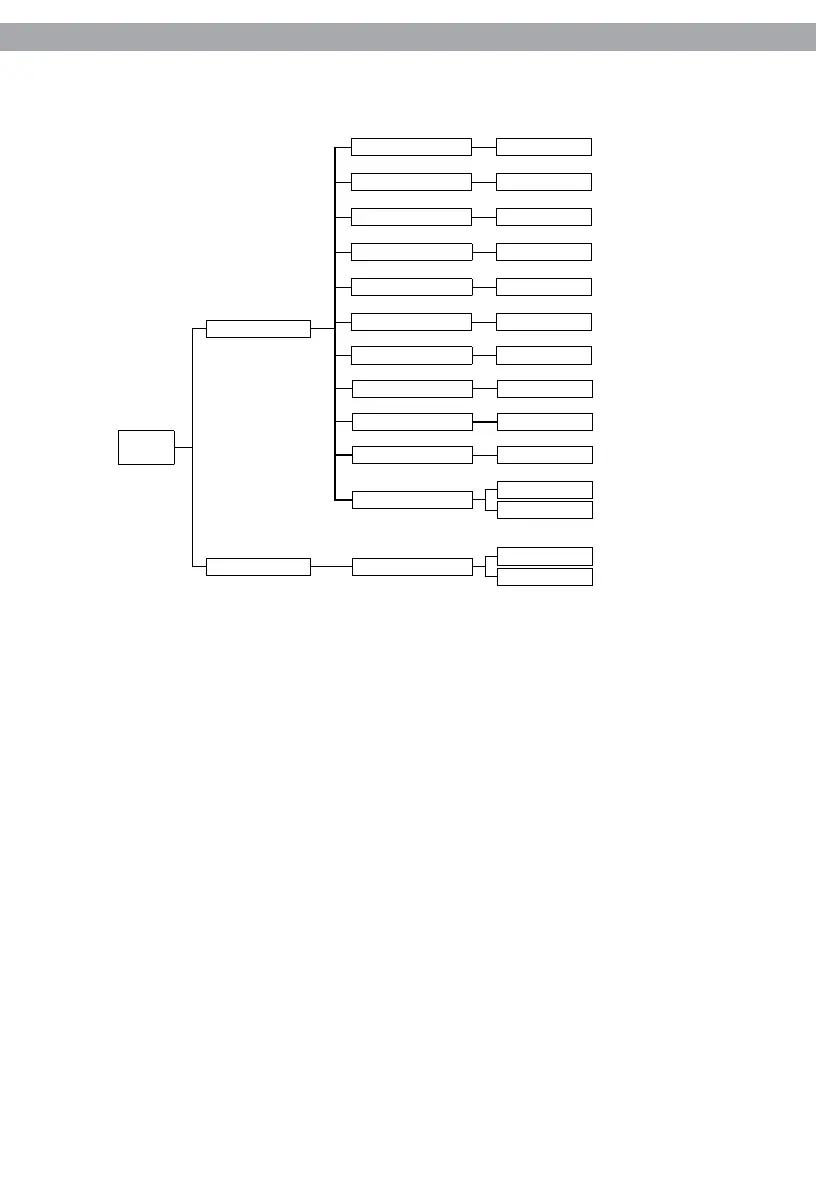
MENU
Step (001-255)
Tilt
(000-255)
Pan (000-255)
Speed (000-255)
Color (000-255)
Gobo1 (000-255)
Gobo1 Rot (000-255)
Dimmer (000-255)
Strobe (000-255)
Time (000-255)
Use
No
Yes
Edit
Default
No
Yes
Default
3.4 OPERATION IN STAND-ALONE MODE
If no DMX control signal is present at the jack DMX INPUT (3), and the unit independently runs through its
show programme.
• Press the MENU button and select, via the directional buttons, the [Intro] menu choice, then press the
ENTER button to conrm the choice.
• Press the UP and DOWN buttons to select [Run] menu voice and conrm the choice by pressing the
ENTER button.
• Select a stand-alone operation mode: [Auto1], [Auto2], [Sound1], [Sound2], [Custom] or [Test], and press ENTER
button.
NOTE. When the xture is on Stand-Alone mode, it will be automatic set as master xture.
3.5 MASTER/SLAVE MODE
This mode will allow you to link up the units together without a controller. Choose a unit to function as the
Master. The unit must be the rst unit in line; other units will work as slave with the same eect.
• Press the MENU button and select, via the directional buttons, the [Intro] menu choice, then press the
ENTER button to conrm the choice.
• Press the UP and DOWN buttons to select [Run] menu voice and conrm the choice by pressing the
ENTER button.
• Select [Slave] to congure the slave xtures.
• Select the desired operation mode (see section 3.4).
• Use standard DMX cables to daisy chain your units together via the DMX connector on the rear of the
units. For longer cable runs we suggest a terminator at the last xture (see page 13).