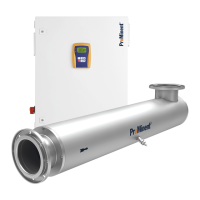
Page 25
➤ Check to ensure that the O-ring on the retaining fixture for the lamp protective tube is fitted in
the groove provided for this purpose – the sealing surfaces of the O-ring must be completely
smooth and clean!
ATTENTION!
When fitting the UV lamps, turn them such that the two connected cables face away from
the UV sensor!
Otherwise a lower radiation output will be measured!
IMPORTANT!
With the system shut down, plug the connector together with the lamp cover onto the lamp
before inserting the lamp in the protective tube.
➤ Insert the lamp in the protective tube and leave protruding by approx. 100 mm
➤ Plug the connector together with lamp cover and O-ring to the lamp
➤ Completely insert the lamp in the protective tube.
➤ Place the lamp cover on the retaining fixture for the protective tube and fit the mounting
screws using the Allen key provided and firmly tighten.
➤ Connect the circular plug with the lamp connection cable to the socket on the lamp cover and
secure with the knurled nut.
5.5 Installing and Connecting UV-C Sensor
WARNING!
• The UV system must only be placed into operation with the UV-C sensor installed in
position.
Harmful UV radiation can escape from the system if the lamps are placed into operation
with the UV-C sensor removed.
➤ Carefully fit the O-ring over the thread onto the undercut of the UV-C sensor
➤ Completely insert the UV-C sensor in the sleeve and secure; only very little force is necessary
for this purpose
➤ Connect the sensor connection cable to the sensor plug and secure with the knurled screw.
Assembly and Installation