WARNING!
The following applies in areas at risk from explosion:
– Note the details of the type examination certificate
PTB 00 ATEX 2048 X for the Namur sensor
NJ1.5-8GM-N as well.
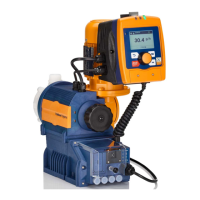
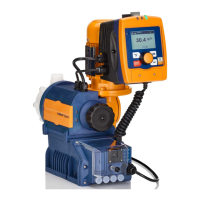
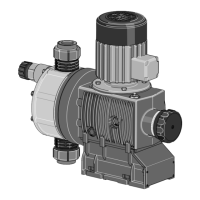
1. Install the cable which originates from the pacing relay - see the
figure in the chapter entitled "Overview of equipment and control
elements": Cable A, left.
The cable polarity is unimportant.
2. Install the power supply cable to the pacing relay PCB - see the
figure in the chapter entitled "Overview of equipment and control
elements": Cable B, right.
CAUTION!
Warning of overload
If the current through the relay becomes too high,
it can be destroyed by heating.
– Fit a circuit breaker.
Pacing relay terminal output data
Data Value Unit
Maximum voltage 24 VDC
Maximum current 100 mA
Closing duration, approx. 100 ms
Service life *
50 x 10
6
(10 V,
10 mA)
Play
* at rated load
The contacts are potential-free.
The pacing relay is N/O as standard.
Tab. 2: Supply voltage for pacing relay PCB
Available supply vol‐
tages
Mains frequency Power consumption
230 V AC (180-254 V) 50 / 60 Hz 10 mA (at 230 V, 50 Hz)
115 V AC (90-134 V) 50 / 60 Hz 15 mA (at 115 V, 60 Hz)
24 V DC (20-28 V) - 10 mA (at 24 V DC)
Install the heating cartridge in line with its documentation. It must
only be connected to the power unit supplied!
Pacing relay (identity code specification
"Stroke sensor": 2)
Heating cartridge
Installation, electrical
37