Page 19
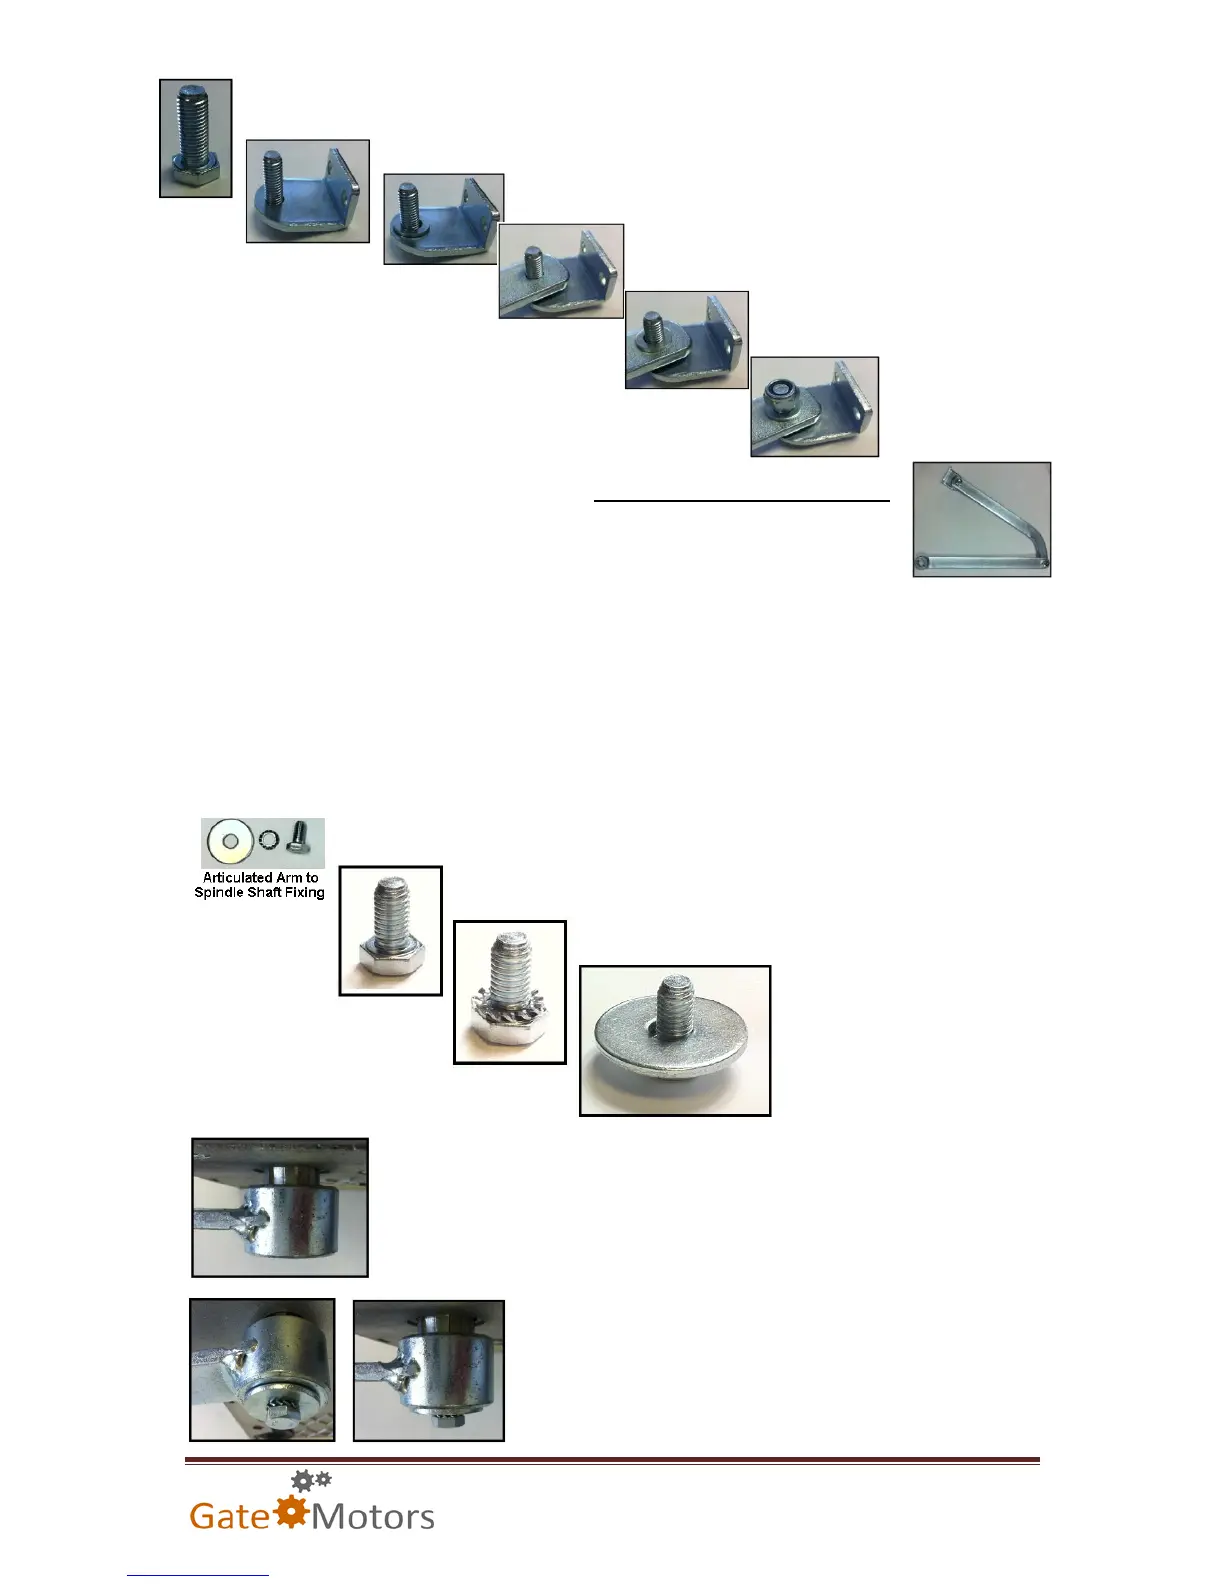
Stand M12 bolt on its head.
Place S3 Gate bracket over the threaded bolt stem.
Place M12 washer over threaded bolt stem.
Place eye of curved arm over the M12
threaded bolt stem.
Place second M12 washer over
threaded bolt stem
Secure in
place with
M12 lock nut.
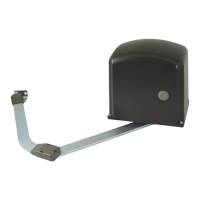
The articulated arm is fully assembled
Repeat assembly process for second arm, making sure that the lock nuts are fastened in place on every join.
The lock nuts have a nylon coating on the inside of the nut thread enabling the bolt to grip firmly. Due to the
nature of the automation, torque forces would shake normal nuts loose. Lock nut, sometimes referred to as
“Nylock”, stops the nut from shaking loose from the bolt.
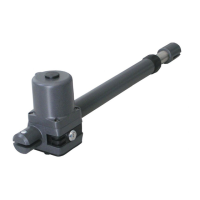
Installing the Articulated Arm to the Motor Drive Shaft
With both articulated arms assembled, we now look to installing these to the motors and securing in place.
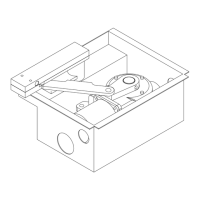
Using the three parts fixing, assemble as follows:
Stand M8 Bolt on its head.
Place M8 Shake proof washer over the thread of the bolt.
Place 30mm washer over the
thread of the bolt so its rests
comfortably on the shake
proof washer.
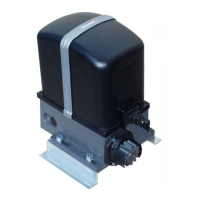
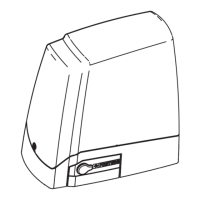
Place the articulated arm connection end over the motor drive shaft, paying careful
attention to aligning with the grooves. Ensure the connection is flush with the drive
shaft end.
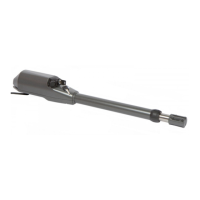
lnsert the three part fixing assembly and screw tightly into place
ensuring the shake proof washer grips the bolt head and washer.