Out of the Box
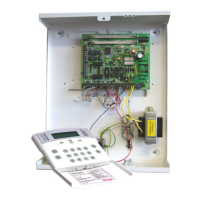
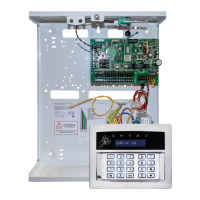
Unscrew and remove the cover of the EURO 46 V10 (Figure
1). The EURO 46 V10 printed circuit board is located to the
top right hand side. (Figure 2)
Install the supplied stand-offs if needed before mounting the
metal case to the wall (Figure 3).
Connect any modems if required and any other devices
(input expanders, output expanders etc.) before powering up
the system.
Screw the back metal plate to the wall.
Wire the telephone line if the DIGI-1200 modem (PSTN) is
installed or the LAN cable if the DIGI-LAN is installed.
Install the SIM card, connect the antenna and locate outside
of the metal casing if the GPRS or Wi-Fi modem is used.
EURO 46 V10: The tamper mechanism comes already fitted.
Figure 1
Figure 2
Figure 3
Secure all the wires and close the enclosure making sure the
tamper is operational.
Turn on the power to the EURO 46 V10.
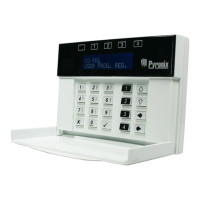
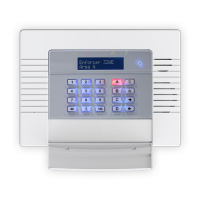
On power up, the panel will typically show the below screens.
485 COMMS FAIL
>>PLEASE WAIT<< EURO 46 V10
Time 10:09 c
 Loading...