8 QSC Audio Products, LLC
Figure 1.6. Solder one end
of the component
Figure 1.7. Solder other
end
Figure 1.5. Place
component
Figure 1.4. Apply new
solder
Figure 1.3. Soak up solder
Figure 1.2. Use two irons
Solder braid
• Soldering iron with a fine tip (25–60 W recommended)
• RoHS-compliant rosin-core solder
• Long-nose pliers
• Diagonal cutters
• Wire strippers
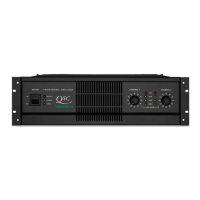
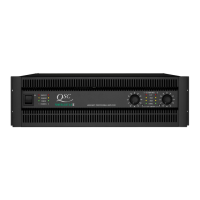
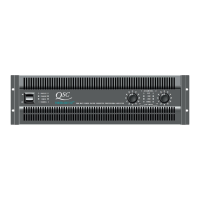
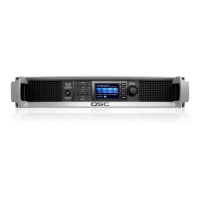
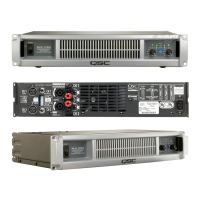
• PL380
Automated test equipment, such as an Audio Precision workstation, is very useful for servicing QSC amplifiers.
Contact QSC Technical Services to obtain applicable AP test files.
1.4 Working with surface-mount components
PowerLight 3 amplifiers, like many modern electronic products, use surface-mount technology (SMT) compo-
nents where appropriate in order to make high-density circuitry that is reliable and economical to manufac-
ture.
SMT components are used in the amplifiers’ small-signal and control circuits, so they do not handle significant
amounts of power; therefore, they are subject to very little stress and should seldom fail. Sometimes they do
fail, or they require replacement for a performance upgrade or modification. Thus, it is important to know how
to work with SMT components.
Specialized tools and equipment exist for soldering, unsoldering, and removing SMT components quickly and
efficiently, but they are often expensive. Most SMT repairs, though, can be handled reasonably well with common
tools and equipment, such as tweezers, solder braid, and fine-tip soldering irons.
Two-terminal components (resistors, capacitors, diodes, etc.)
Removal
1 Use two soldering irons, preferably about 25 to 40 watts, with fine tips.
2 With a soldering iron in each hand, hold one tip on the solder at one end of the component and the other
tip on the other end (Figure 1.2).
3 Once the solder melts on both ends, grip the component between the two tips and lift it from the circuit
board.
4 Use solder braid and a soldering iron to remove the solder from the two pads (Figure 1.3).
Insertion
1 With a soldering iron and RoHS-compliant solder, melt just enough solder onto one pad to create a small
mound (Figure 1.4).
2 Grasp the component in the middle with tweezers. Melt the small mound of solder with the iron and place
the component across the two pads (in the correct orientation, if the component is sensitive to direction)
and press it flat against the circuit board, with one end of the component immersed in the melted solder
(Figure 1.5).
3 Hold the component in place and take the soldering iron away. Let the solder harden to tack the compo-
nent in place.
4 Fully solder the other end of the component to its pad. Let the solder harden (Figure 1.6).
5 Fully solder the tacked end of the component to its pad (Figure 1.7).
Solder
Solder
Tweezers
Solder
1.3 The well-equipped service bench (continued)

 Loading...