page 4
Installation procedure
Step 1 The 8-port charger, power supply and metal hanger are
in the box (Q-P9CH). Wall mount the charger in the manager’s
office or other secure location close to a power socket using the
template provided in the box. There are two key slots on the rear
for mounting and one screw hole under the cap in the third battery
slot from the left on the bottom battery row to secure the charger
to the wall. Plug in the power supply lead to the charger feeding
the cable through the securing gates. Attach the hanging bar
before mounting to the wall.
Step 2 Plug the power supply into a mains socket. The power LED
bottom right will illuminate RED. Insert each battery into a slot. The
individual LEDs will be solid red when charging and turn solid green
when fully charged. On occasion new batteries may get warm
during charging. If this happens, the LED will go out and charging
will stop to protect the battery until it cools down, this is normal.
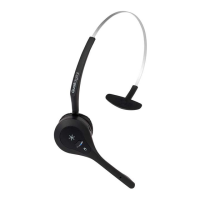
Step 3 Remove the microphone (Q-P9MIC) and speaker (Q-P9SPK) from their boxes. The microphone
is positioned against the top grill of the order point. Use the silver pre-drilled mounting bracket to fix
securely where you can. There should be no gap between the face of the microphone and the grill,
and the grill should have as many holes as illustrated in Figure 3. If it doesn’t, consider drilling more
holes to maximise the effectiveness of microphone.
Step 4 Place the acoustic foam provided around the microphone to provide extra acoustic protection.
Step 5 Use the same procedure as in Step 3 above to mount the speaker against the lower grill.
Figure 2 - Pro9 charger
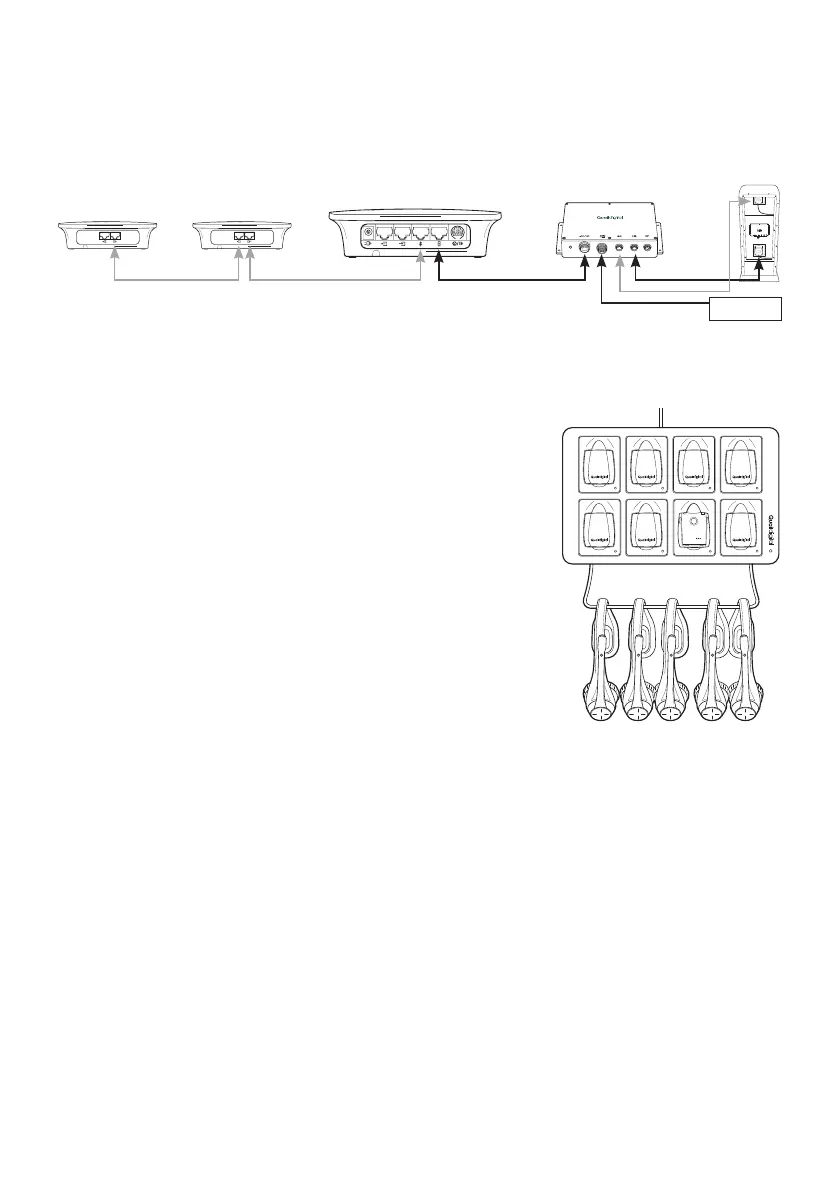
System overview
Figure 1 - Pro9 single lane with repeaters
PRO 9 DRIVE THRU MODULE
Q-P9DTM
Loop 1
Lane 1 base
Repeater 2 Repeater 1
Lane 1 DTM
Order
point 1
Mic
Spk