6
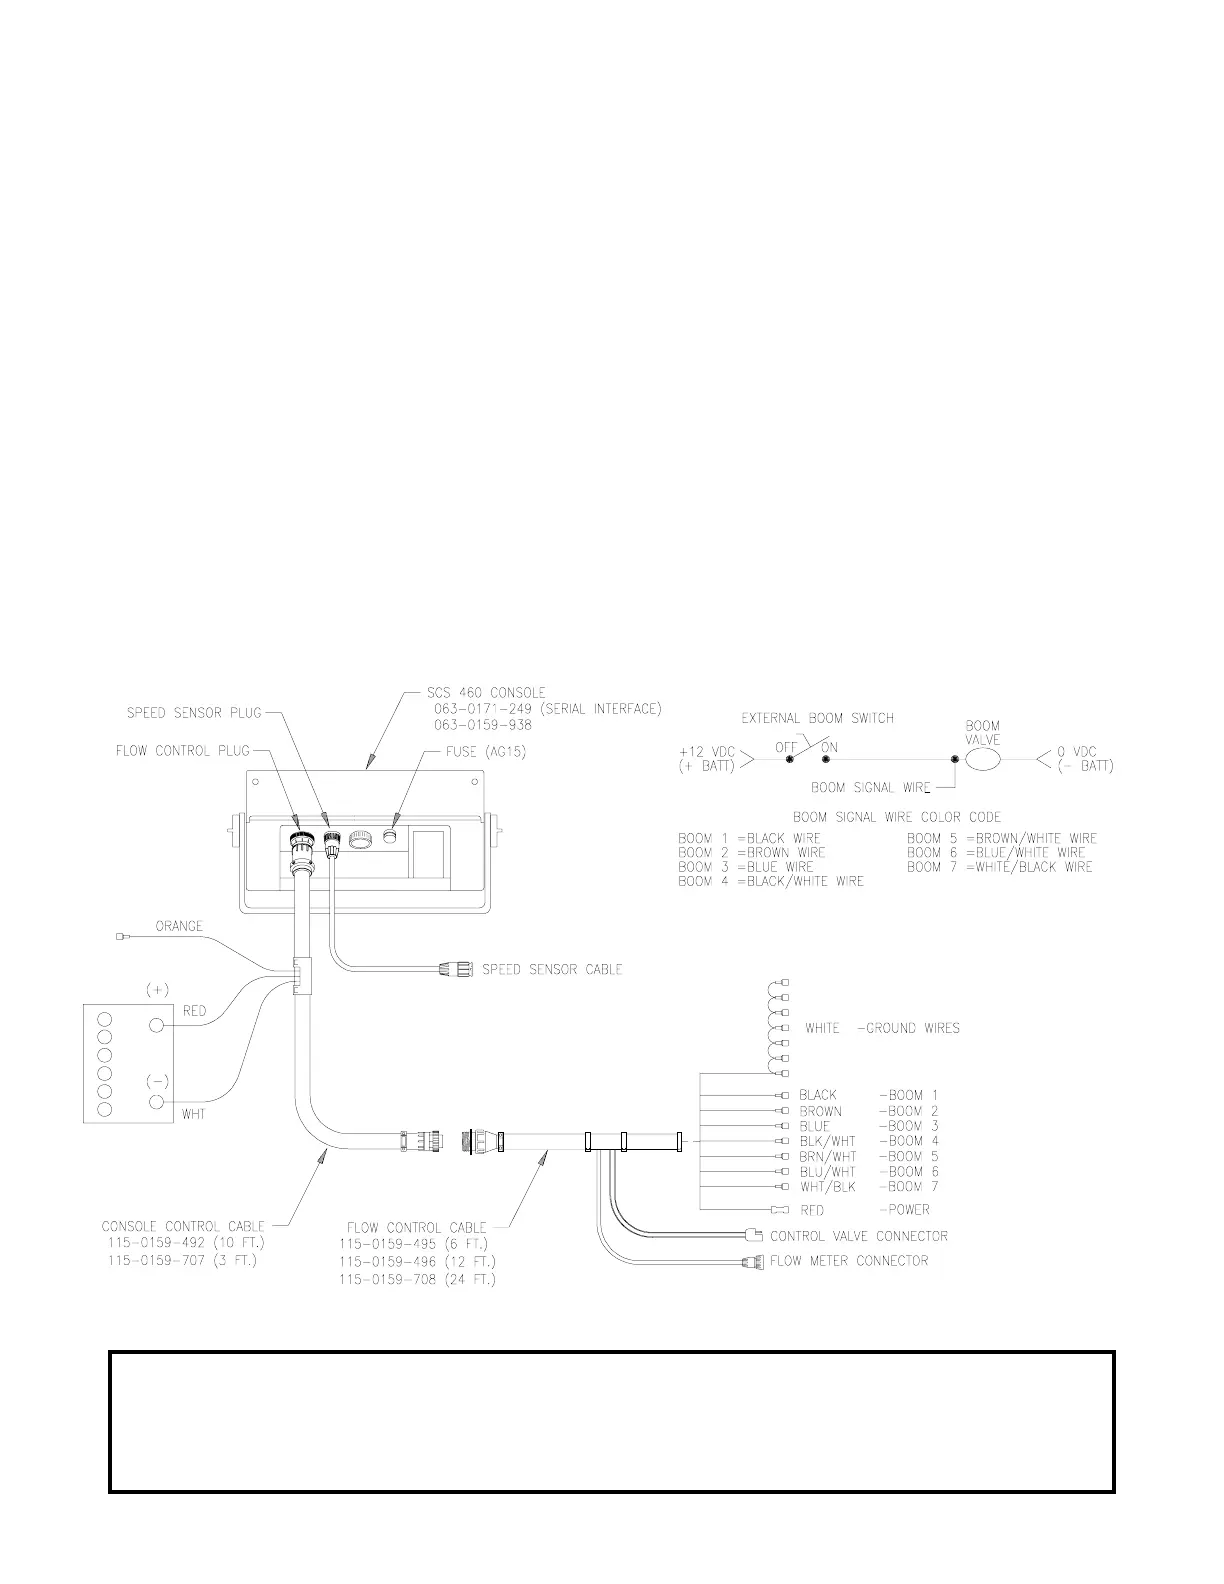
4. MOUNTING THE CONSOLE AND CABLING
1) Mount the Console to a secure support inside the cab of the vehicle.
2) Connect the Console Control Cable to the plug in the back of the Console.
(Reference Figure 5). Route the Console Control Cable out of the vehicle cab and
terminate. (Flow Meter extension cables are available from your Dealer).
3) Turn POWER ON/OFF switch OFF and route the Red and White battery wires to a 12-
volt battery. Attach the White battery wire to the NEGATIVE (-) terminal and the
Red battery wire directly to the POSITIVE (+) battery terminal. (See Figure 6
on page 8). (DO NOT CONNECT RED AND WHITE WIRES TO THE STARTER). Secure the battery
wires with plastic cable ties. DO NOT tie the battery wires close to the existing
battery leads or any other electrical wiring.
4) Connect the Speed Sensor to the plug in the back of the Console.
5) Secure and tie the Speed Sensor Cable and the Console Control Cable with plastic
cable ties.
6) Initial installation of the system is now complete.
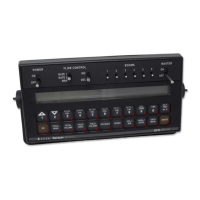
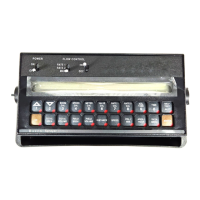
FIGURE 5FIGURE 5
FIGURE 5FIGURE 5
FIGURE 5
NOTE: The SCS 460 Control Console is designed to be used with external boom
switches. In order for the Console to know when and which boom signal
wires are provided. The Console recognizes a boom ON whenever +12 VDC
is applied to the boom signal wire. Connect the boom signal wire to the
switched side of the boom valve.

 Loading...