Wuhan Raycus Fiber Laser Technologies Co., Ltd
User Guide
RFL-C2000S-HP /RFL-C3000S-HP /RFL-C4000S-HP/RFL-C6000S-HP
19
4.3 Power connections
Before connecting AC power, verify that the laser model and the
supplied AC power supply are the same as those listed in Table 2 or Table
4.
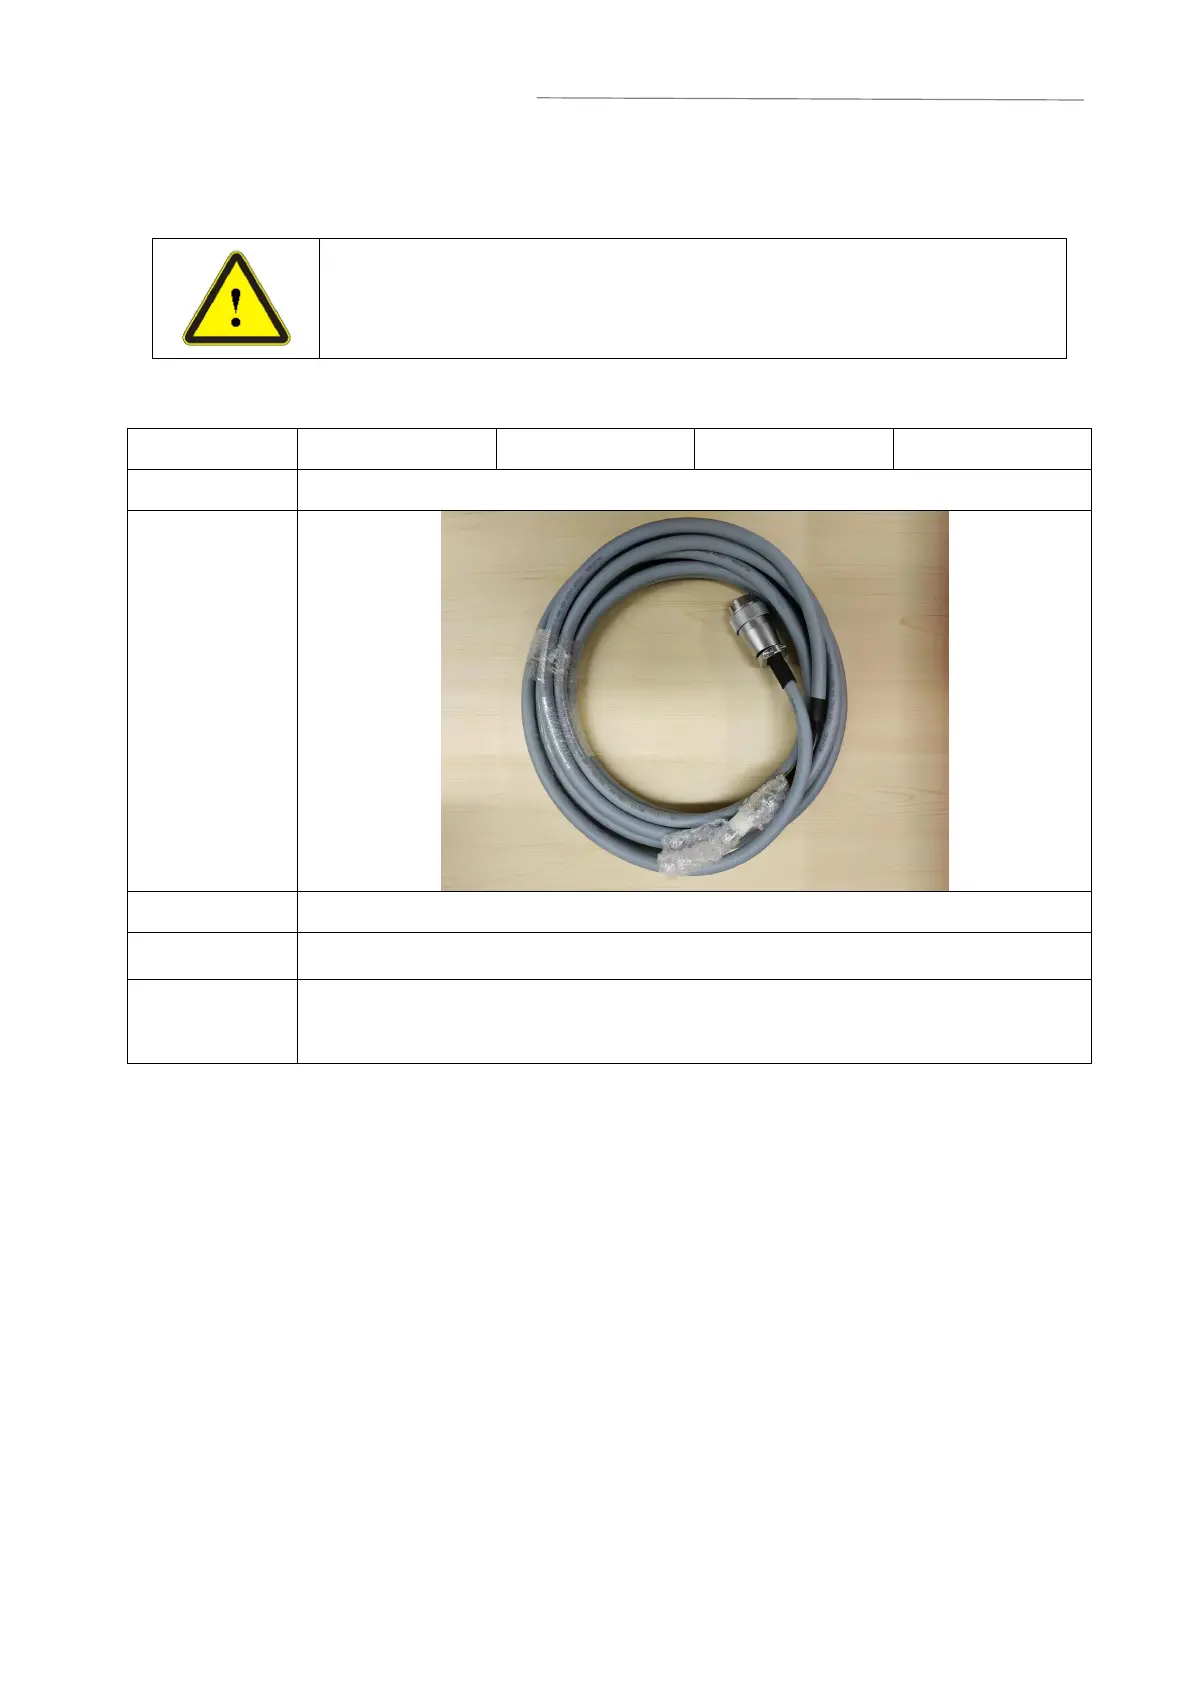
Table 6 Power connection requirements
Four strands of wire, diameter 4 mm2, Labelled L1, L2, L3 and PE
L1
,
L2
,
L3->Phase line PE->Protective earth wire
The plug at the end of the power cord is inserted into the socket marked "AC
INPUT" on the rear panel. Note that this plug has an anti-reversal function and
that it is locked with the latch after insertion.
4.4 Control interface definition and connection
4.4.1 Control interface definition
Control is carried out using the CTRL-INTERFACE interface (24-pin), which is defined as
follows
: