6.Marinegradesealant.
7
.Pozi-drivescrewdriver.
8.7mmwrenchorsmalladjustablewrench.
9.Drillbit3.7mm(
5
/
32
”)forfixingholes.
Rearaccessrequirements
Accesstotherearofthedisplayandmountingsurfaceisrequiredtosurface
andflushmountthedisplay.
Ensurethereissufficientaccessandspacebehindthemountingsurfaceto
attachandtightenthefixingsandalsotoconnectthecables.
Preparingthemountingsurface—surfacemounting
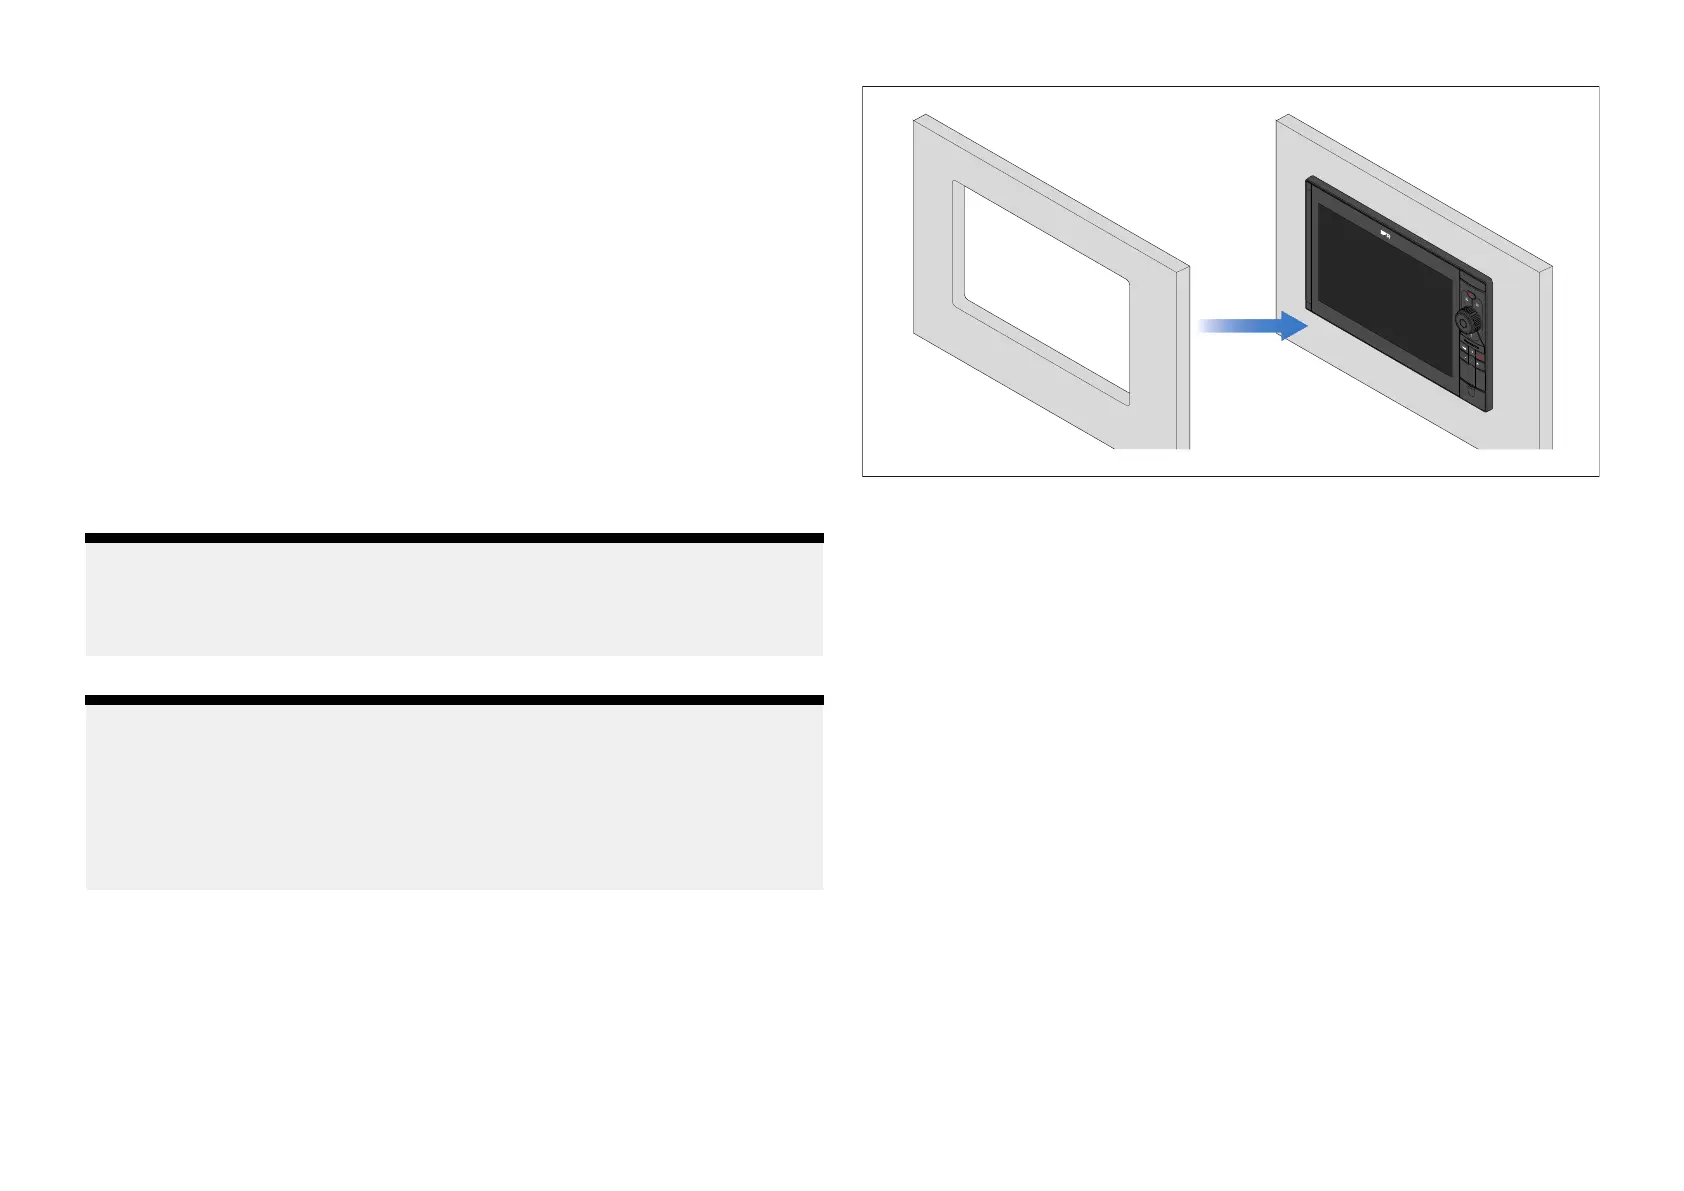
Surfacemountingrequiresonecut-outhole.Whenthedisplayissurface
mounted,theglass/bezelwillprotrudefromthemountingsurface.
Note:
Thefollowingprocedureisforpreparingthemountingsurfacefor
surfacemountinstallations.Forflushmountingdetails,referto:
p .44—Preparingthemountingsurface—flushmounting
Note:
Beforepreparingthemountingsurface ,ensurethat:
•yourselectedlocationmeetsthelocationrequirements.Fordetailsrefer
to:p.33—Locationrequirements
•youhaveidentifiedcableconnectionsandtheroutethatthecables
willtake.
1.Onthemountingsurface,marktheCut-outlineidentifiedonthesupplied
mountingtemplate
2.Onthemountingsurface,markthe4fixingscrewholelocationsidentified
onthesuppliedmountingtemplate.
3.Useadrillandanappropriatesizedrillbitorholecuttertocutoutthe
cornersoftheCut-outline.
Thecornerdiametersforthedisplaysare:
•33.00mm(1.30in)—Axiom®2Pro9.
•37.00mm(1.47in)—Axiom®2Pro12.
•38.00mm(1.5in)—Axiom®2Pro16.
4.Useajigsaworsimilarcuttingtooltocutouttheremainderofthecut-out
area.
5.Drillthe4fixingholesatthemarkedlocationusinga3.7mm(
5
/
32
”)drillbit.
6.Useahalfroundfileand/orsandpapertosmoothandroughedgesor
bursonthecut-outhole.
Installation
47
 Loading...