20 S1 Wheel and Tiller Pilots Commissioning Guide
i. turn off the po wer
ii. reverse the red and green wires connected to the
RUDDER
inputs on the
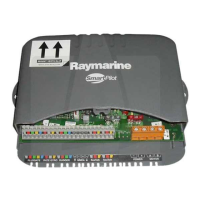
SmartPil ot computer
iii. switch on th e power and recheck
Check the autopilot steering sense
1. Manually center th e wheel, then press the
auto
key so the SmartPilot is in
Auto mode .Check that the displa y shows A UTO .
Be ready to press
standby
if the rud der moves hardover .
2. Press the
+10
key once.
3. Check that the rudder m oves to starboard a few degrees and then stops .
• if the rudd er drives hardover , immediately press
standby
to prevent fur
ther r udd er movement
4. If the rudder moves to po rt or the rudder drives hardover:
i. press
standby
ii. turn off the power
iii. reverse the motor wires con nected to the SmartPilot computer
iv . switch on th e power and recheck
Note:
If the rudder overs hoots and has to drive back or starts to hunt back and forth, you
will need to increase the rudder damp ing level manually (See page 45).
Step 4 Adjust key SmartPilot settings
T he next step in the commission ing proc ess requires the adjustm ent of some key
settings . T o achieve this you will need to enter one of the four calibration modes,
Dealer Calib ration. Fo r more information o n the various calibra tion modes and
their uses see
Chapter 3, Ad justing Settings
.
D9324-1
81282_1.book Page 20 Monday, October 2, 2006 1:58 PM

 Loading...
