1
Chapter 1: Getting started
1.1 Introduction
It is important that ST70+ products are installed correctly. For a safe and successful
installation, we recommend a certified installation.
Certified installation
Raymarine recommends certified installation by a Raymarine approved installer. A
certified installation qualifies for enhanced warranty benefits. Contact your
Raymarine dealer for further details and refer to the separate warranty card packed
with your product.
Overview
The key steps in the installation procedure are:
• Planning
• Plan your system.
• Decide where to locate the ST70+ products.
• Check parts.
• Installing
• Mount and connect the displays and keypads.
• Install the transducers.
• Fix equipment in place.
• Commission the displays before use.
Getting assistance
If you require assistance with installation, please refer to your dealer and/or visit the
Raymarine web site at www.raymarine.com.
1.2 Planning
General information
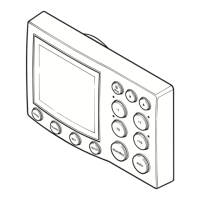
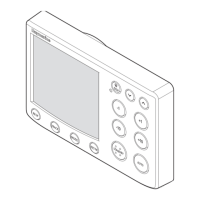
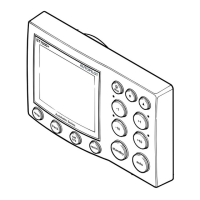
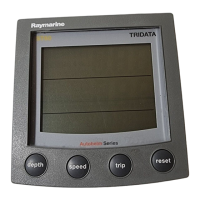
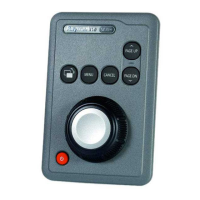
An ST70+ system comprises one or more color displays, controlled by one or more
keypads. These products are connected to the boat’s SeaTalk
ng
system from which
they receive autopilot and transducer data. Refer to the SeaTalk
ng
System Reference
Manual for information on SeaTalk
ng
connectivity.
In a SeaTalk
ng
system, displays and keypads are connected to the SeaTalk
ng
backbone using spur cables. Transducers are also connected, either via compatible
pods or directly, depending on transducer type.
87099_1.book Page 1 Thursday, March 12, 2009 10:18 AM
 Loading...