11
Chapter 2: Installation
Before starting to install your ST70+ products, read Chapter , Getting Started, so that:
• You have all the necessary equipment to hand.
• You know where you want to install the ST70+ products and where the appropri-
ate network connection points are.
2.1 Procedure
WARNING:
Before starting installation, ensure the boat is securely moored and
that electrical supplies are switched off.
With the boat at dockside, install each ST70+ display and keypad by carrying out the
procedures for:
• Cabling.
• Mounting & connecting
Cabling
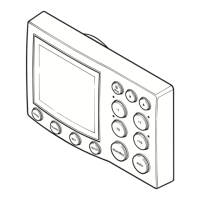
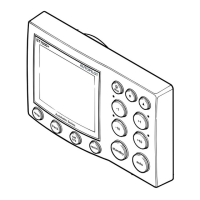
Figure 2-1: Typical cabling at rear of displays and keypads
Display power cables
Ensure you have a suitable power supply for the displays (as described in Chapter 1),
then run a power cable (supplied) from the intended location of each display, via a 5 A
fuse (or equivalent protective device) to the display power supply.
D11380-1
ST70+ displayST70+ display
ST70+ keypad
To display
power supply via
5A fuse
Display power cable
Display power cable
SeaTalk
ng
backbone
SeaTalk
ng
spur SeaTalk
ng
spur
SeaTalk
ng
spur
SeaTalk
ng
T piece SeaTalk
ng
T piece
87099_1.book Page 11 Thursday, March 12, 2009 10:18 AM

 Loading...