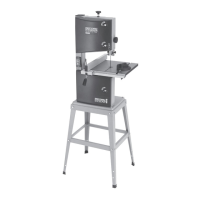
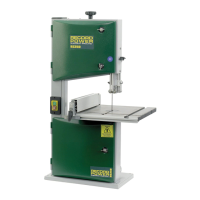
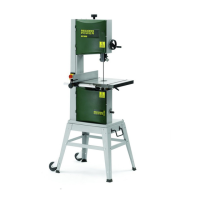
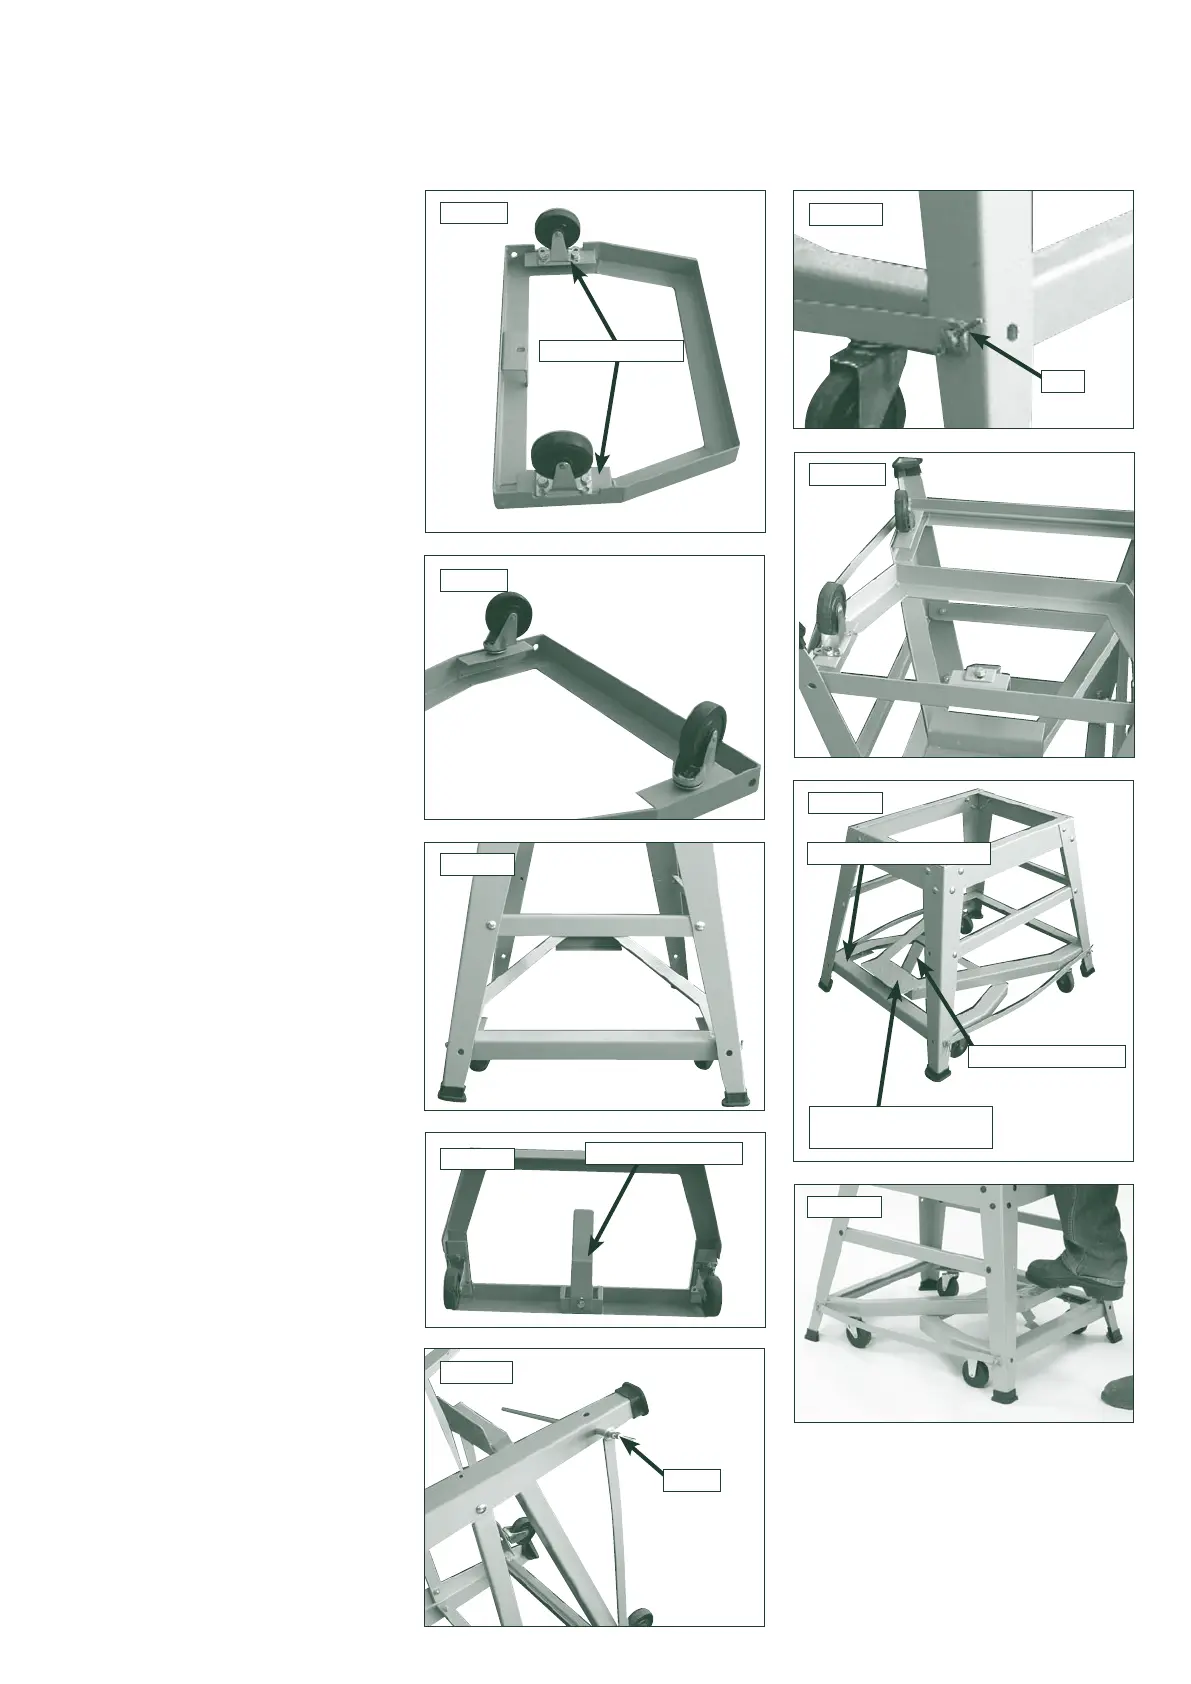
4. Stand & Wheel Kit Assembly - cont.
4.3 Wheel Kit Assembly
1. On the underside of the operating
frame, find the two raised areas on either
side. Mount the two back wheels and
secure in place using the nuts and bolts
provided Fig.4.8.
2. Take the two front wheels and mount
and secure them to the operating frame
pedal Fig.4.9.
3. Fix the operating frame pedal to the
stand ensuring that the front wheels are
towards the front of the stand Fig.4.10.
4. With the operating frame in hand,
locate the release pedal and fix it to the
operating frame Fig.4.11.
5. Return to the stand and partially fitted
wheel kit. Feed the axle through the
holes in the brace support bars and legs
at the back of the stand Fig.4.12.
6. Fit the axle and brace support bar
by feeding a washer onto the axle and
securing it by passing a pin (as supplied)
through the hole in the end of the axle
Fig.4.13.
Repeat steps 5 and 6 to fit the axle to
the front of the stand.
7. Place the operating frame over the
axle at the back of the stand ensuring
that it lies underneath the operating
frame pedal and that the release pedal
sticks up through the centre of the
operating frame pedal Fig.4.14 and
Fig.4.15. Secure the operating frame
to the stand using the nuts, bolts and
washers provided.
Wheel Kit Operation
To operate the wheel kit press down
on the operating frame pedal Fig.4.16.
This motion raises the bandsaw and
stand. The release pedal catches onto
the operating frame pedal allowing the
bandsaw to be wheeled freely around the
workshop.
To set the bandsaw in position, press
down on the release pedal. This motion
releases the catch and lowers the
bandsaw allowing the stand to make
contact with the floor.
Fig.4.8
Fig.4.9
Fig.4.10
Fig.4.12
Fig.4.14
Fig.4.11
RAISED AREAS
RELEASE PEDAL
Fig.4.13
PIN
Fig.4.15
RELEASE PEDAL
OPERATING FRAME
PEDAL
OPERATING FRAME
Fig.4.16
AXLE