58
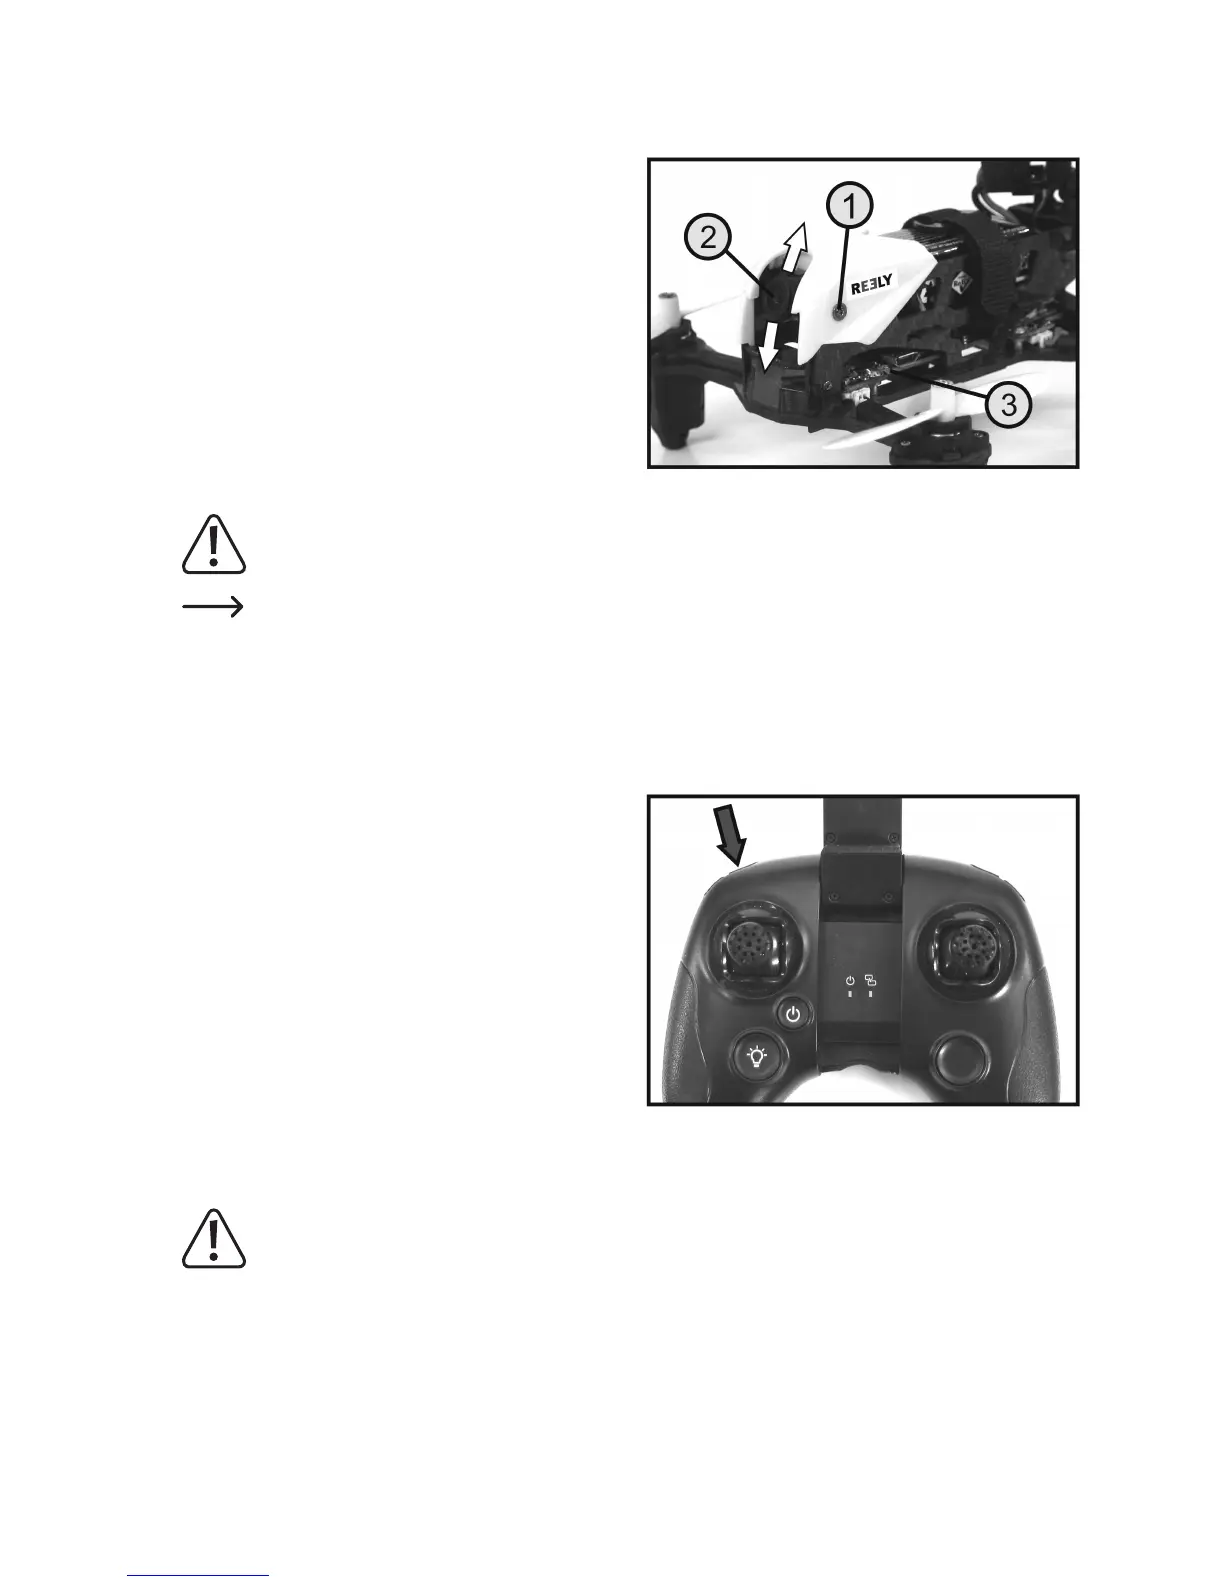
b) Setting the camera lens
To ensure optimal photographs and video recording, the
lens of the camera can be adjusted between the angles
of -8° and +45°.
To do this, loosen the retaining screws (1) by turning them
to the left or right using the screwdriver supplied and select
the desired camera angle by hand.
Then re-tighten the two retaining screws.
Important!
Makesurethatyoudonottouchthelens(2)withyourngerwhenadjustingit.
Fortherstvideoandphotorecordingsfromhoveright,alignthecamerasoitisfacingstraightforwards
orslightlydownwards.DuringFPVight,thecameramustbesetsoitispointingmoreupwards,sothat
thecameraislookingforwardswhenthequadrocopteristiltedalongwayforwardswhenyingforwards
quickly.
c) Recording videos
InsertaMicroSDcardwithsufcientfreememoryintothe
quadrocopter and start up the quadrocopter.
Torecordavideo,rstbrieypressthepushbuttonforthe
video function (see Fig. 1, no. 11).
The transmitter emits a short beep and the two red LEDs
ontherearofthequadrocopterashslowly.Toshowthat
recording has started recording, the red LED and the blue
LED (see Figure 19, item 3) on the video transmission
modulestarttoash.
To end the video recording, press the push button for the
video function again.
The transmitter emits a brief beep and the two red LEDs on
the rear of the quadrocopter switch on permanently again.
The red LED on the video transmission module turns off.
Attention, important!
The video recording must in every case be ended by the function button; otherwise the saved video data
willnotbeabletobereadfromthememorycard.Trytoythequadrocopterassteadilyaspossibleduring
video recording so that the video clip is not shaky.
Figure 19
Figure 20