LP CONVERSION G600C
1
09.21.20
920-326
THIS CONVERSION MUST BE DONE BY A QUALIFIED GAS FITTER
IF IN DOUBT DO NOT DO THIS CONVERSION !
1. Shut off the gas and electrical supply.
2. Remove the safety screen.
3. Remove the glass door.
4. Remove the logs, glass, and any other
media.
5. Remove the two log supports (4 screws)
and the grate assembly (2 screws).
Each Kit contains one LP Conversion Kit
Conversion Kit #776-977 contains:
Qty. Part # Description
1 904-977 BurnerOrice#55
1 904-529 5/32"AllenKey
1 918-590 Decal"Converted
toLPG"
1 908-528 Red"LP"label
1 910-037 LPInjector(Pilot
Orice)
1 920-326 InstructionSheet
Installation of LP
Conversion Kit:
10. Re-install pilot cap and pilot retainer clip.
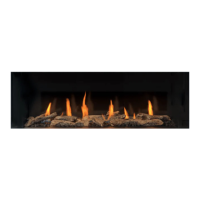
11. Remove burner orifice with a 3/8"
wrench. Use another wrench to hold the
elbow behind the orifice. Discard orifice.
12. Reinstall new LPG burner orifice
(stamped #55) and tighten.
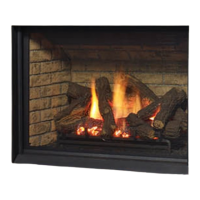
7. Remove the pilot retainer clip below the
pilot cap.
9. Unscrew the pilot orifice with the Allen
key. Replace it with the LPG pilot orifice
provided in the kit.
Pilot retainer clip
8. Pull off the pilot cap to expose the pilot
orifice.
13. Turn control knob to the "OFF" position.
Locate the "Hi/Lo" knob on the gas valve.
See diagram below.
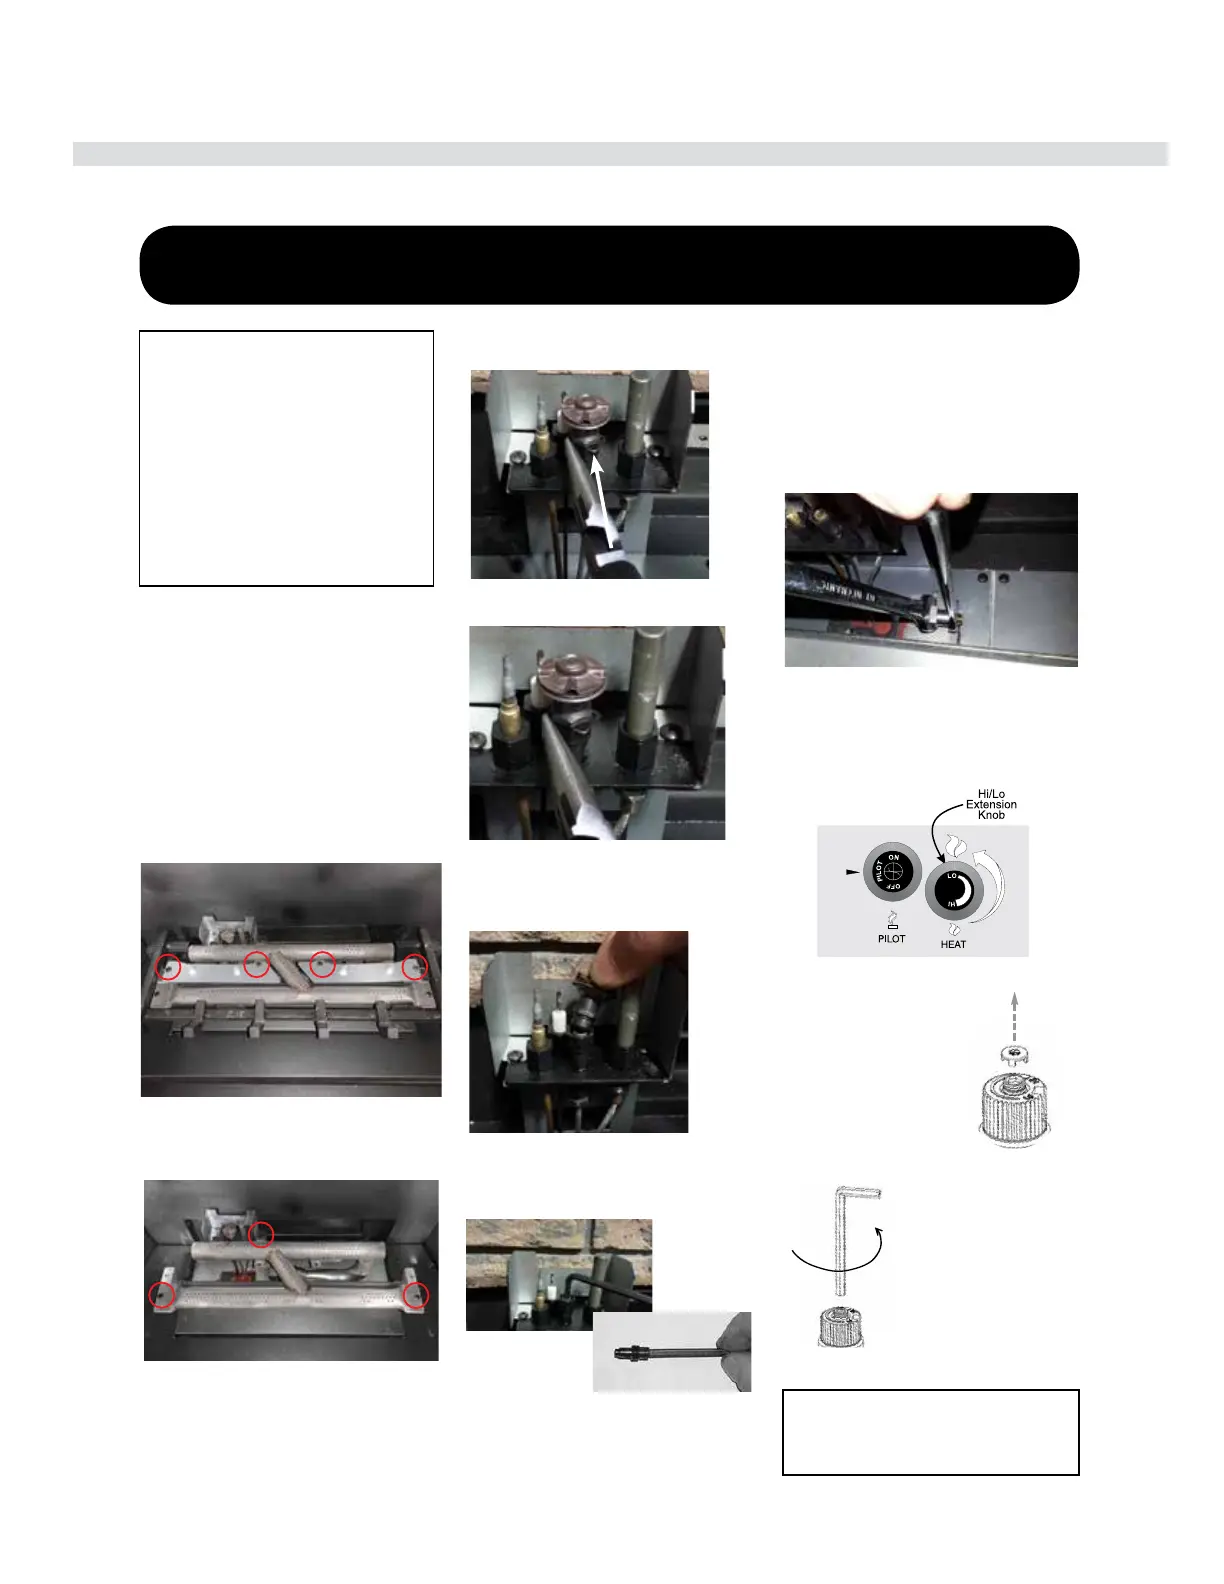
Diagram 2: Slide burner assembly to the
right, then remove.
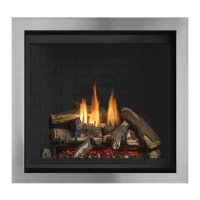
Diagram 1: Remove 6 screws.
6. Remove three screws, then remove the
burner assembly.
 Loading...