1. Connect a Linux PC to the board according to section 3.2.
2. Power up the board.
3. Open a serial terminal according to section 3.2.
4. Hit any key to stop the autoboot of the U-Boot
5. Type “dfu” in the serial terminal of the board and hit enter.
6. On a Linux terminal start the command
sudo dfu-util -a “sf_cm3” -D FIRMWARE.bin
Replace FIRMWARE.bin with the file name of the software to install. The binary is placed at the
subfolder Debug-RAM\Exe of the IAR project folder.
7. When the download process is complete, press Ctrl+C on U-Boot.
8. If the autoboot command was already configured, go to step 10.
9. Set the autoboot command in the U-Boot:
setenv bootcmd "sf probe && sf read 0x4000000 d0000 90000 && rzn1_start_cm3 && loop 0 1"
10. Save the command to the flash:
saveenv
11. Reset the device
Standalone Variant – RZ/N1L
The RZ/N1L does not use any bootloaders. If any application is stored in flash, it will be started
automatically. Both, loading into RAM and flash can be done using IAR workbench.
1. Start the IAR Workbench IDE.
2. Open a project via “File/Open Workspace”.
3. Go to the workspace folder and open it.
4. Compile the project via “Project/Compile” or “Project/Rebuild all”.
5. Power up the device.
6. Open a serial terminal according to section 3.2.
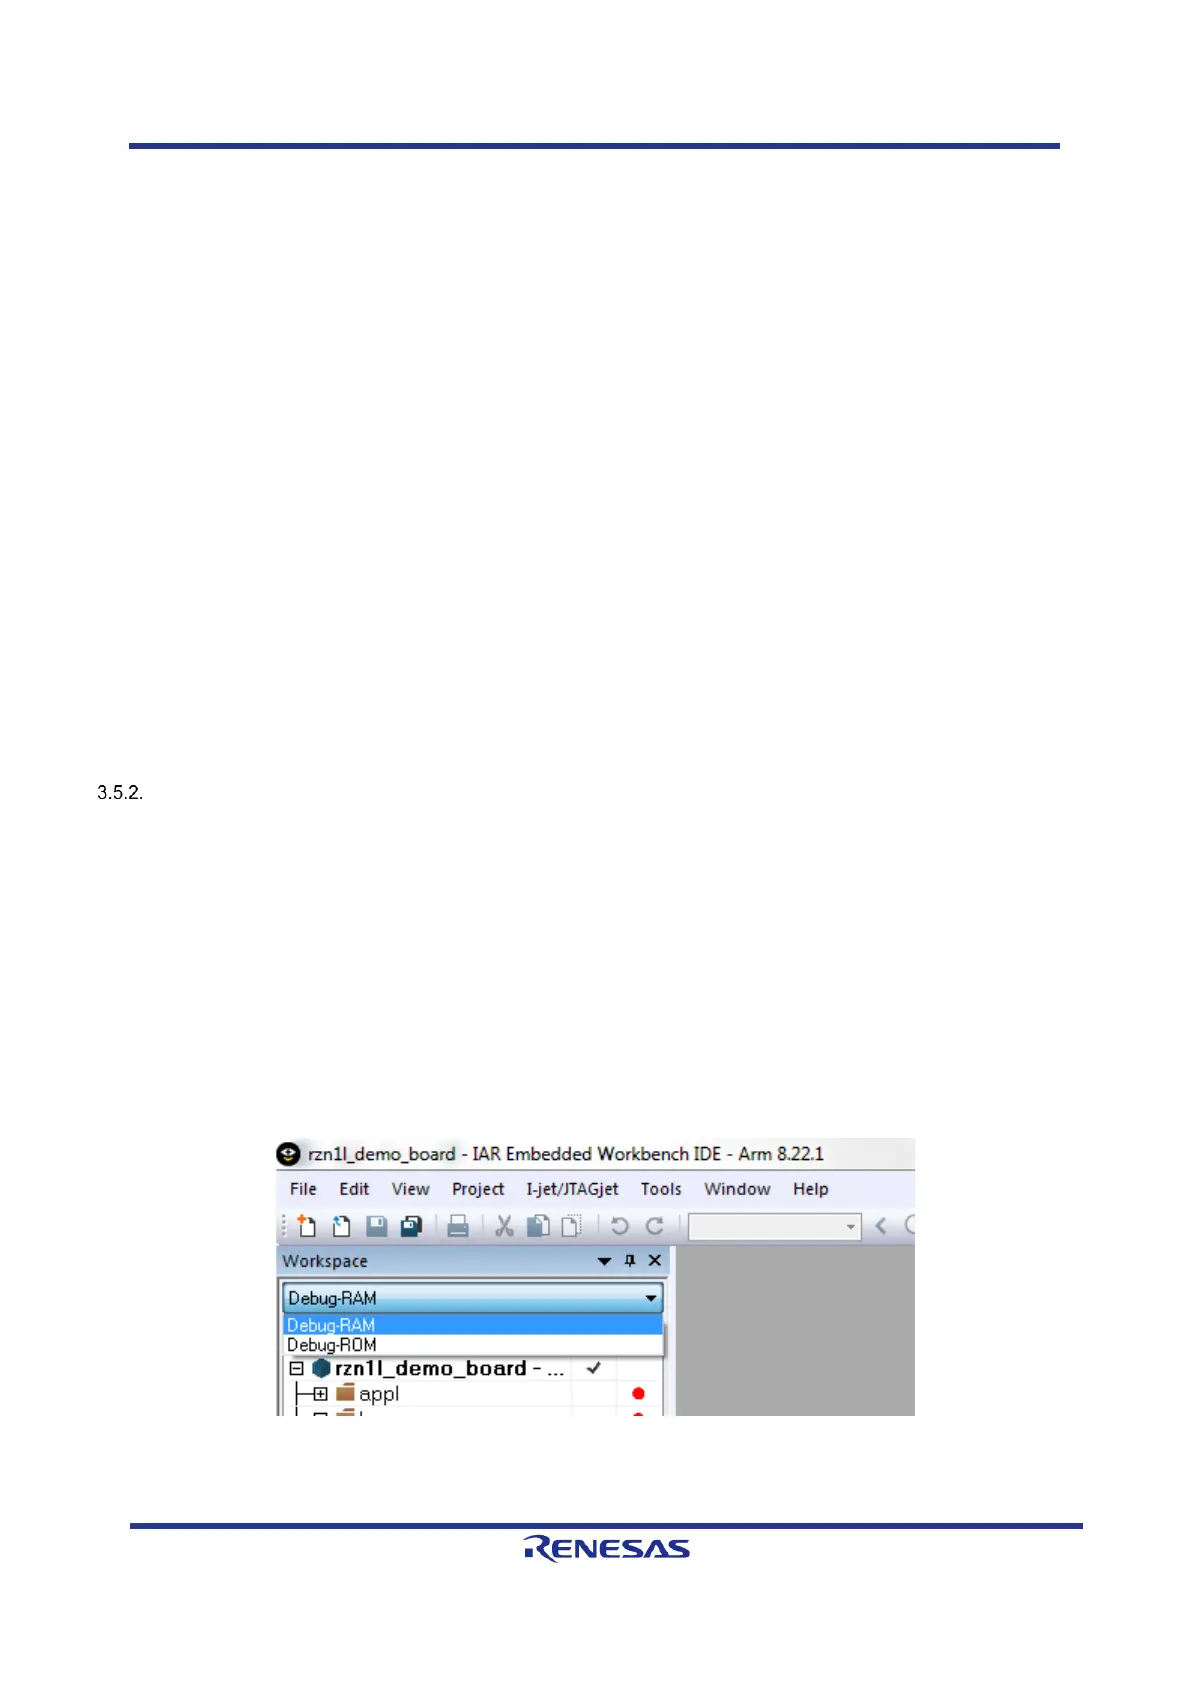
7. Choose either the Debug-RAM or the Debug-ROM configuration. First is used for debugging via
IAR, second is loading the application into the flash.
Figure 3-3: IAR Configurations RAM and ROM for RZ/N1L
8. Follow these steps for the Debug-RAM configuration

 Loading...