18
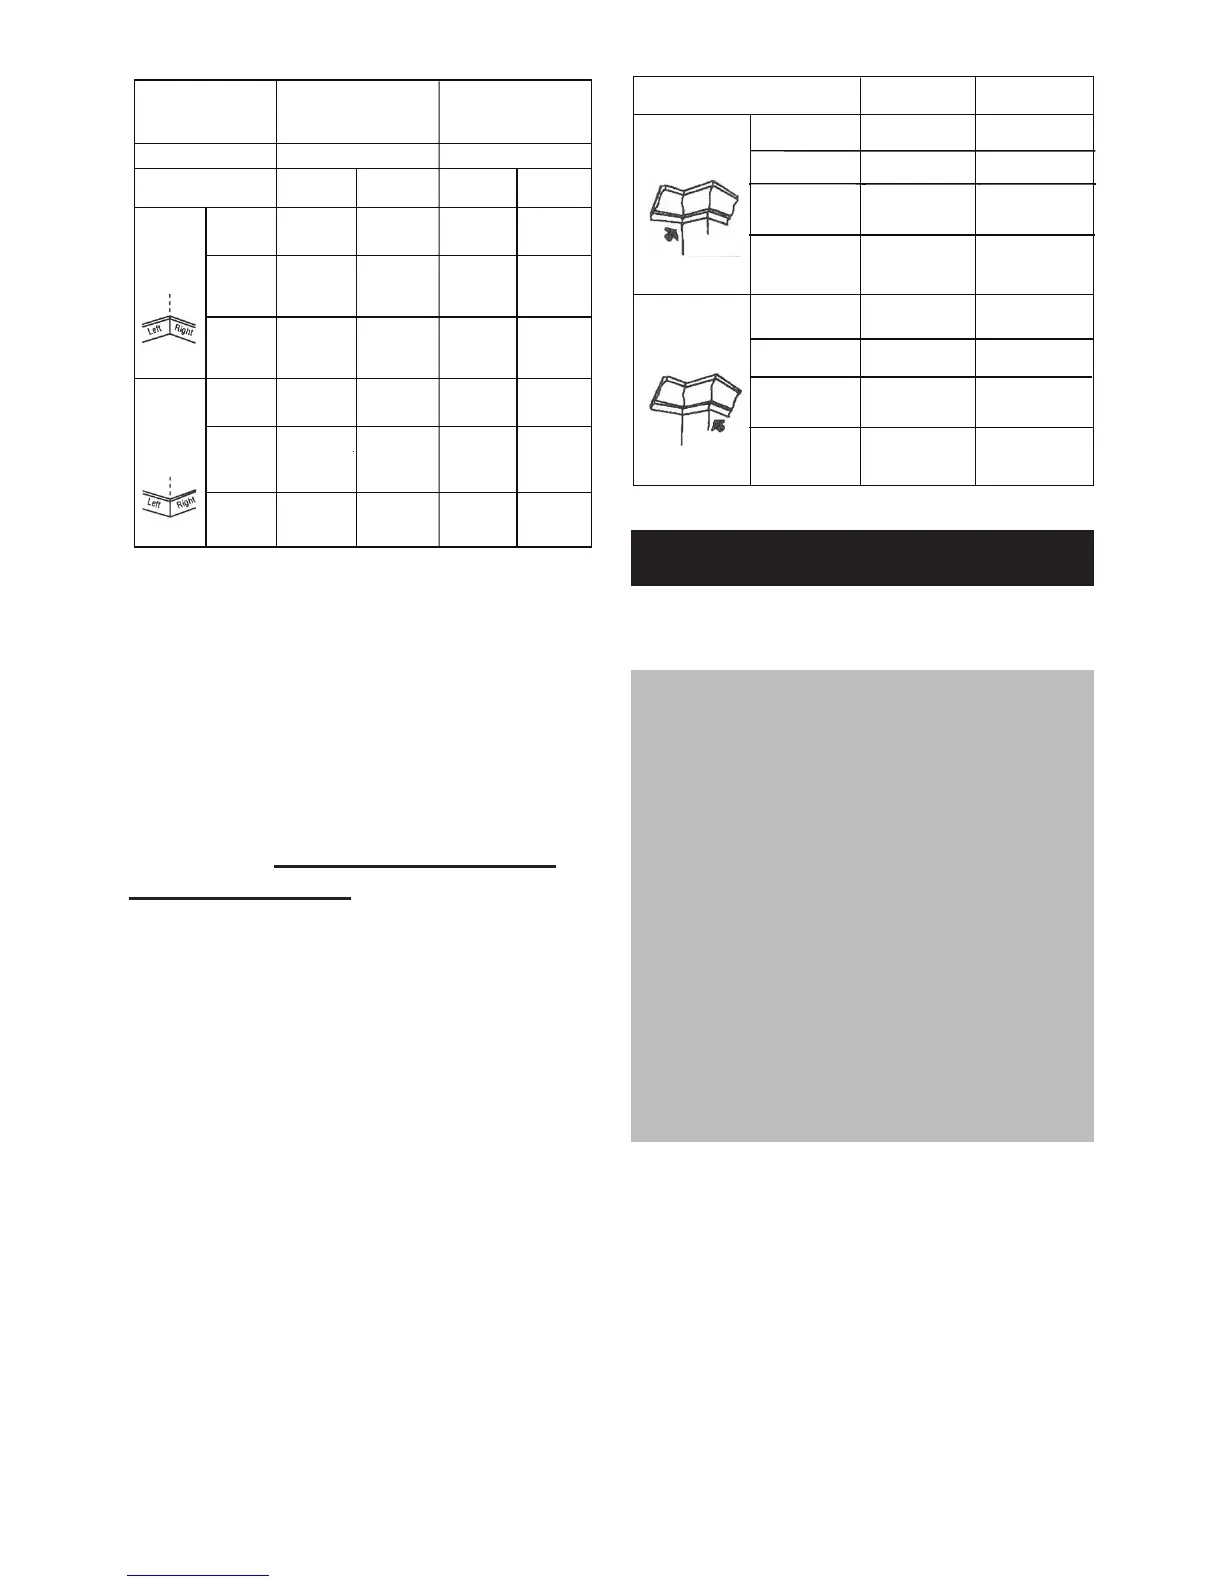
SETTINGS Left Side Right Side
Inside Corner
Miter Angle 31.6
°
Right 31.6
°
Left
Bevel Angle 33.9
°
33.9
°
Molding
Position
Molding
Position
Top against
fence
Bottom against
fence
Finished Side
Keep left
side of cut
Keep left
side of cut
Outside Corner
Miter Angle
31.6
°
Left
31.6
°
Right
Bevel Angle 33.9
°
33.9
°
Bottom against
fence
Top against
fence
Finished Side Keep right side
of cut
Keep right side
of cut
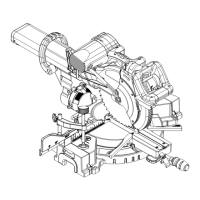
INSTALLING THE BLADE
(FIG. 35, 36, 37)
1. Unplug the saw from the outlet.
2. Raise the miter saw to the upright
position. Slide the cutting head
assembly completely toward the
rear of the unit and tighten the
sliding carriage lock knob.
3. Raise the lower blade guard (1) to
the uppermost position.
Changing Blades
WARNING! To avoid injury from
accidental starting, always turn the
switch off and remove the power
plug from the power source before
changing the blades. Use correctly
sharped saw blades. Observe the
maximum speed and tooth type
marked on the saw blade. Blade
replacement procedure including
the method for repositioning that
this must be carried out correctly.
Do not use a saw blade which is
not recommended in this owner’s
manual.
CROWN MOLDING CUT (FIG. 33, 34)
Your compound miter saw is suited
for the difcult task of cutting crown
molding. To t properly, crown molding
must be compound-mitered with
extreme accuracy. The two surfaces
on a piece of crown molding that t
at against the ceiling and wall are at
angles that, when added together,
equal exactly 90°.
Most crown molding has a top rear
angle (the section that ts at against
the ceiling) of 52°and a bottom rear
angle (the section that ts at against
the wall) of 38°.
In order to accurately cut crown
molding for a 90° inside or outside
corner, lay the molding with its broad
back surface at on the saw table.
When setting the bevel and miter
angles for compound miters, remember
that the settings are interdependent;
changing one changes the other, as
well.
SETTINGS
Vertical Position
(Back of molding is
against the fence)
Horizontal Position
(Back of molding is
flat on the table)
Bevel Angle
0
°
45
°
Molding Position
Left side Right side
Left side
Inside
Corner
Miter
Angle
Left at 45
°
Right at 45
°
0
°
Molding
position
Bottom
against
table
Bottom
against
table
Top
against
fence
Bottom
against
fence
Finished
side
Keep left
side of cut
Keep right
side of cut
Keep left
Keep left
Outside
Corner
Miter
Angle
Right at 45
°
Left at 45
°
0
°
Molding
position
Bottom
against
table
Bottom
against
table
Bottom
against
fence
Top
against
fence
Finished
side
Keep left
side of cut
Keep right
side of cut
Right side
side of cut
side of cut
0
°
0
°
Keep right
side of cut
 Loading...