Scanning Using the Control Panel
Scanning using the control panel allows you to send scanned files via e-mail (Scan to E-mail), to an FTP
server (Scan to FTP), or to the shared folder of a computer on a network (Scan to Folder), or to a USB
flash disk (Scan to USB).
The Scan to E-mail, Scan to FTP, and Scan to Folder functions are available only through a network
connection. No network connection is required for the Scan to USB function; you can send scanned files
directly to a USB flash disk inserted into the front of the machine.
Basic Operation for Scan to E-mail/FTP/Folder
This section describes the basic operation for sending scanned files via E-mail, to an FTP server, or to a
computer. The scanned file is sent via E-mail, to an FTP server, or a computer, depending on the
specified destination.
• The original in the ADF takes precedence over the original on the exposure glass if you place
originals both in the ADF and on the exposure glass.
• When using the Scan to E-mail, Scan to FTP or Scan to Folder function, you must first register the
destination in the Address Book using Web Image Monitor.
• If a USB flash disk is inserted in the machine, scanning functions other than Scan to USB are not
possible from the control panel. Make sure there is no USB flash disk inserted in the machine.
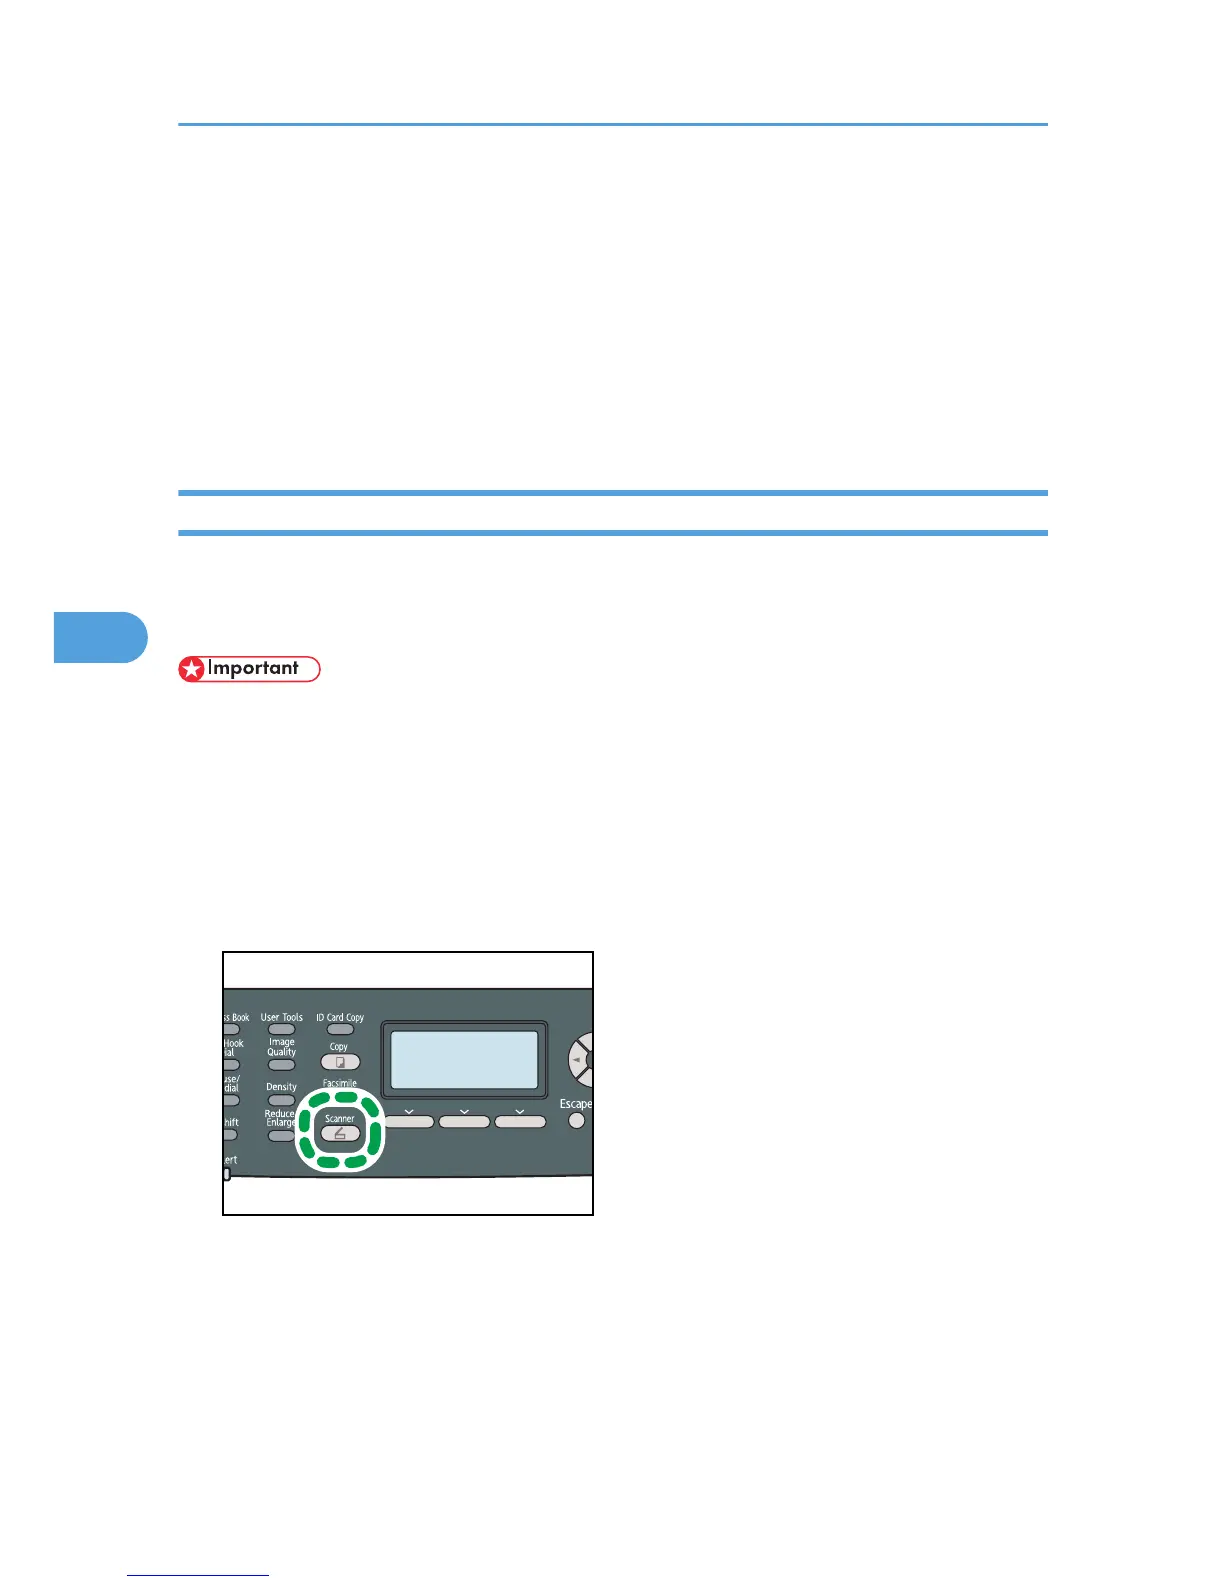
1. Press the [Scanner] key.
Confirm that "Specify Dest." is shown on the screen.
2. Place the original on the exposure glass or in the ADF.
If necessary, configure advanced scan settings.
5. Using the Scanner Function
184

 Loading...