54
If you are using the camera for the first time, read this section.
1
Turn the mode dial to 5.
2
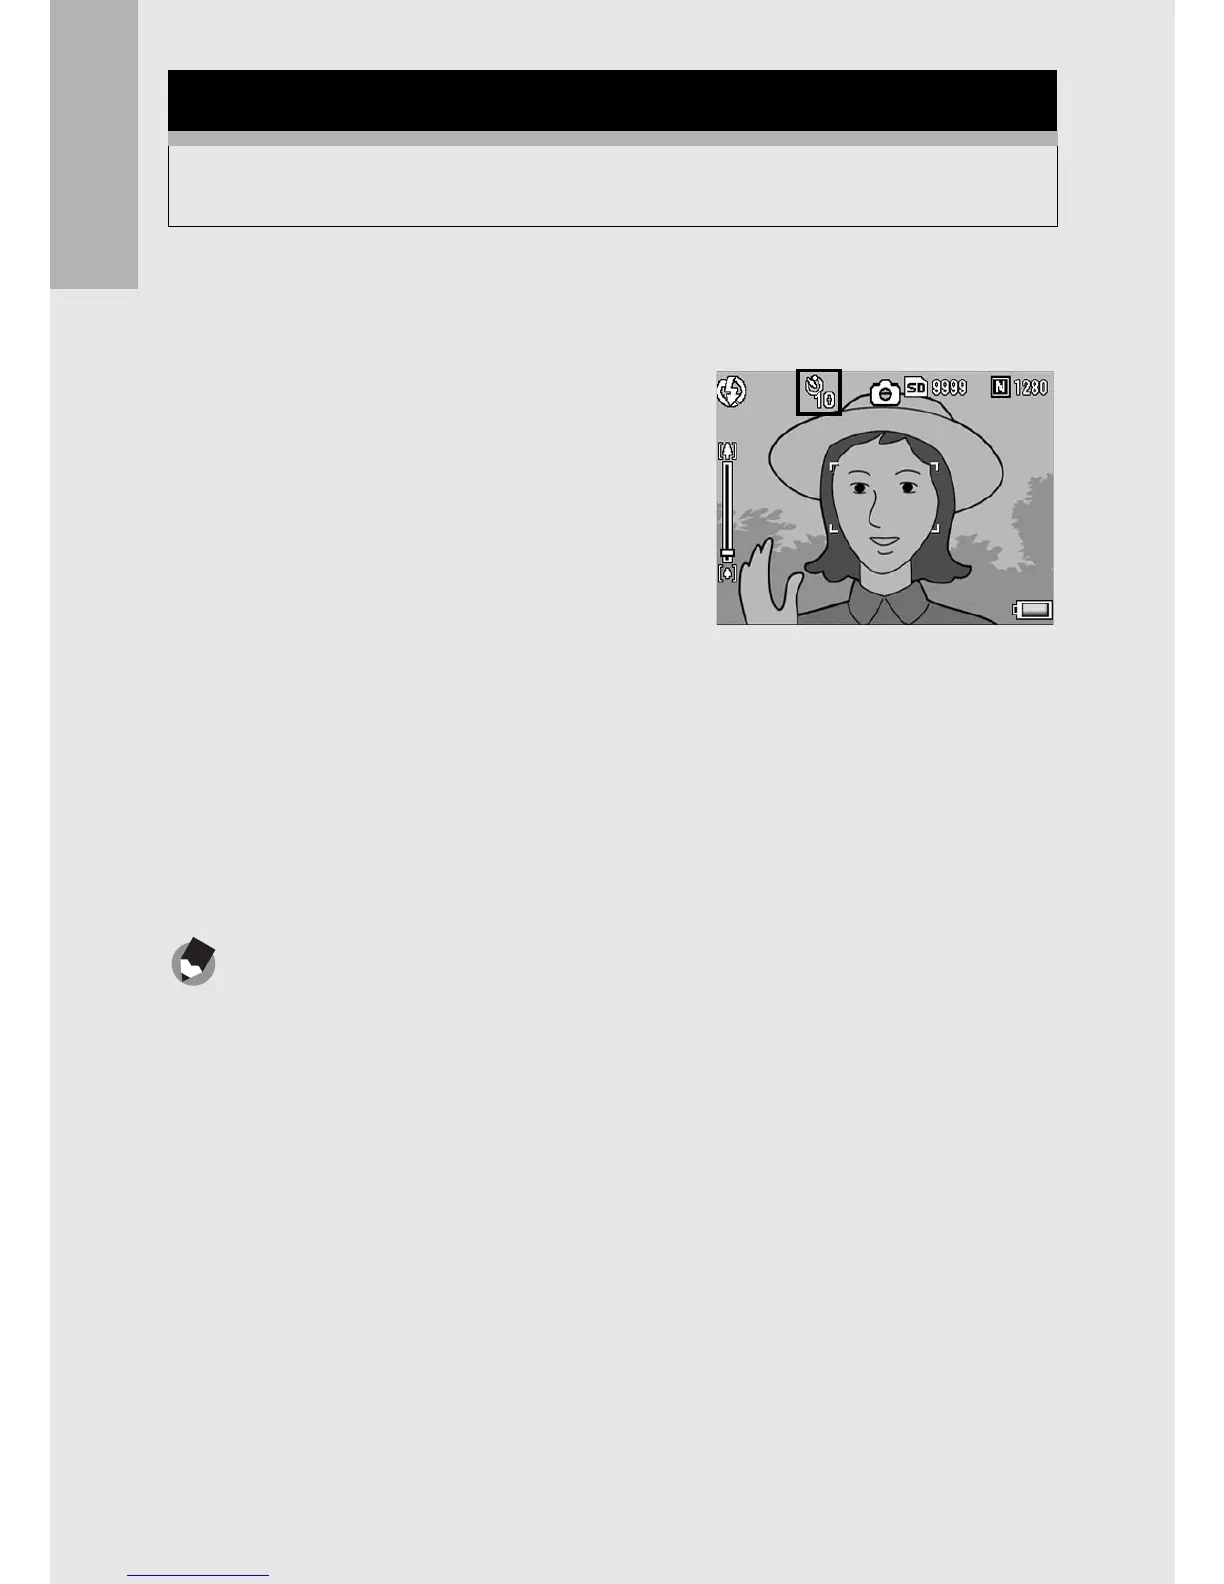
Press the t (Self-timer)
button.
• The Self-timer symbol appears on
the screen.
• The [10] to the right of the symbol
indicates the number of seconds.
In this case, if you press the shutter
release button, the camera shoots
after 10 seconds.
• Each press of the
t
button changes the self-timer setting in the
following order: 10sec, 2sec, and Self-timer Off.
3
Press the shutter release button.
• The focus is locked, and the AF auxiliary light lights when the
self-timer starts.
Note ---------------------------------------------------------------------------------------------------
• The camera remains in self-timer mode even after the image is shot. To cancel the
self-timer, press the t button and change the self-timer setting to [Self-Timer Off].
• When the self-timer is set to 2 seconds, the AF auxiliary light does not light.
t Using the Self-Timer
You can set the Self-timer to shoot after either two or ten seconds.
A setting of two seconds is useful for preventing camera shake.

 Loading...