2
Getting Started
42
Turn the camera on and make the initial settings.
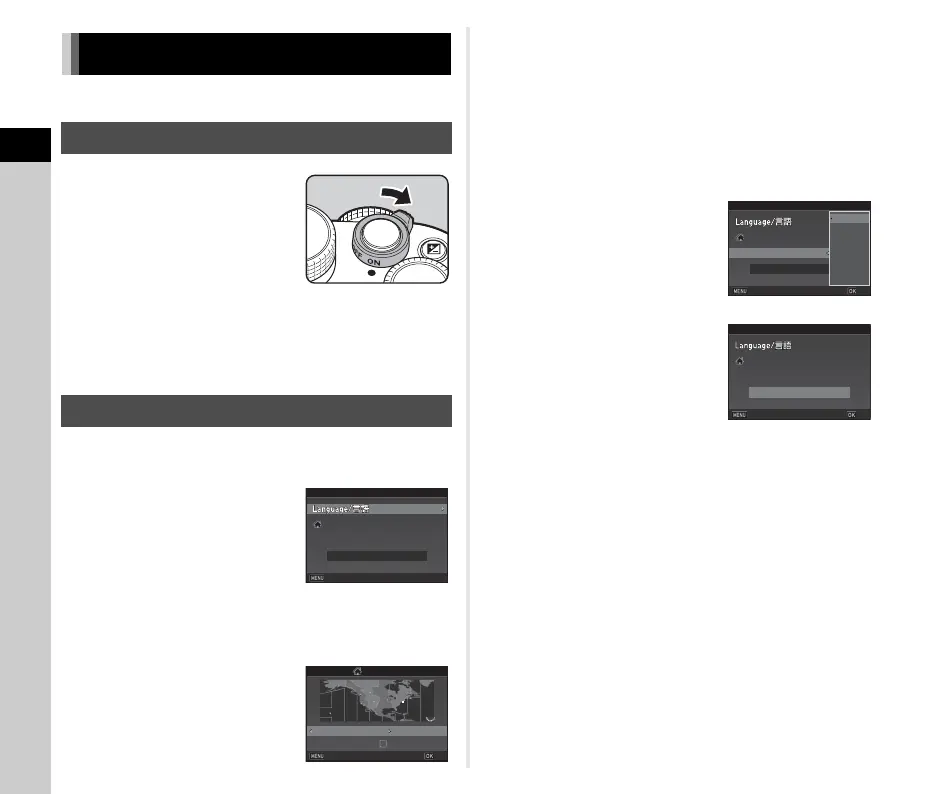
1 Turn the main switch to
[ON].
The first time the camera is
turned on after purchase, the
[Language/W] screen
appears.
t Memo
• The power automatically turns off when you do not perform
any operations within a set period of time. (Default setting:
1min.) You can change the setting in [Auto Power Off] of the
D3 menu. (p.33)
1 Use ABCD to select the desired language and
press E.
The [Initial Setting] screen
appears in the selected
language.
Proceed to Step 6 if F
(Hometown) does not need to be
changed.
2 Press B to move the frame to F and press D.
The [F Hometown] screen appears.
3 Use CD to select a city.
Use R to change the region.
y Cities that can be selected
as a hometown (p.131)
4 Press B to select [DST] (daylight saving time),
and use CD to select Y or Z.
5 Press E.
The camera returns to the [Initial Setting] screen.
6 Press B to select [Text Size] and press D.
7
Use
AB
to select [Std.] or
[Large], and press
E
.
Selecting [Large] increases the
text size of the selected menu
item.
8 Press B to select
[Settings complete] and
press E.
The [Date Adjustment] screen
appears.
Initial Settings
Turning the Camera On
Setting the Display Language
Text SizeText Size Std.Std.
New YorkNew York
EnglishEnglish
Initial SettingInitial Setting
Settings completeSettings complete
CancelCancel
HometownHometown
New YorkNew York
DSTDST
CancelCancel
OKOK
Settings complete
Text Size
Std.
Large
New York
Initial Setting
Cancel
OK
Text SizeText Size Std.Std.
New YorkNew York
EnglishEnglish
Initial SettingInitial Setting
Settings completeSettings complete
CancelCancel
OKOK

 Loading...