Basic Operation of Scan to FTP
This section explains the preparations and instructions to send scanned documents to an FTP server.
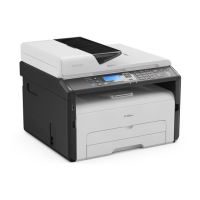
This function is available for SP 220SNw, SP 220SFNw, SP 221SNw, and SP 221SFNw.
After following the procedures below, you can send scanned documents to an FTP server.
Configure FTP server settings.
Send scanned files to the FTP server.
DSG269
Configuring FTP Server Settings
To send files to an FTP server, configure FTP server settings properly. For details about FTP servers,
contact your network administrator.
Configure FTP server settings using Web Image Monitor.
1. Start the web browser and access the machine by entering its IP address.
2. Click [Quick Dial Destination] or [Scan Destination].
3. From the [Destination Type] list, select [FTP].
4. Register information as necessary.
The information you must register are the following items. For details, see page 85 "Registering
Scan Destinations".
• Name
• Hostname or IP Address
5. Enter the administrator password if required.
6. Click [Apply].
7. Close the web browser.
Preparations for Scan to FTP are complete.
For details about sending files to the registered destinations, see page 106 " Sending Scanned Files
to an FTP Server".
Sending Scanned Files to an FTP Server
This section explains how to send scanned files to the destinations registered in Step 1.
5. Scanning Originals
106

 Loading...