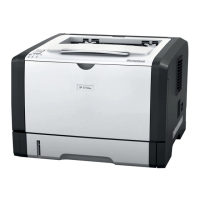
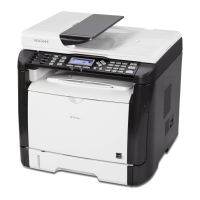
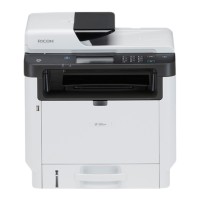
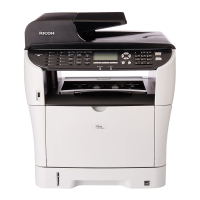
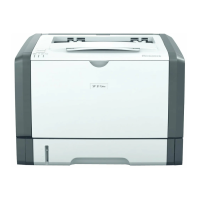
RICOH SP 311DNw B&W Network Laser Printer
Getting Started Guide
15
3.2 Network Quick Install
If you have a network connection from the printer to a network hub, using a wired (Ethernet) or wireless
connection, you must install the printer driver and utility software from the supplied CD. If you do not
have the CD, the software can be downloaded from the Ricoh website (www.ricoh-usa.com
). Also see
Appendix C: Printer Driver Download.
Note:
• The following components will be installed:
− Network PCL 6 Printer Driver
− Smart Organizing Monitor
• Close all applications currently running, and ensure that no documents are in the print queue.
• The procedures in this section are a based on Windows 7. The actual procedures may vary depending on
the computer operating system in use.
To install the printer driver and utility, proceed as follows:
1. Wired Connection
: Confirm that the network cable is plugged into the printer’s Ethernet port, and turn
printer power switch On.
Wireless Connection: Network cable is not required. However, confirm that the printer power switch in
On, and that you have made a successful connection between the printer and Wi-Fi router.
2. Insert supplied Printer Drivers, Utilities and Manuals CD into CD-ROM drive.
3. Click [Run SETUP.EXE].
Note:
• The installer launches automatically. If not, double-click
SETUP.EXE from the CD’s root directory.
4. If User Account Control window displays, click [Yes].
 Loading...
