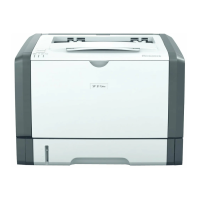
RICOH SP 311DNw B&W Network Laser Printer
Getting Started Guide
7
STEP 1
Before You Begin
Before proceeding, please review 1.1 – 1.2.
1.1 Unpack Machine
This guide assumes that the printer has been unpacked. For details, see the Quick Installation Guide included
with the machine. We also recommend that you copy the User Guide from the supplied CD to a folder on
your computer, for easy reference.
1.2 Choose Setup Method
There are three ways to set up (connect) the printer to your computer. Choose the method that best
meets your configuration requirements.
Interface Type Connection Requirements
USB Cable
Local
– Printer is connected directly to your
computer via a USB cable.
User-supplied
USB 2.0 cable
(Type B)
Note: A USB
cable consists of one square
plug and one rectangular plug.
Network Cable
Wired
– Printer is connected to your
computer (e.g., on the business/home
network) via a network (Ethernet) cable.
User-supplied
network cable
(10Base-T or
100Base-TX)
Wireless Network
Wireless
– Printer is equipped with an
internal wireless LAN interface that enables
cable-free connection to your computer.
User-supplied
Wi-Fi router
(access point)
 Loading...