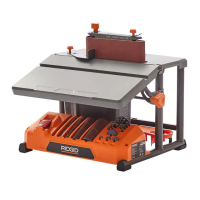
13
Alignment
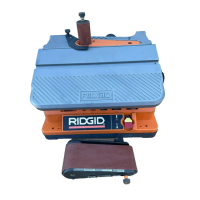
Squaring Front Table
WARNING: To reduce the risk of injury from acci-
dental start, make sure tool is unplugged before
aligning.
Tools Needed
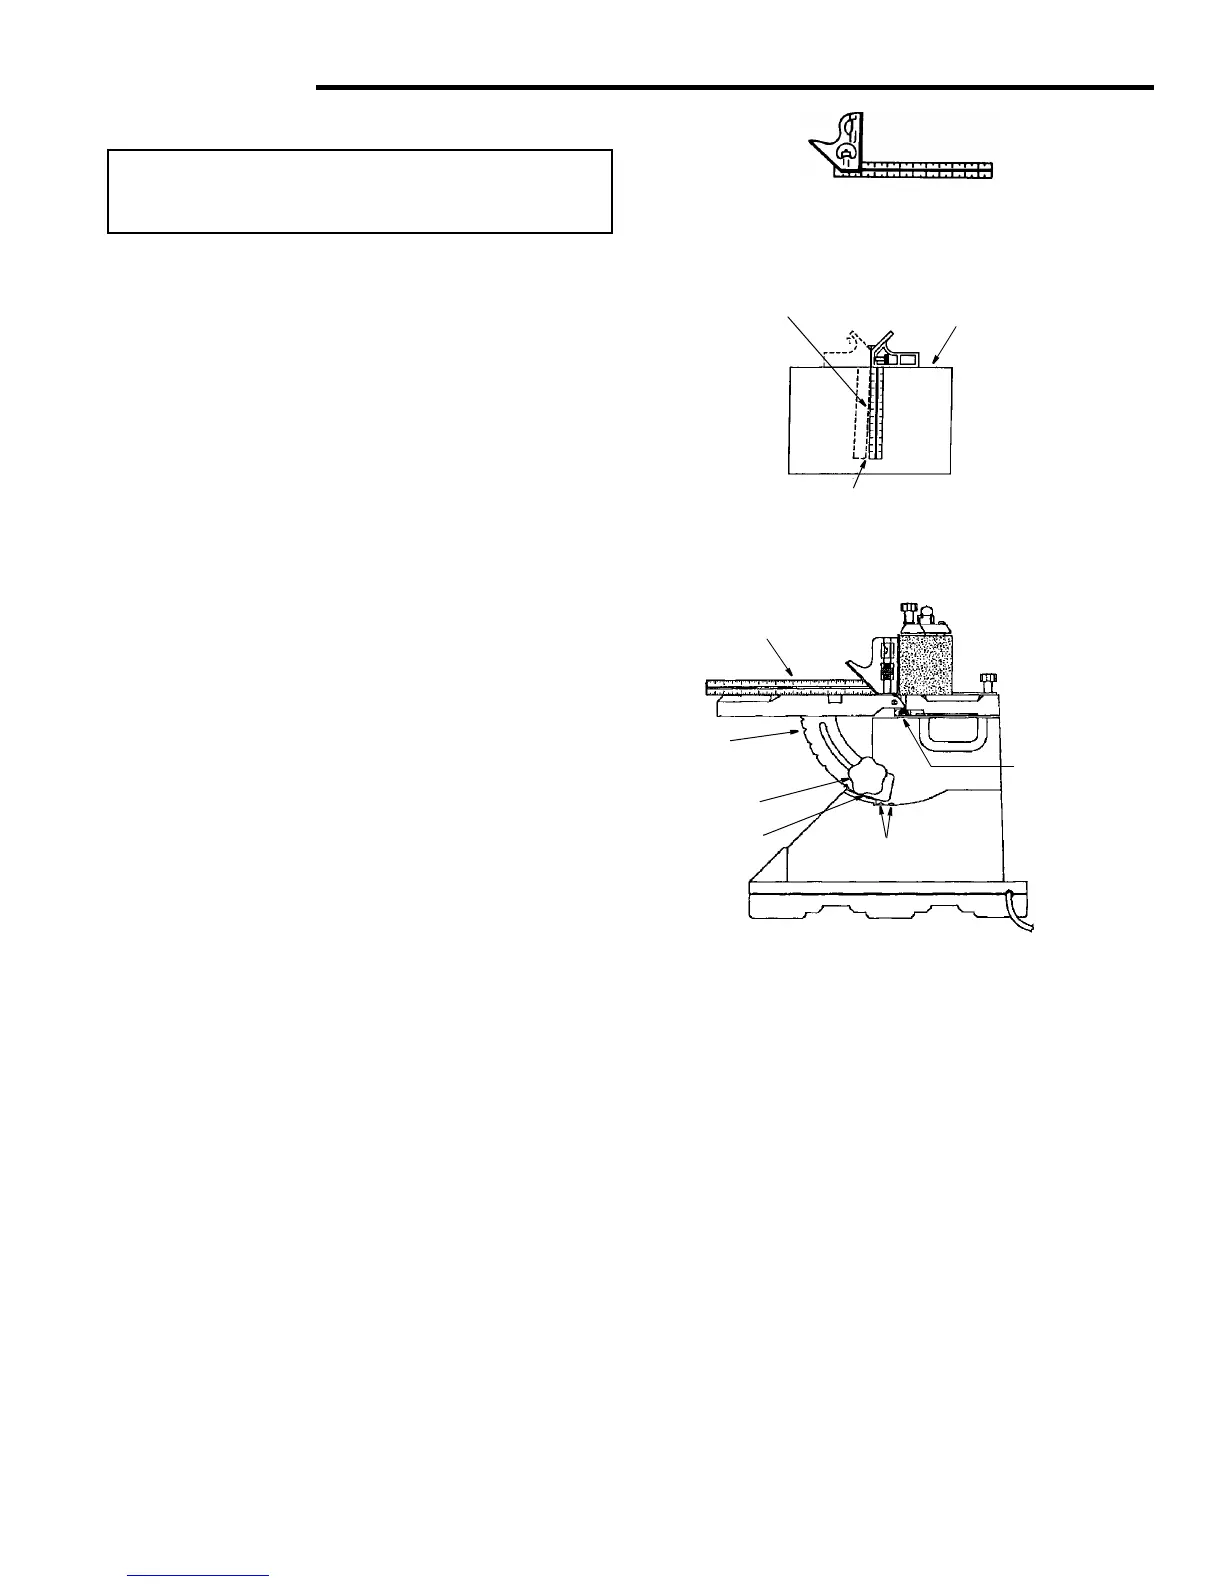
1. Use a combination square to check the angle of the
front table with the sanding belt. (NOTE: Combination
sqare is not supplied.)
2. If the front table is not 90° to the sanding belt:
a. Use the hex wrench provided and “back out” both
#10 set screws.
b. Loosen the front table lock knob and adjust the front
table 90° to the sanding belt.
c. Tighten the front table lock knob.
d. Turn both set screws to contact the front table.
3. Adjust detent if necessary
a. Loosen 2 pan head screws that secure the detent.
b. Adjust detent so it engages the notches in the
bracket table lock.
c. Tighten 2 pan head screws and recheck.
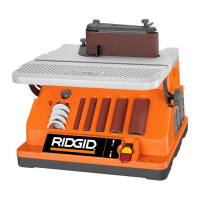
Combination Square Must be True
Draw Light Line on
Board Along This Edge
Should be no Gap or Overlap when Square
is Flipped Over in Dotted Position
Combination Square
Combination
Square
Bracket
Table Lock
Screw Soc. Set
10-32 x 3/8
Screw Pan
Lock Knob
Hd. 10-14 x 1/2
Straight Edge of Board
3/4" Thick, This Edge Must
Be Perfectly Straight
Detent