14
Alignment (continued)
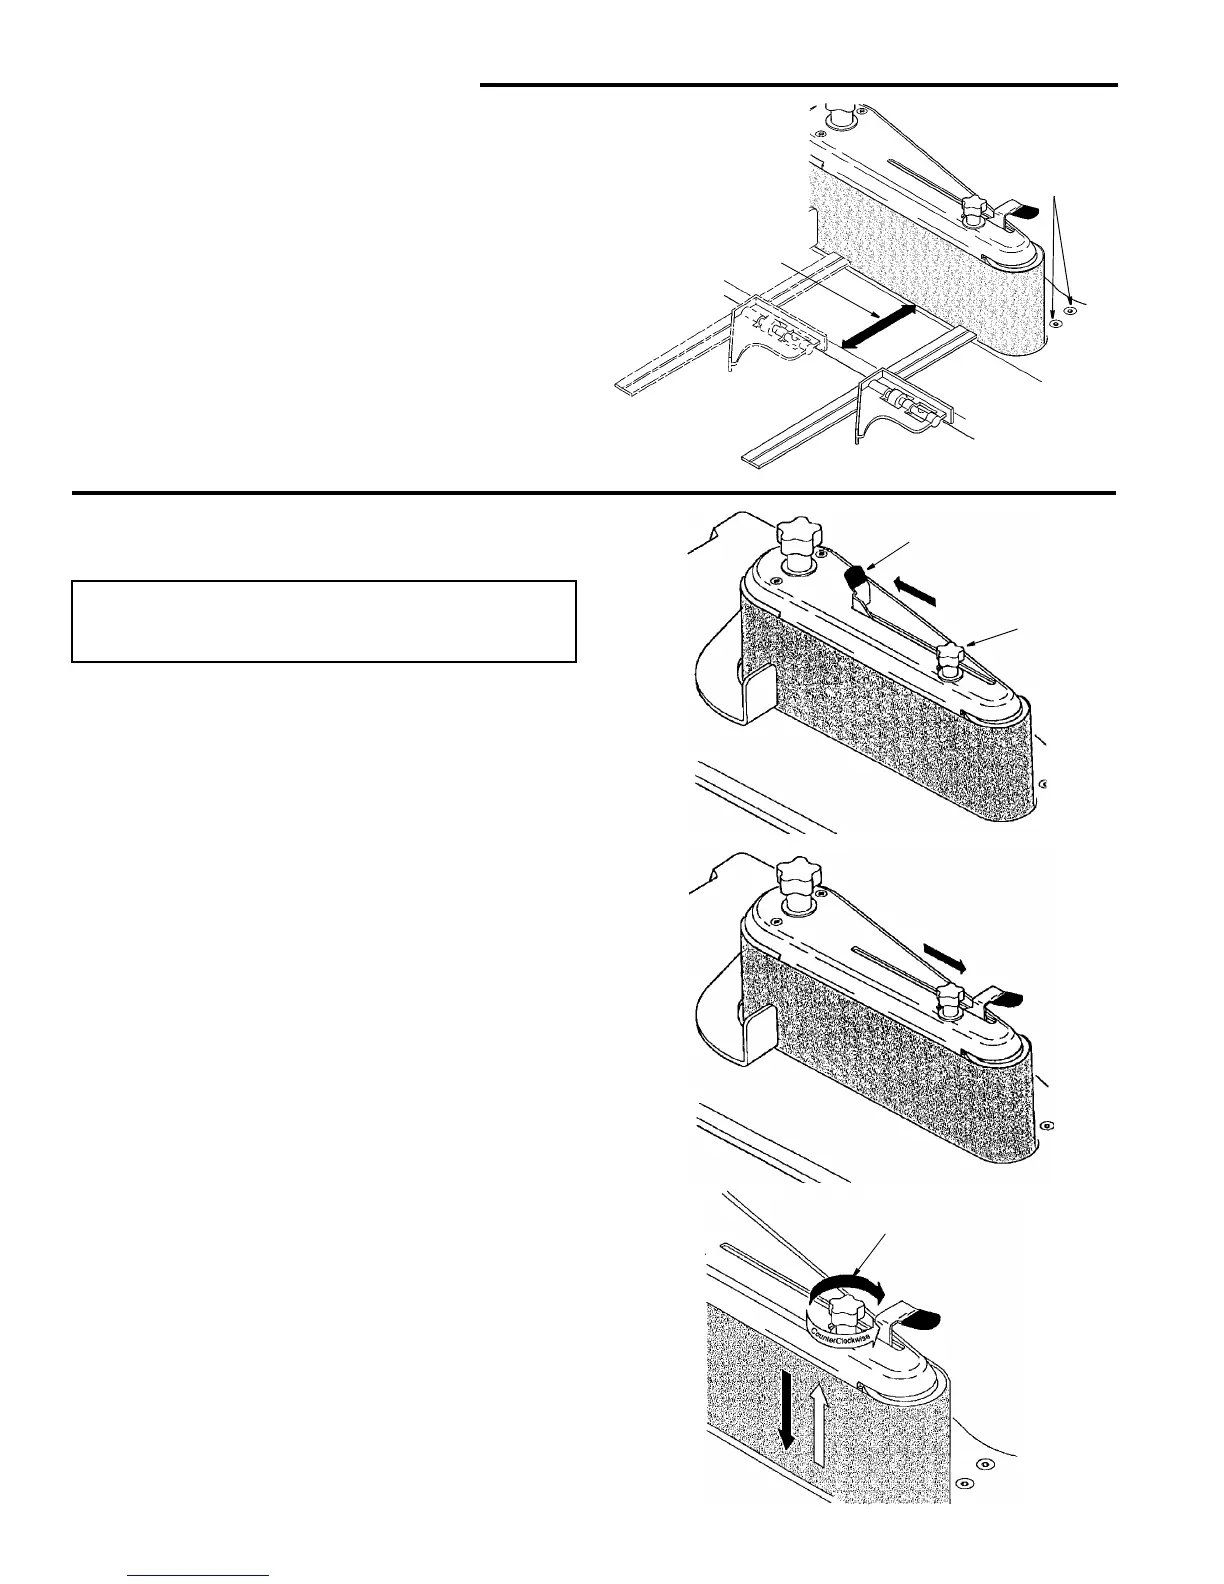
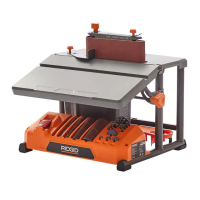
Aligning Belt To Miter Gauge Slot
The sanding belt is installed at the factory; however,
check and make sure the belt is parallel to the miter
gauge groove:
1. Use a combination square to check the distance from
the miter gauge groove to the belt assembly as shown.
2. If adjustment is required, use a 5/32 inch hex “L”
wrench to loosen the two flat head socket recess
screws on the table.
3. Adjust the belt assembly as needed to make it parallel
to the miter gauge slot.
4. Tighten two screws and recheck.
Removing/Installing the Sanding Belt
Tensioning and Tracking
WARNING: To reduce the risk of injury from acci-
dental start, make sure tool is unplugged before
removing or installing sanding belt.
Some sanding belts have a “directional arrow” on the
inside or smooth side. If there is an arrow, the belt must
run in the direction of the arrow so the splice will not
come apart. If there is no arrow the belt may be put on
any way.
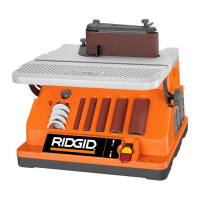
1. Slide the tension lever to the left to release the belt
tension.
2. Remove the sanding belt.
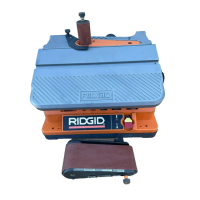
3. Place the replacement sanding belt over the drums as
shown. Make sure the belt is centered on both drums.
4. Slide the tension lever to the right to apply belt tension.
5. Plug in the power cord. Insert the yellow safety key
and turn the unit “ON” and immediately “OFF”, noting if
the belt tends to slide off the drums. If it did not tend to
slide off, it is tracking properly.
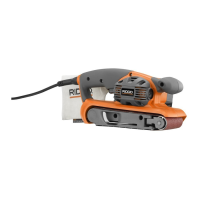
6. If the sanding belt runs down towards the table, turn
the tracking knob clockwise 1/4 turn.
7. If the sanding belt, runs up away from the table, turn
the tracking knob counterclockwise 1/4 turn.
8. Turn switch “ON” and immediately “OFF” again, noting
belt movement. Readjust tracking knob if necessary.
Edges Must
Be Parallel
Socket Recess
Screws
Tensioning
Lever
Belt
Tracking
Clockwise