73
ENGLISH
Prepare a water drainage channel around the foundation, to
drain waste water from around the unit.
If water does not easily drain from the unit, mount the unit on a
foundation of concrete blocks, etc. (the height of the foundation
should be about 100 mm.
If you install the unit on a frame, please install a waterproof plate
(about 100 mm) on the underside of the unit to prevent water
from coming in from the low side.
When installing the unit in a place frequently exposed to snow,
pay special attention to elevate the foundation as high as pos-
sible.
If you install the unit on a building frame, please in-
VWDOODZDWHUSURRIWUD\¿HOGVXSSO\ZLWKLQPPRI
the underside of the unit) in order to avoid drain water
dripping (see the picture in the right).
6.1 Selecting a location in cold climates
Refer to "Handling" in section “4 Before installation”.
NOTE
When operating the unit in cold climates, be sure to follow the in-
structions described below.
To prevent exposure to wind, install the unit with its suction side
facing the wall.
Never install the unit at a site where the suction side may be
exposed directly to wind.
7RSUHYHQWH[SRVXUHWRZLQGLQVWDOODEDႉHSODWHRQWKHDLUGL-
scharge side of the unit.
In heavy snowfall areas, it is very important to select an installa-
WLRQVLWHZKHUHWKHVQRZZLOOQRWDႇHFWWKHXQLW,IODWHUDOVQRZIDOO
is possible, make sure that the heat exchanger coil is not af-
fected by the snow (if necessary construct a lateral canopy).
1 Construct a large canopy.
2 Construct a pedestal.
,QVWDOOWKH XQLWKLJK HQRXJKRႇ WKHJURXQG WRSUHYHQWLWIURPEHLQJ
buried in snow.
6.2 Selecting a location in hot climates
As the outdoor temperature is measured via the outdoor unit air ther-
mistor, make sure to install the outdoor unit in the shade or a canopy
VKRXOGEHFRQVWUXFWHGWRDYRLGGLUHFWVXQOLJKWVRWKDWLWLVQRWLQÀXHQ-
ced by the sun’s heat, otherwise protection may be possible to the unit.
7 IN
STALLATION PRECAUTION
S
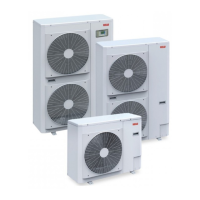
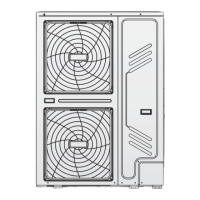
7.1 Dimensions
H
J
1-1/4”
I
C
ED G
B
F
LK
Model A B C D E F G H I J K L
N: 1129 494 528 668 192 98 206 1558 558 143 400 440
unit in mm
7.2 Installation requirements
Check the strength and level of the installation ground so that the unit may not cause any vibrations or noise during its operation.
,QDFFRUGDQFHZLWKWKHIRXQGDWLRQGUDZLQJLQWKH¿JXUH¿[WKHXQLWVHFXUHO\E\PHDQVRIIRXQGDWLRQEROWVSUHSDUHVL[VHWVHDFKRI
Ø10 Expansion bolts, nuts and washers which are readily available in the market.)
Screw in the foundation bolts until their length is 20 mm from the foundation surface.
Use special anti-vibration mounts available on the market.
 Loading...