16
Putting into Operation
Note
The unit may only be put into operation when assembled completely!
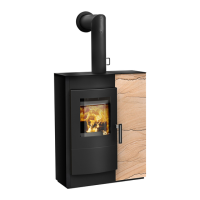
The USB stick supplied must be plugged into the interface on the rear of the
stove before the unit can be taken into service for the first time.
USB Connection
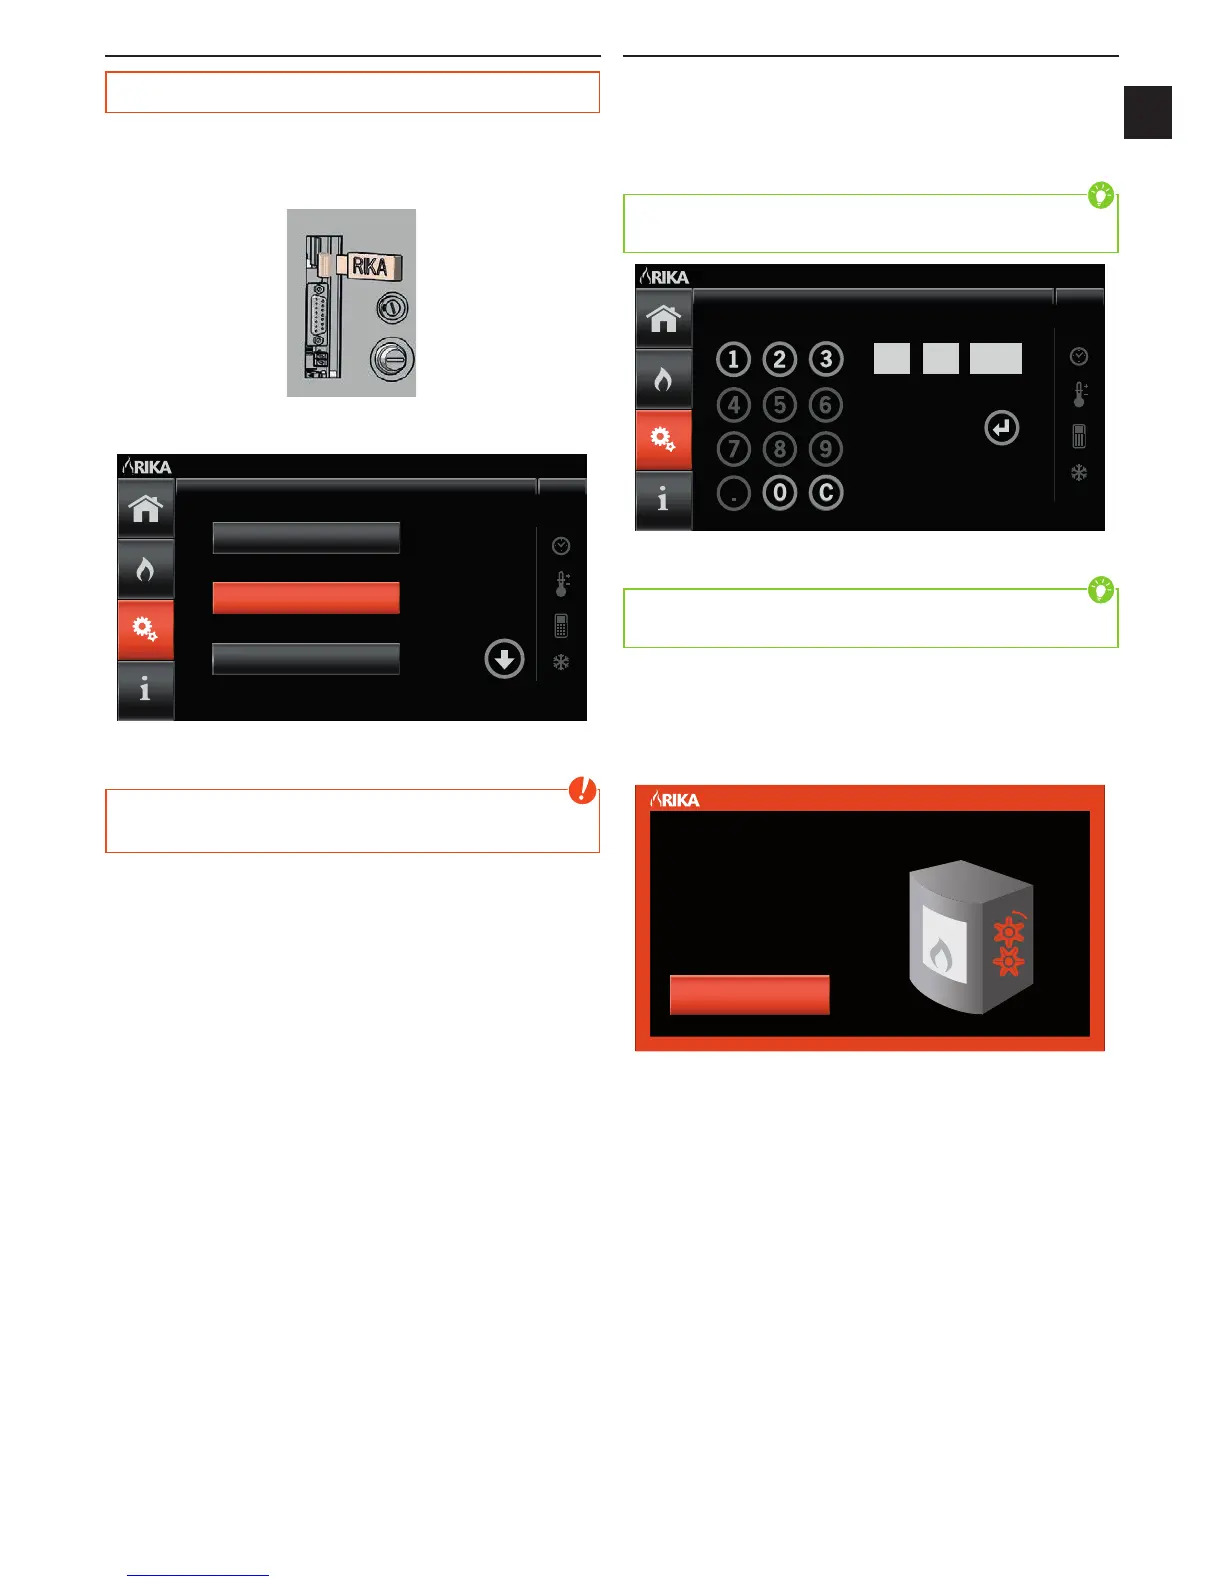
A start screen appears after connection to the mains supply. The language
selected is changed by pressing respective language button on the screen.
Français
Deutsch
English
Language Select
The software is automatically updated after language selection. This process
takes approx. 2 min.
Note
During the process of updating the software you must not cut the electric
power supply!
A confirmation display appears after successful software update; the stove
must be disconnected from the mains and the USB stick removed
First Steps
Once the stove has been reconnected to the mains, the display changes to the
date and time setting by pressing the screen.
The input specified here only has to be made on first use; however it may be
changed at any time in the main menu SETUP settings.
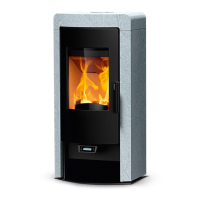
The date and time setting is made numerically using the number pad.
Tip
Only the permissible numbers are released for each input step to prevent
incorrect input.
Date
03
|
2015
DD MM YYYY
The C button acts as back button and deletes the input in the display box
selected.
Tip
The individual input boxes are selected by touching the display boxes and the
content is reset by direct selection.
Once all data has been entered correctly, an ENTER button appears which
confirms the input and saves the data.
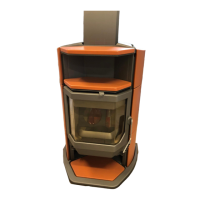
AIR FLAP CALIBRATION
The function of the air regulation components is tested after each reconnection
of the stove to the mains. This process may take up to 5 minutes.
Please Wait
AIR FLAPS
ON CALIBRATION
WARNING