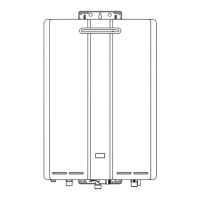
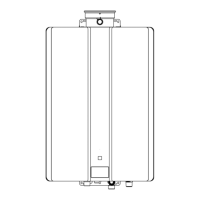
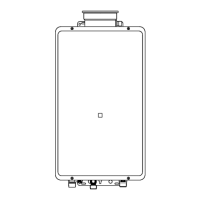
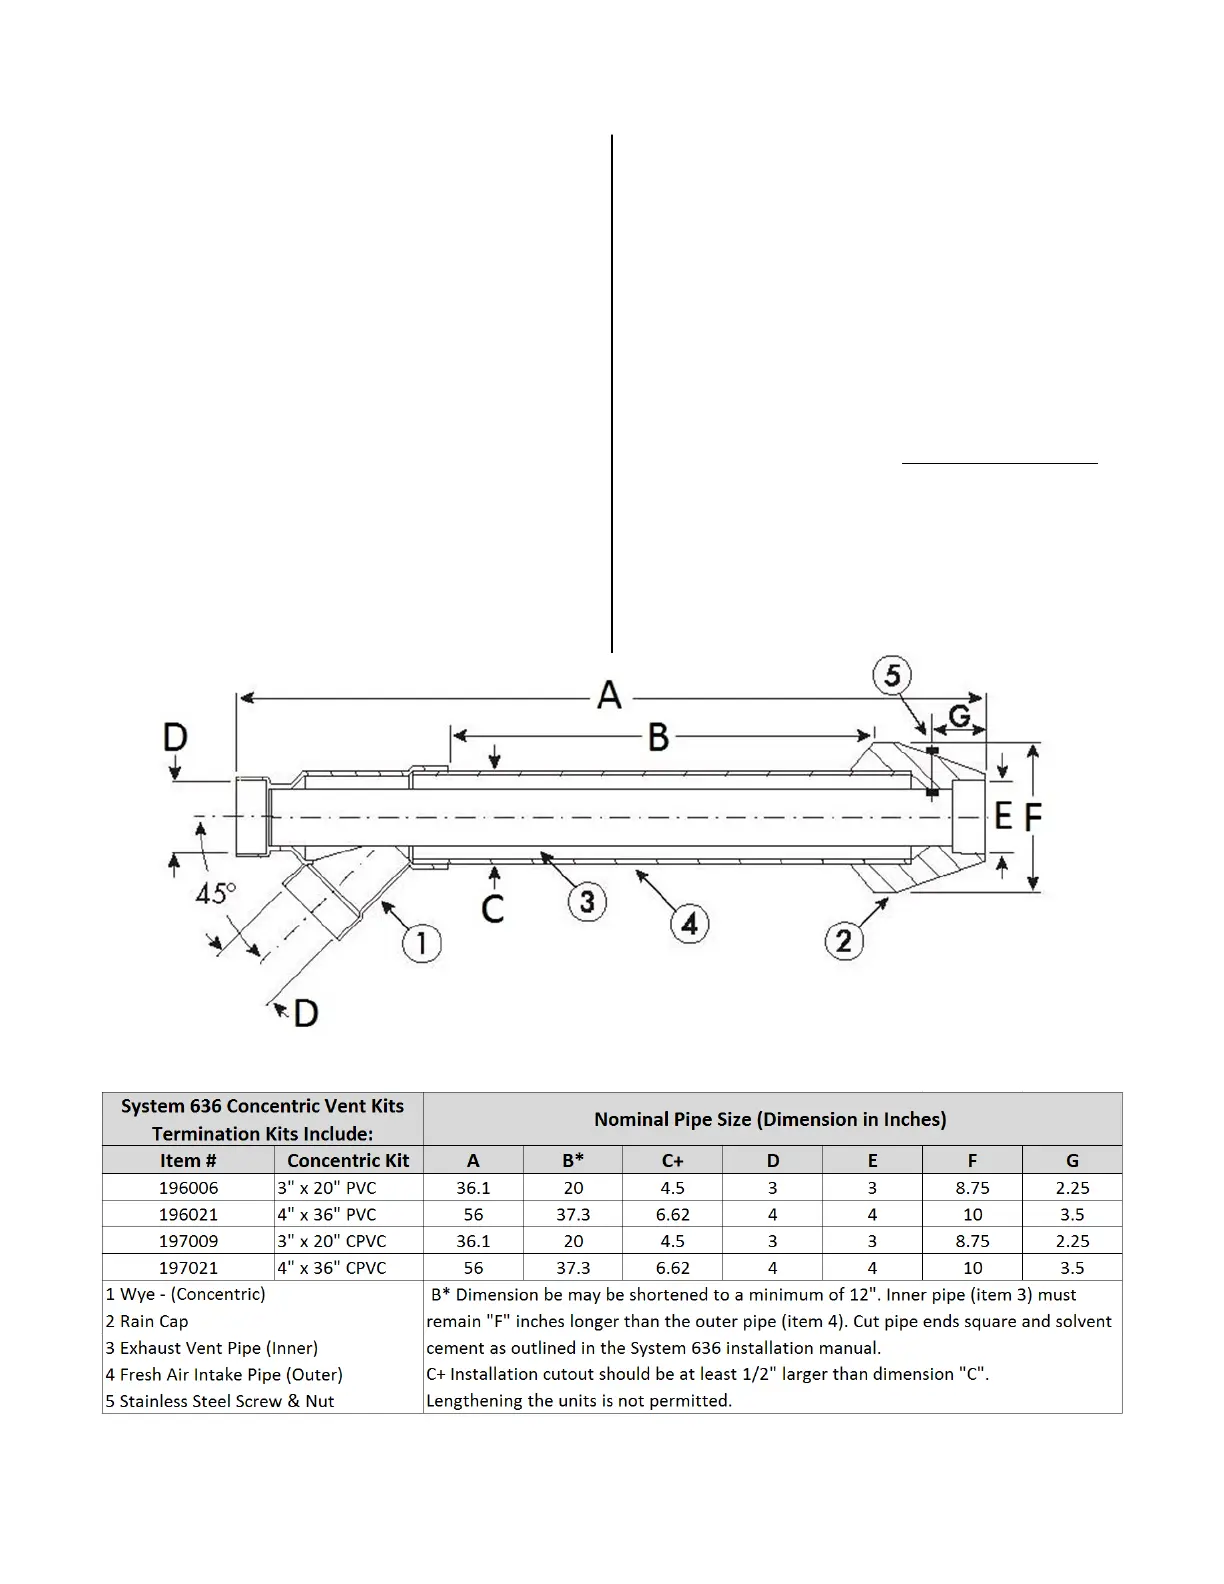
28 KBD Series Manual
The Rain Cap must be installed with the supplied Stainless
Steel screw and lock nut, and in accordance with the
instrucons and diagram below.
1. Locate the drill locaon dimple on the outside of the
rain cap.
2. At this locaon, drill through the cap and the inner
pipe wall. Ensure that the path of the hole is
perpendicular to the inner pipe the outside of the
cap. For the 3” kit, drill a 3/16” hole, for the 4” kit, drill
a 1/4” hole. Clean any resulng debris.
3. Insert the screw and ghten, .
1. Once the proper locaon has been determined, cut a
hole in the roof or wall large enough to
accommodate the outer pipe. The size of the hole can
vary greatly depending on the roof pitch.
2. As per the procedures outlined, solvent cement the
inner pipe to the concentric Wye ng.
3. Solvent cement the outer pipe to the concentric Wye
ng.
4. Slide the assembly through the roof or wall
penetraon. (Install ashing as required)
5. To permanently ax the rain cap, it should be
solvent cemented to the inner pipe. For installaons
where removal of the cap may be required for service
or cleaning the cap, it can be fastened mechanically
(see instrucons). For either installaon method, the
outer pipe is only a fricon t with the cap.
Cered PVC/CPVC Vent Terminaon Opons (connued)
 Loading...