10
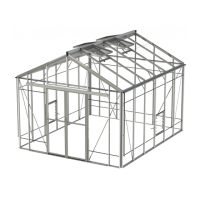
Assembling the Doors Regent • Royale • Rosette • see page 13 for Regal
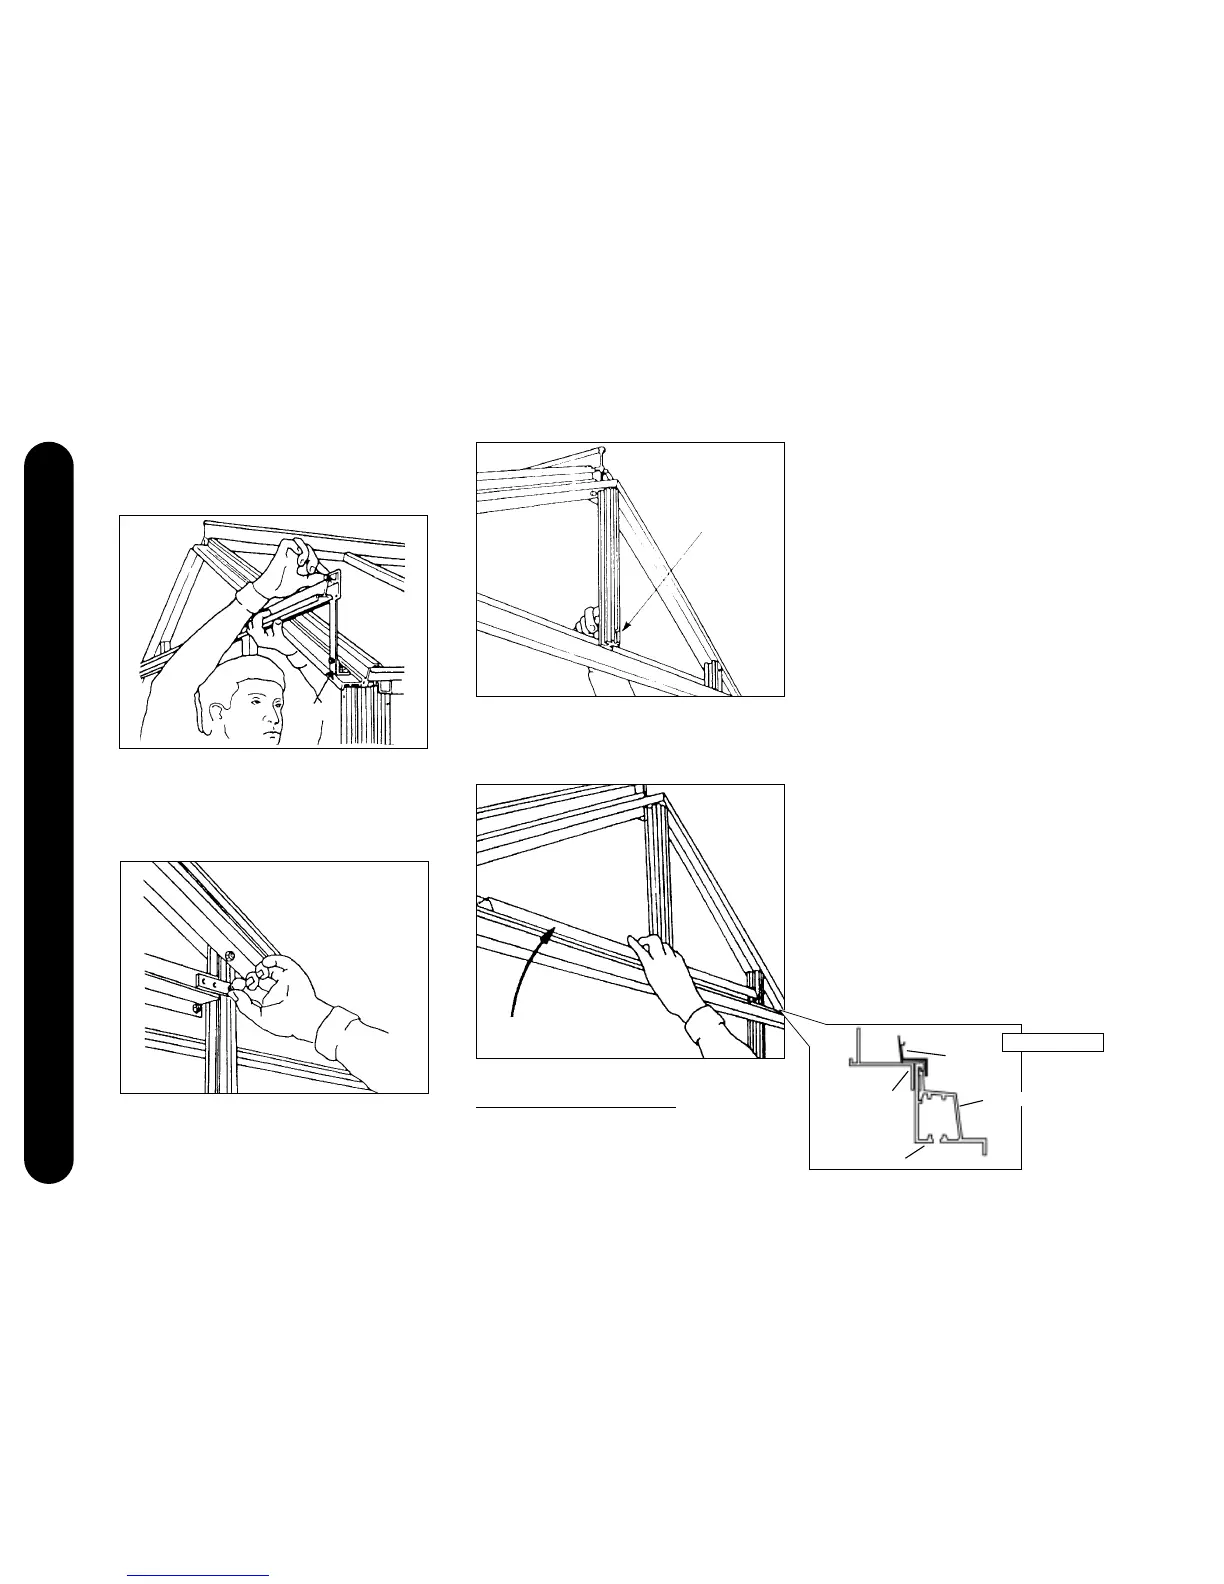
60.Offer up to the complete track assembly and attach
to the track supports as shown, using long bolts. The
door track should rest on the small ‘S’ shaped clips
(No. 26, ID Chart).
61.On the inside of the greenhouse, pick up the spare
nut and bolt previously slid into the door end glazing
bars and connect the doorway header attachment
plate (No. 37, ID Chart) to the back of the doorway
header and glazing bar using short bolts.
62.Identify the short central front glazing bar (Royale and
Rosette only) and attach to both apex plate and door-
way header using short bolts.
63.Identify the zed trim (No. 38, ID Chart) and position
on top of the track as shown. The final apex glass can
now be fitted using established procedure. Secure the
zed trim and glass together with short bar capping.
The door frame is now complete.
ASSEMBLING THE DOOR(S)
64. Identify the door side members 2 of (No. 39, ID Chart)
for a single door, 3 of (No. 39, ID Chart) and 1 of (No.
40, ID Chart) for a pair of double doors, lay them on
a level surface.
65.Select the bottom door crossbar (No. 41 ID Chart),
position this between the side members and loosely
fix using pan head bolts.
66.Slide PVC edging strips into both door sides.
67 Take bottom size (922 X 555)door sheet glass panel
and slide into position between side members, so that
it engages in cross bar recess.
68.Slide another door cross bar in position and bolt door
to side members.
70. Select 812 X 555 mm glass pane, fit white PVC edging
strip (No. 44, ID Chart) to both sides. These strips
should be 8mm short at each end.
72. The top cross bar (No. 45, ID Chart) is fitted in the same
way as the previous, with the wheels facing upwards.
73.Fit the nylon door glide (No. 48, ID Chart) to the
bottom cross bar.
74.Repeat steps 64 to 73 for other door (if double doors
required).
75.Slide the 2 nylon brush strips (No. 46, ID Chart) into
groove on the door side members (2 on a single door
and 1 on each side of a double set). These should seal
against the door post bar caps when the doors are
closed. Crimp the bottom of the groove to prevent
the brush strip from sliding out.
76. Screw door side members to the top and bottom bars
using self tapping screws.
77.Tighten all the pan head bolts and nuts. The strike
plate (l.D. Chart No. 70) which was temporarily fitted
earlier can now be fixed in its final position. Line up
the hole in the plate so that the door lock engages.
Flush
Note cut-out
Zed trim
(I.D. Chart no. 38)
Zed trim
Outer Door Track
Inner Door Track
Door Header
SIDE VIEW