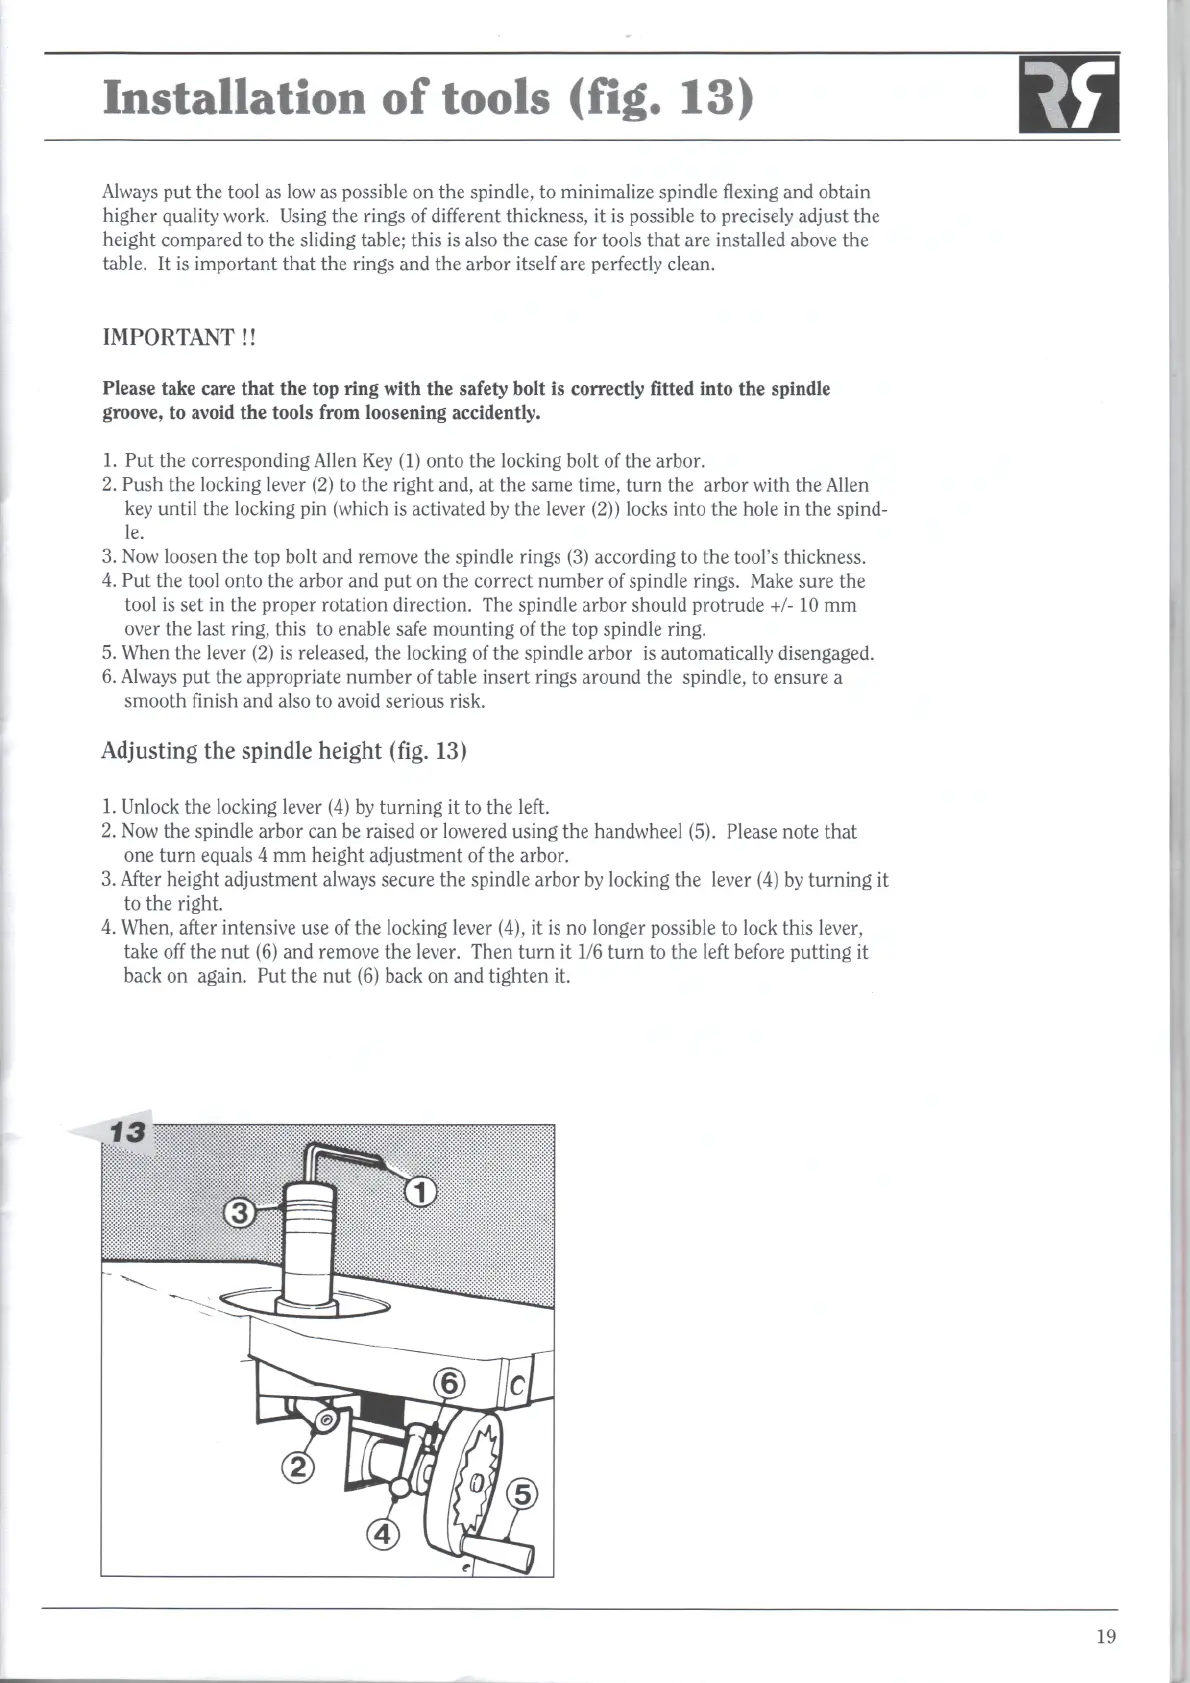
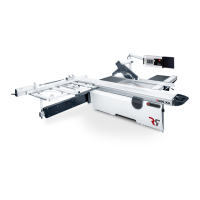
Installation
of
tools
(fig.
13)
Always
put the
tool
as low as
possible
on the
spindle,
to
minimalize spindle
flexing
and
obtain
higher quality work. Using
the
rings
of
different
thickness,
it is
possible
to
precisely adjust
the
height compared
to the
sliding table; this
is
also
the
case
for
tools
that
are
installed above
the
table.
It is
important
that
the
rings
and the
arbor
itself
are
perfectly
clean.
IMPORTANT!!
Please take care that
the top ring
with
the
safety bolt
is
correctly
fitted
into
the
spindle
groove,
to
avoid
the
tools from loosening accidently.
1. Put the
corresponding
Allen
Key
(1)
onto
the
locking bolt
of the
arbor.
2.
Push
the
locking lever
(2) to the
right and,
at the
same time,
turn
the
arbor with
the
Allen
key
until
the
locking
pin
(which
is
activated
by the
lever
(2))
locks into
the
hole
in the
spind-
le.
3. Now
loosen
the top
bolt
and
remove
the
spindle rings
(3)
according
to the
tool's thickness.
4. Put the
tool
onto
the
arbor
and put on the
correct number
of
spindle rings. Make sure
the
tool
is set in the
proper rotation direction.
The
spindle arbor should protrude
+/-10
mm
over
the
last ring, this
to
enable
safe
mounting
of the top
spindle ring.
5.
When
the
lever
(2) is
released,
the
locking
of the
spindle arbor
is
automatically disengaged.
6.
Always
put the
appropriate number
of
table insert rings around
the
spindle,
to
ensure
a
smooth
finish
and
also
to
avoid serious risk.
Adjusting
the
spindle height (fig.
13)
1.
Unlock
the
locking lever
(4) by
turning
it to the
left.
2.
Now the
spindle arbor
can be
raised
or
lowered using
the
handwheel (5). Please note
that
one
turn
equals
4 mm
height adjustment
of the
arbor.
3.
After
height adjustment always secure
the
spindle arbor
by
locking
the
lever
(4) by
turning
it
to the
right.
4.
When,
after
intensive
use of the
locking lever (4),
it is no
longer possible
to
lock this lever,
take
off
the nut (6) and
remove
the
lever. Then
turn
it 1/6
turn
to the
left
before
putting
it
back
on
again.
Put the nut (6)
back
on and
tighten
it.
19