Rockwell Automation Publication 6300B-UM001A-EN-P - July 2020 29
Chapter 7 Replace Components
Remove the Cover
To install, replace, or upgrade internal computer components, you must first
remove the cover.
1. Follow the steps for Pre-configuration
on page 28.
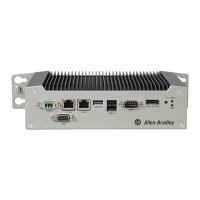
2. Remove the four screws that secure the mounting bracket to the back
side of the computer.
3. Remove the mounting bracket.
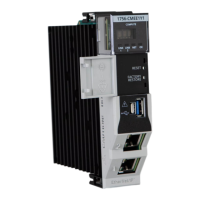
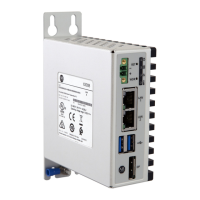
4. Remove the eight screws that secure the computer cover.
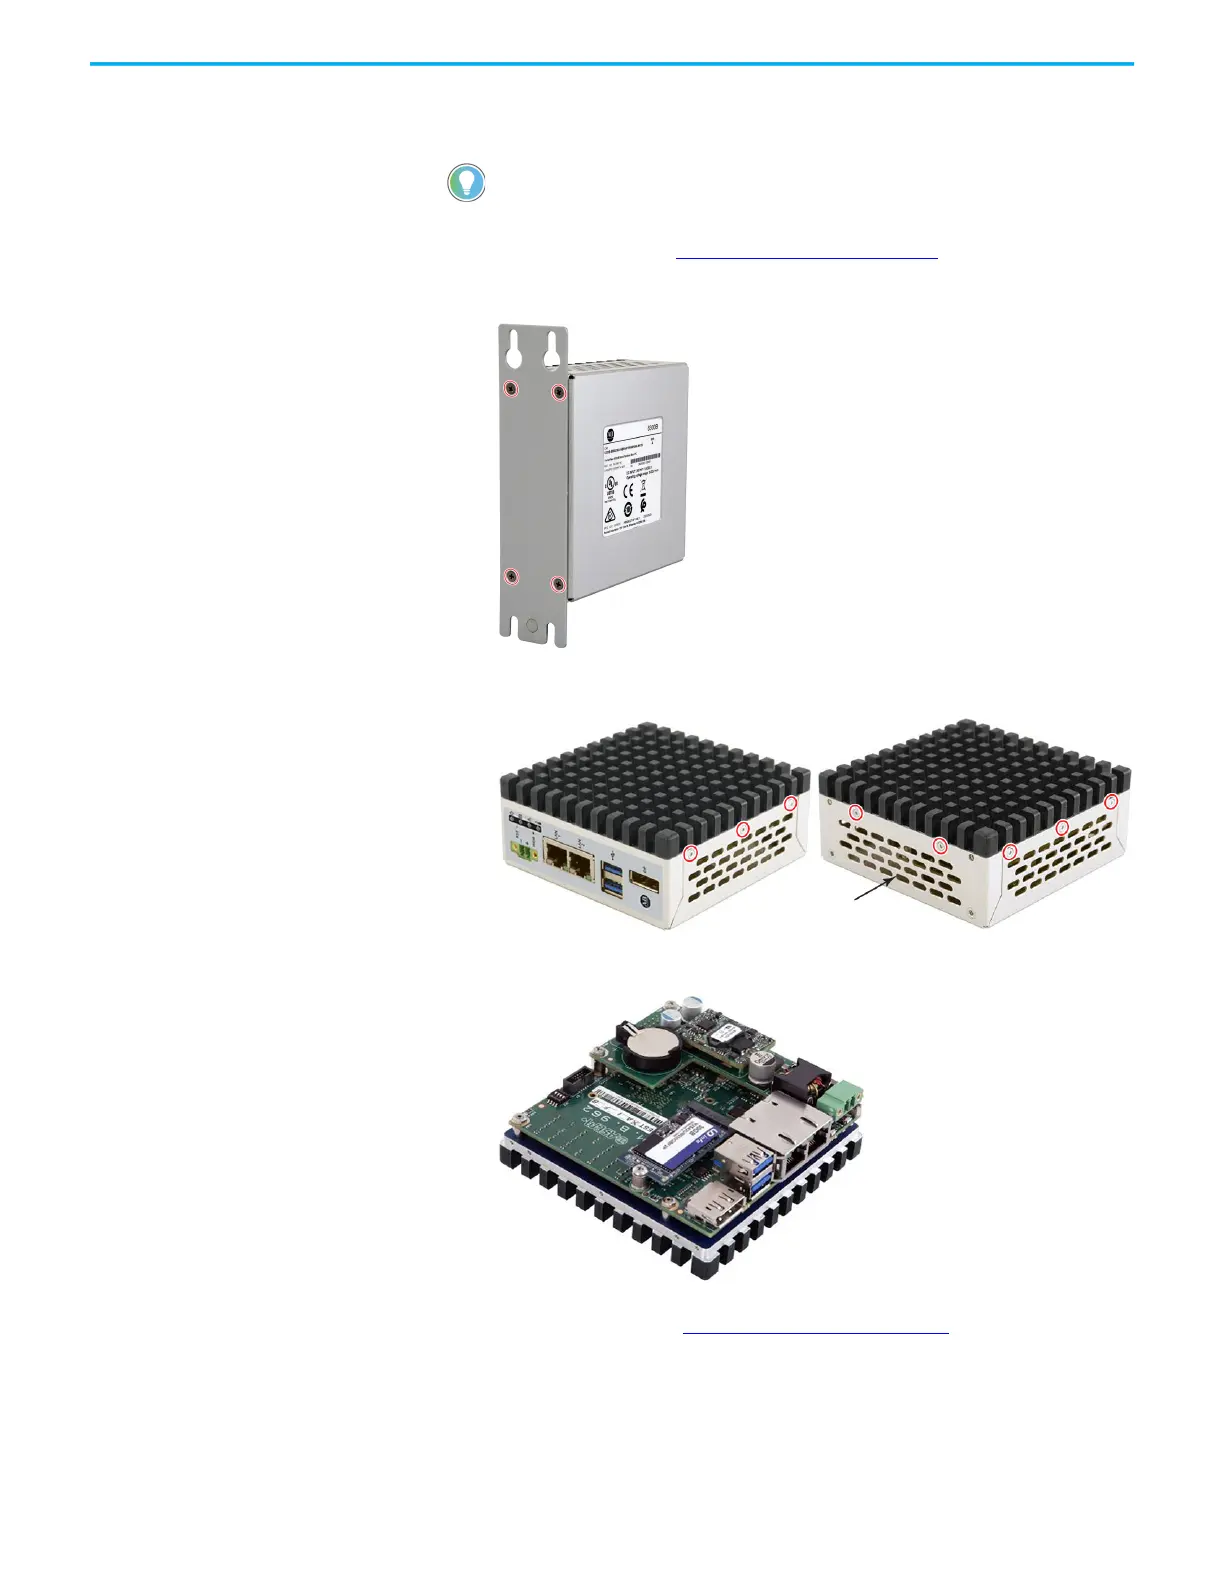
5. Remove the cover, and place it on a static-free surface so the
motherboard is facing up.
6. After you install, replace, or upgrade internal computer components,
perform the steps in Reinstall the Cover
on page 31.
You need the following tools to remove the cover:
• 2.5 mm Phillips screwdriver to loosen the four mounting screws
• Torx T6 screwdriver to remove the eight cover screws
 Loading...