16 of 136
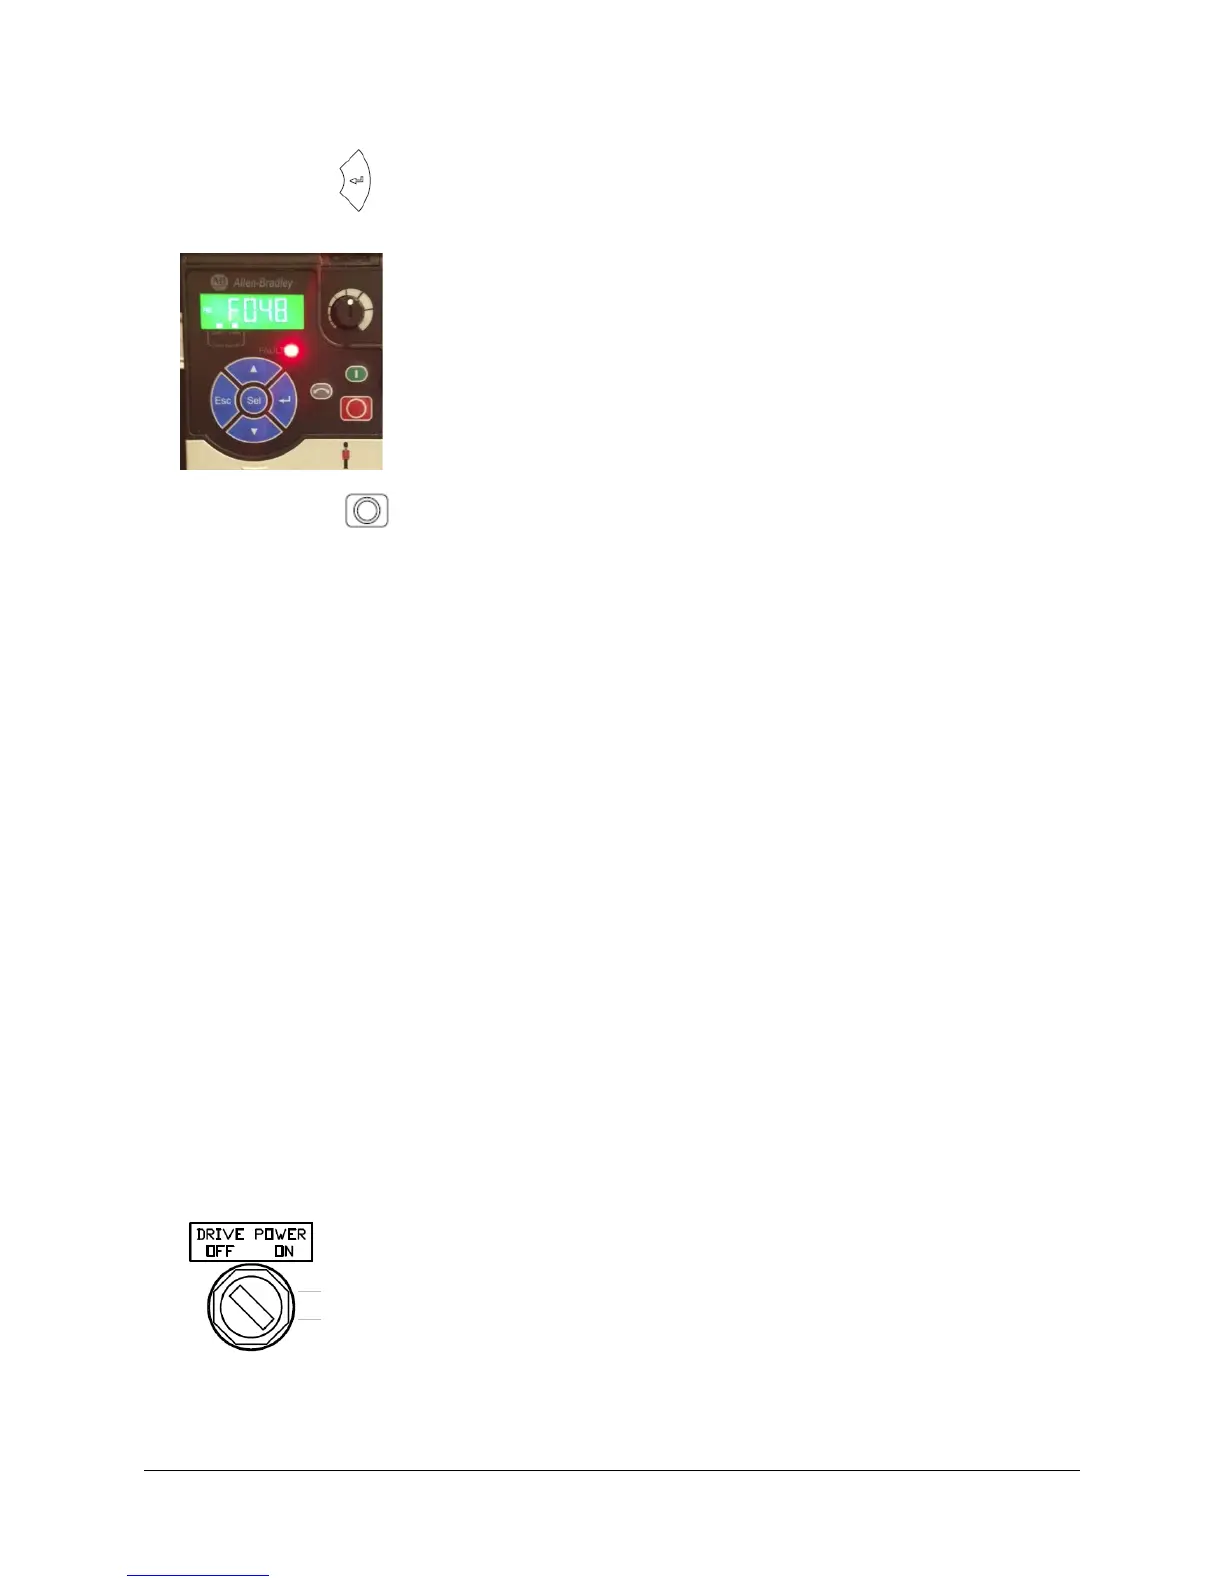
9. Press the Enter button to confirm. The drive will fault with a scrolling message of “F048 – Parameters
Defaulted”. The picture below shows this.
10. Press the Stop button to clear the fault from the drive.
Configuring the 25-COMM-E2P, Dual Port EtherNet option module, IP Address Parameters
1. Take what you have learned about the keypad operation from the Reset Drive to Defaults section to make
the following Network Option Communication group parameter changes. Navigate to the Network Option
parameters starting at parameter N1004;
N1004 – Net Addr Sel = 1 - “Parameters”
N1006 – IP Addr Cfg 1 = 192
N1007 – IP Addr Cfg 2 = 168
N1008 – IP Addr Cfg 3 = 1
N1009 – IP Addr Cfg 4 = 20
N1010 – Subnet Cfg 1 = 255
N1011 – Subnet Cfg 2 = 255
N1012 – Subnet Cfg 3 = 255
N1013 – Subnet Cfg 4 = 0
N1014 – Gateway Cfg 1 = 192
N1015 – Gateway Cfg 2 = 168
N1016 – Gateway Cfg 3 = 1
N1017 – Gateway Cfg 4 = 1
2. In order for communication settings to take effect, cycle power to the drive by using the Drive Power
selector switch located in the bottom left corner of the demo box. Turn the switch to the “OFF” position,
and then after the display of the drive goes dark, back to the “ON” position.
Continue on to the next exercise.
 Loading...