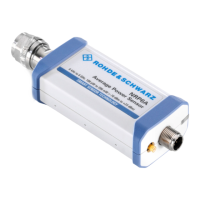
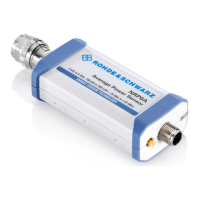
Program module "Update S-Parameters" R&S NRP-Z91
1168.8579.12 3.10 E-1
During loading, the current calibration data set of the sensor is overwritten. To be on the safe side, a
b
ackup copy of the current calibration data set is therefore automatically stored before s-parameters are
loaded. The names of the backup files have the structure <type>_<batch number>_<date>_<time>.bak,
where <type> is the sensor type, <batch number> is the batch number of the sensor, <date> the date of
the s-parameter update in yyyymmdd format and <time> the time of the s-parameter update in the
format hhmmss. By default, a subdirectory named “Backup” is created for the backup files in the
program directory. With Select Backup Directory … it is possible to select a different directory.
Store the automatically created backup files on a separate data medium (e.g. diskette,
CD-ROM or network drive) and, if required, assign a meaningful name to them to simplify
reloading. With the aid of these files, a previously used calibration data set of the sensor
can be restored.
To reload the backup file of a calibration data set into the sensor, proceed as follows:
1. Press the Restore... button. The Restore S-Parameters window is opened (Fig. 3-4).
2. Enter the search path and the name of the backup file in the Backup File field. Press the Browse...
button to open a dialog where the backup file can be easily selected.
3. Press OK to start the restore procedure. (With Cancel the dialog window is exited without data
being restored).
Fig. 3-4 Dialog window for loading the backup file of a calibration data set
To be able to determine if the s-parameter correction is active after plugging in or resetting the sensor,
proceed as follows:
1. Connect the sensor to the USB port of the PC and start the program module Update S-
Parameters.
2. Make sure Keep Current S-Parameter Data is activated (Fig. 3-5).
3. Activate S-Parameter Correction on by Default if the SENSe:CORRection:SPDevice:STATe
switch should be automatically set to ON when the sensor is put into operation, otherwise
deactivate it.
4. Press Start for loading.
 Loading...