Rointe efficient heating · 5
Rointe Connect App user manual
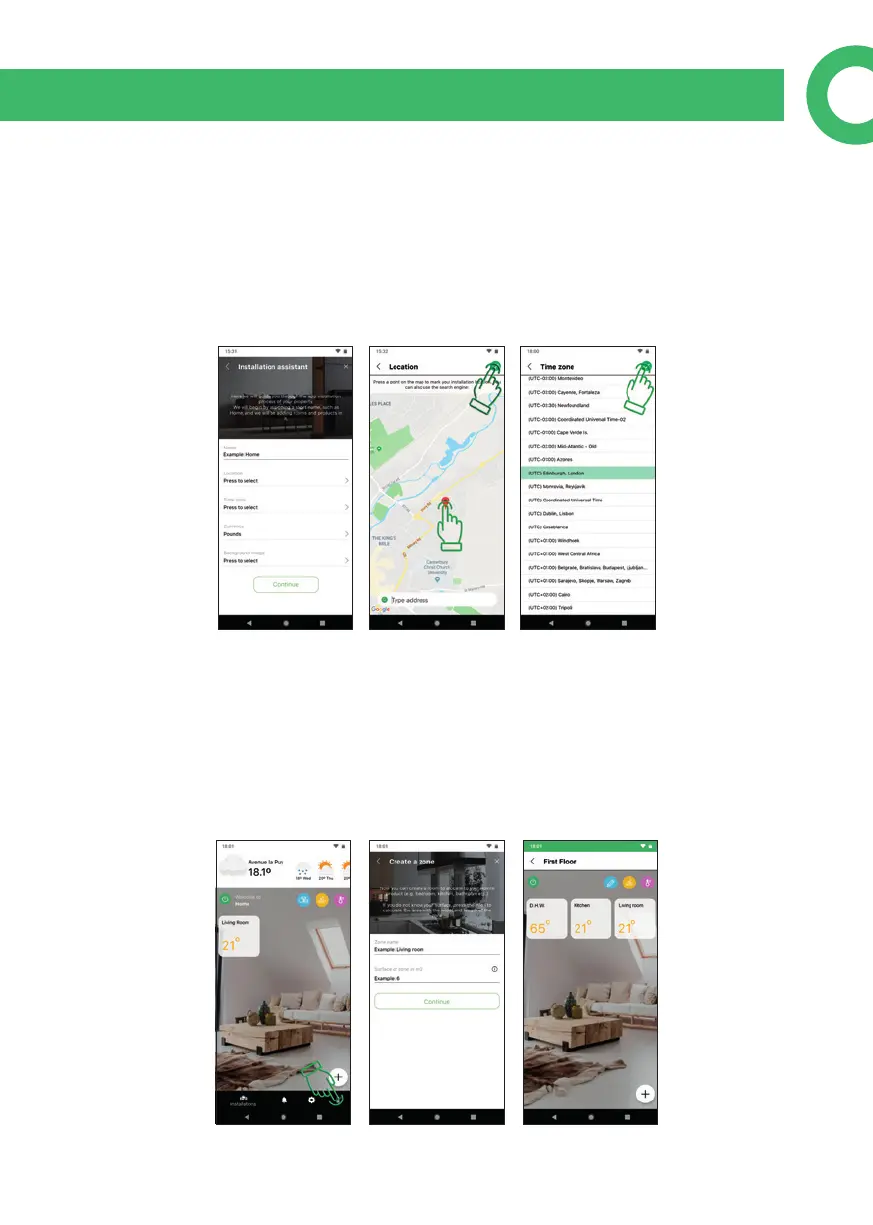
4. INSTALLATION ASSISTANT
The Installation wizard appears when you login for the rst time. An installation
can be a house, oce etc. where your Rointe products are installed. You can create
zones and subzones in an installation to assign products to. Name your installation
and assign a location by searching in the map then press and hold over the location,
so the red marker appears. The blue one is your current location. Then set the hour,
currency, a background image (optional) and press continue.
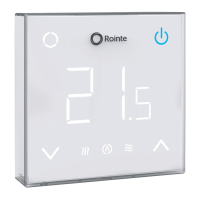
5. CREATE A ZONE
Once an installation has been created, the Zone wizard appears. This also appears if
you press + from the main screen. A zone is a room / oor and can contain products
or unlimited sub-zones. For example, you can create a zone for "Ground oor" that
contains a "Living Room" sub-zone, or one zone to contain all products. Give your
zone a name and include the surface area (optional). Press "i" to calculate area.