44
You can apply two multi-eects (MFX1, MFX2), one chorus, and one
reverb to each live set. The two multi-eects can not only be used
individually but also as a combination of multi-eects.
Turning Eects On/O (Eect Switch)
The JUNO-Gi’s onboard eects can be switched on/o as a whole.
Turn these OFF when you want to listen to the unprocessed sound as
you create a sound, or if you want to use an external eects processor
instead of the built-in eects.
NOTE
The eect on/o settings cannot be saved.
1. Press the [MENU] button.
2. Use the VALUE dial or the cursor buttons to select
“2. Eect Edit,” and press the [ENTER] button.
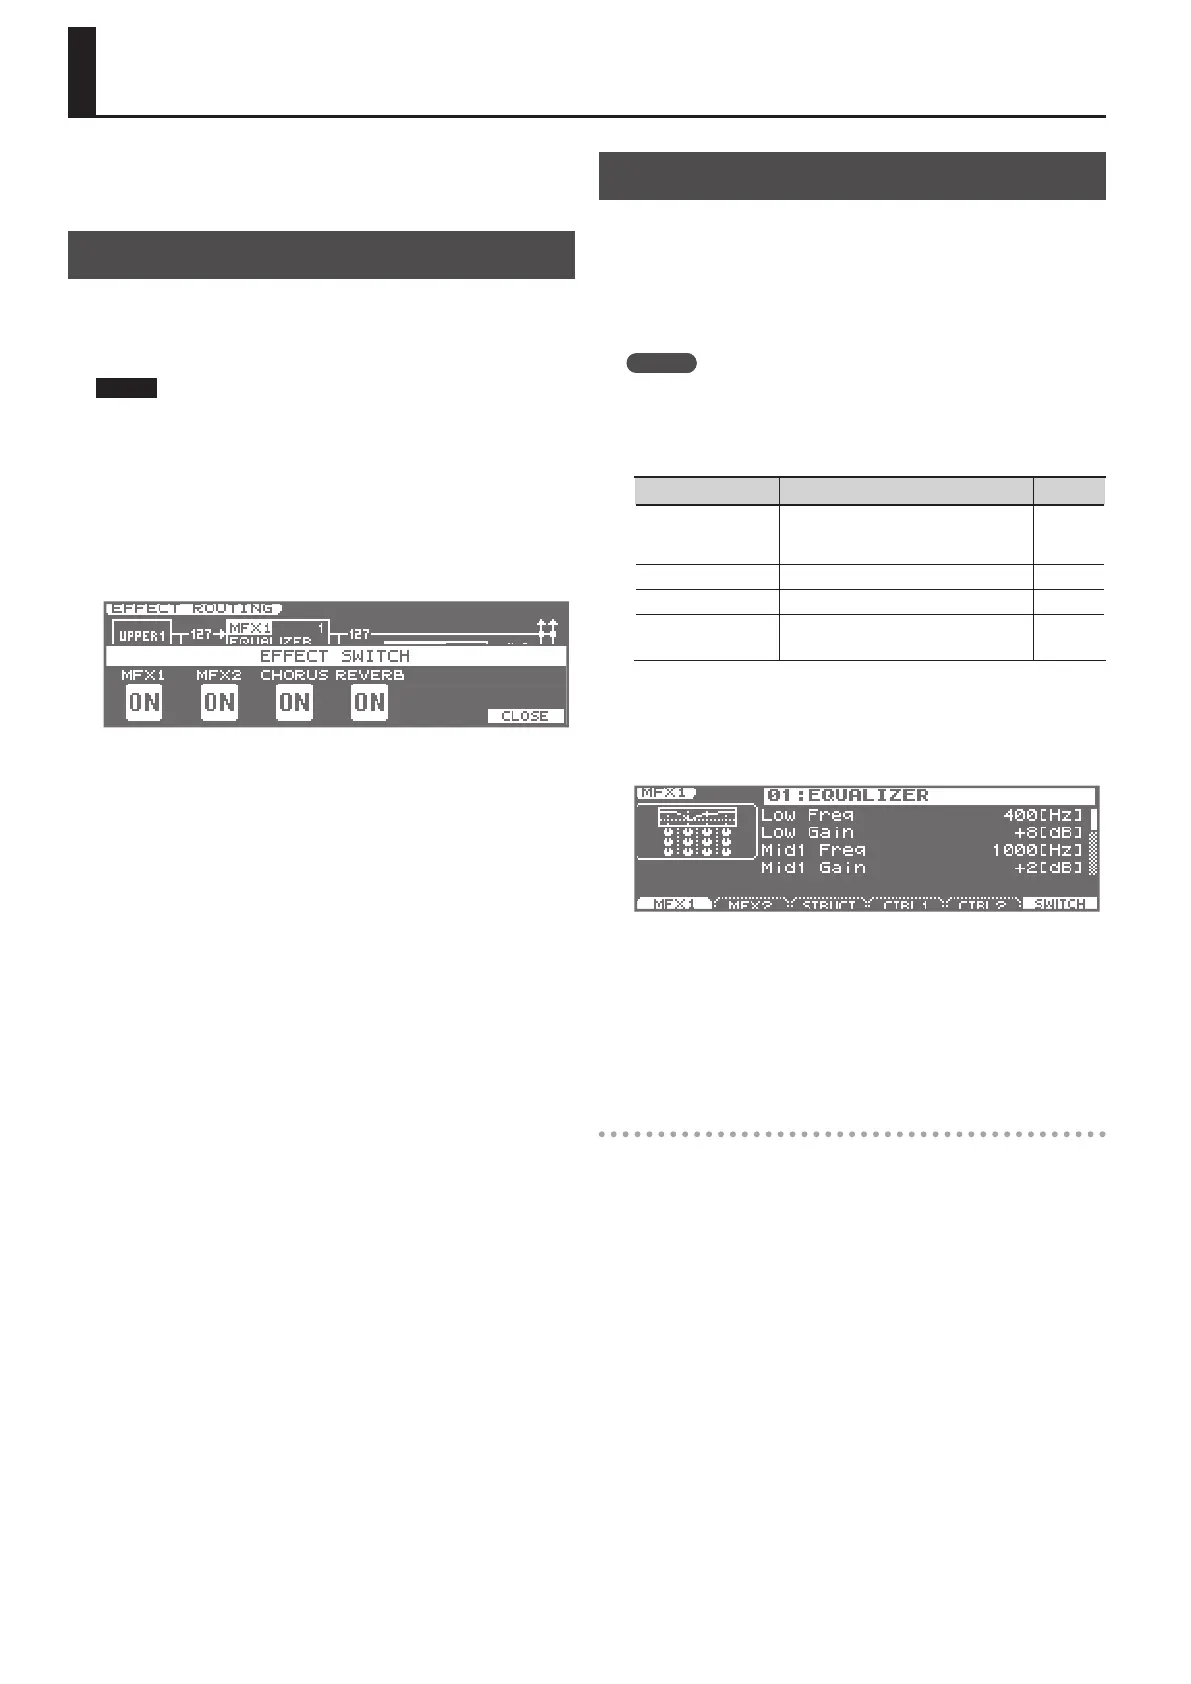
The EFFECT ROUTING screen will appear.
3. Press the [6] (SWITCH) button.
The EFFECT SWITCH window will appear.
4. Press the [1] (MFX 1) Button–[4] (REVERB) buttons to turn
each eect on/o.
The eect will turn on/o each time you press the button.
5. To close the setting window, press the [6] (CLOSE) button or
the [EXIT] button.
You will return to the EFFECT ROUTING screen.
Making Eect Settings
1. Select the live set to which you want to apply eects.
2. Press the [MENU] button.
3. Use the VALUE dial or the cursor buttons to select
“2. Eect Edit,” and press the [ENTER] button.
The EFFECT ROUTING screen will appear.
MEMO
You can turn each layer on/o by holding down the [SHIFT] button
and pressing the [1]–[4] buttons.
4. Press the [2] (MFX)–[4] (REVERB) button to select the eect
for which you want to make settings.
Button Explanation Page
[1] (ROUTING)
Overall eect-related settings, such as
the output destination and level of each
signal.
p. 45
[2] (MFX) Multi-eect settings p. 48
[3] (CHORUS) Chorus settings p. 76
[4] (REVERB) Reverb settings p. 77
5. With the cursor located at the top line of the screen, use the
VALUE dial or the [DEC] [INC] buttons to select the desired
eect type.
(Example of MFX1 screen)
6. Use the cursor buttons to move the cursor to the parameter
that you want to edit.
7. Use the VALUE dial or the [DEC] [INC] buttons to edit the
value.
8. When you’ve nished editing, press the [EXIT] button a
number of times to return to the LIVE SET PLAY screen.
Saving your eect settings
Changes you make to the live set’s eect settings will be lost when
you select another live set. If you want to keep the changes, press the
[WRITE] button to save your live set settings as a User Live Set (p. 35).
Applying Eects (EFFECT EDIT)