40
Jun. 2011 JUPITER-80
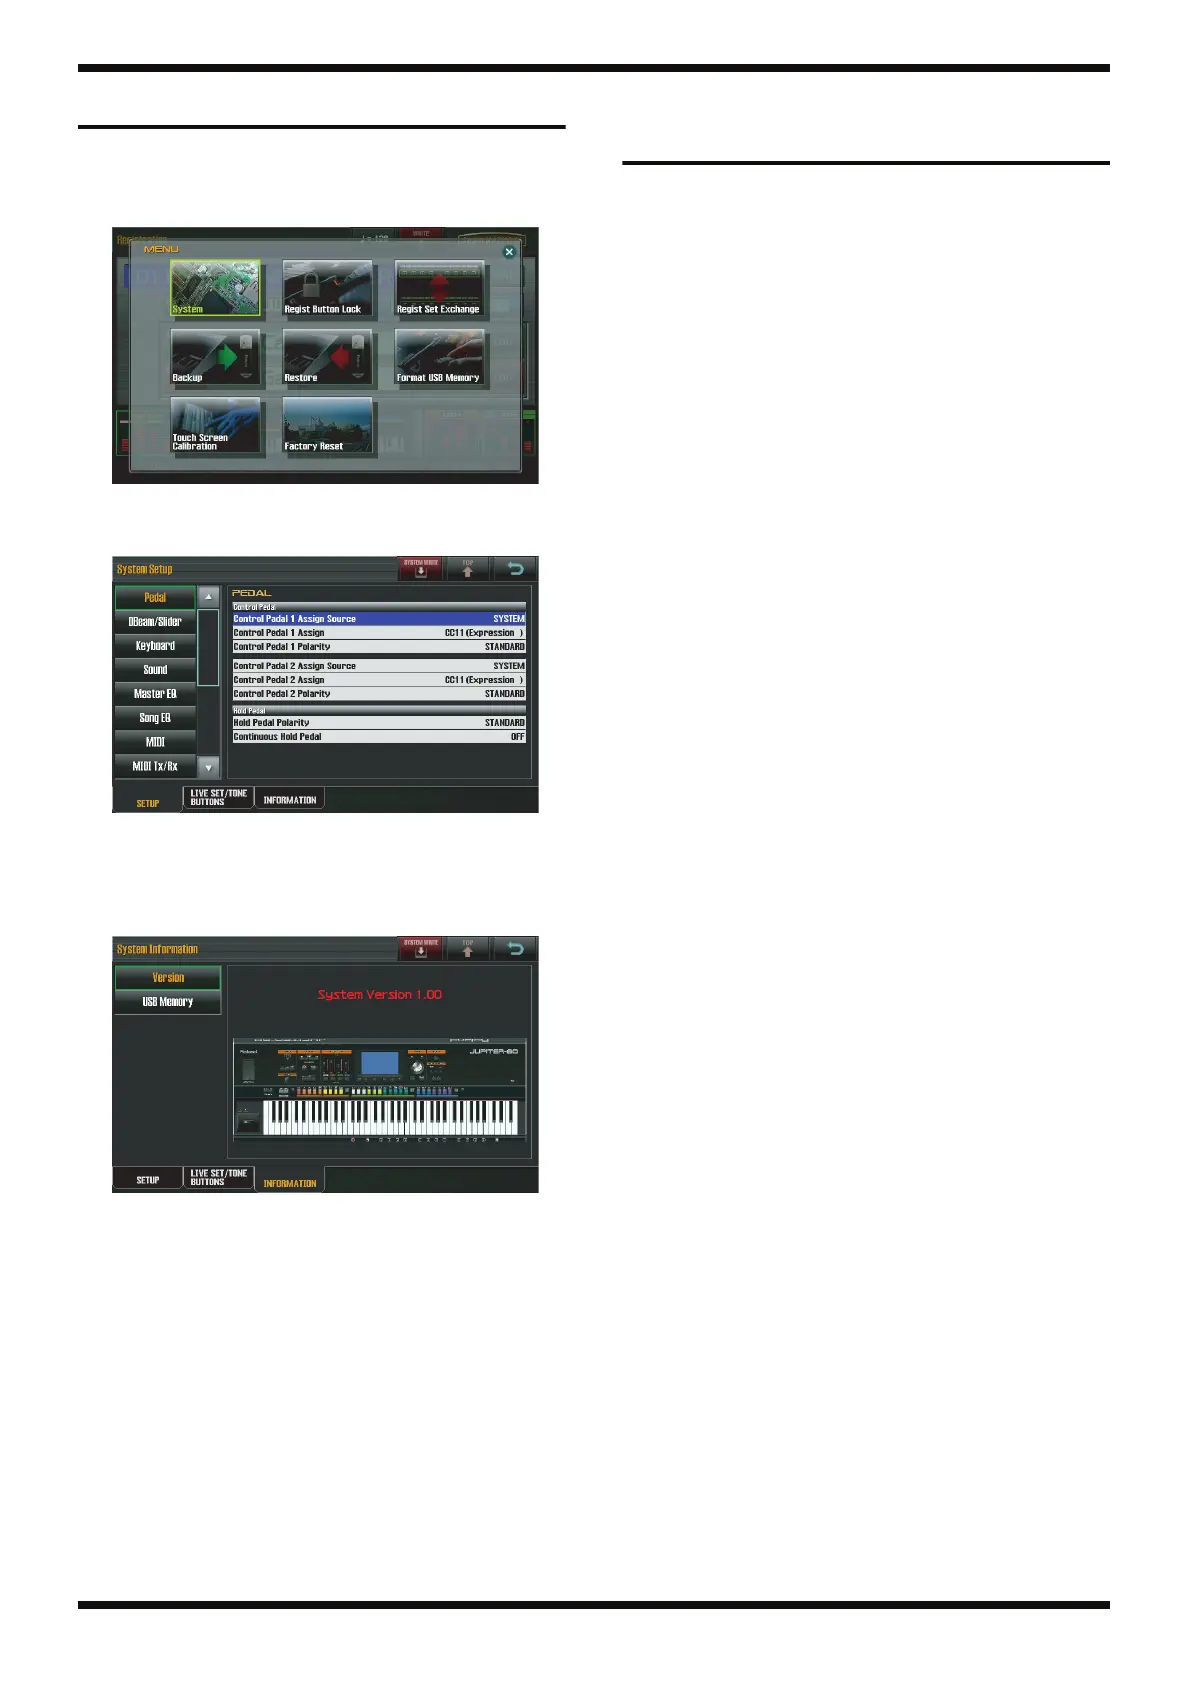
Verifying the Version
1. Switch on the power to the unit.
2. Press [MENU].
The MENU screen appears.
fig.ver-01.eps
3. Touch System.
The System Setup screen appears.
fig.ver-02.eps
4. Touch INFORMATION.
The System Information screen appears.
5. Touch Version.
The version information is displayed.
fig.ver-03.eps
Data Backup and Restore
Operations
Item Required
• USB memory device (256 MB or larger; recommended: M-UF2G)
Formatting the USB Memory Device
1. Connect the USB memory device to the USB MEMORY connector at the
left edge of the Top Panel.
2. Press [MENU].
The MENU screen appears.
3. Touch Format USB Memory.
The Format USB Memory screen appears.
4. Touch EXEC.
A confirmation message is displayed.
5. To execute formatting, touch OK. To quit, touch EXIT.
* Never switch off the power during formatting.
When the message USB MEMORY Format Completed! appears, the
operation has finished.
6. Touch OK.
Backup Procedure
* Never switch off the power to the unit before the operation finishes. Doing so
may result in data corruption.
1. As described in Formatting the USB Memory Device (p. 40), connect the
USB memory device to the USB MEMORY connector at the left edge of
the Top Panel.
2. Press [MENU].
The MENU screen appears.
3. Touch Backup.
The Backup screen appears.
4. Touch EXEC.
A confirmation message is displayed.
5. To execute the backup, touch OK. To quit, touch EXIT.
When the message Backup Completed! is displayed, the operation has
finished.
The time required for the backup is approximately 1 minute.
6. Touch OK.
Restore-operation Procedure
* Never switch off the power to the unit before the operation finishes. Doing so
may result in data corruption.
1. Connect the USB memory device containing the backed-up data to the
USB MEMORY connector.
2. Press [MENU].
The MENU screen appears.
3. Touch Restore.
The Restore screen appears.
4. Touch EXEC.
A confirmation message is displayed.
5. To execute the restore operation, touch OK. To quit, touch EXIT.
When the message Completed. Please Power off! appears, the
operation has finished.
6. Switch off the power.

 Loading...


